One Room Challenge: Weeks Five & Six, Two Tone Roman Clay Application and Restoring the Countertops
In the past couple of weeks, it feels as though we've finally moved from the stage where things look worse week by week to the one where they finally start to come together. The first major shift was when we got a fresh coat of white primer over everything. It was like a whole new space. For the past year+ it's felt like an unfinished project with the patched-up walls, so seeing everything looking fresh and clean was amazing.
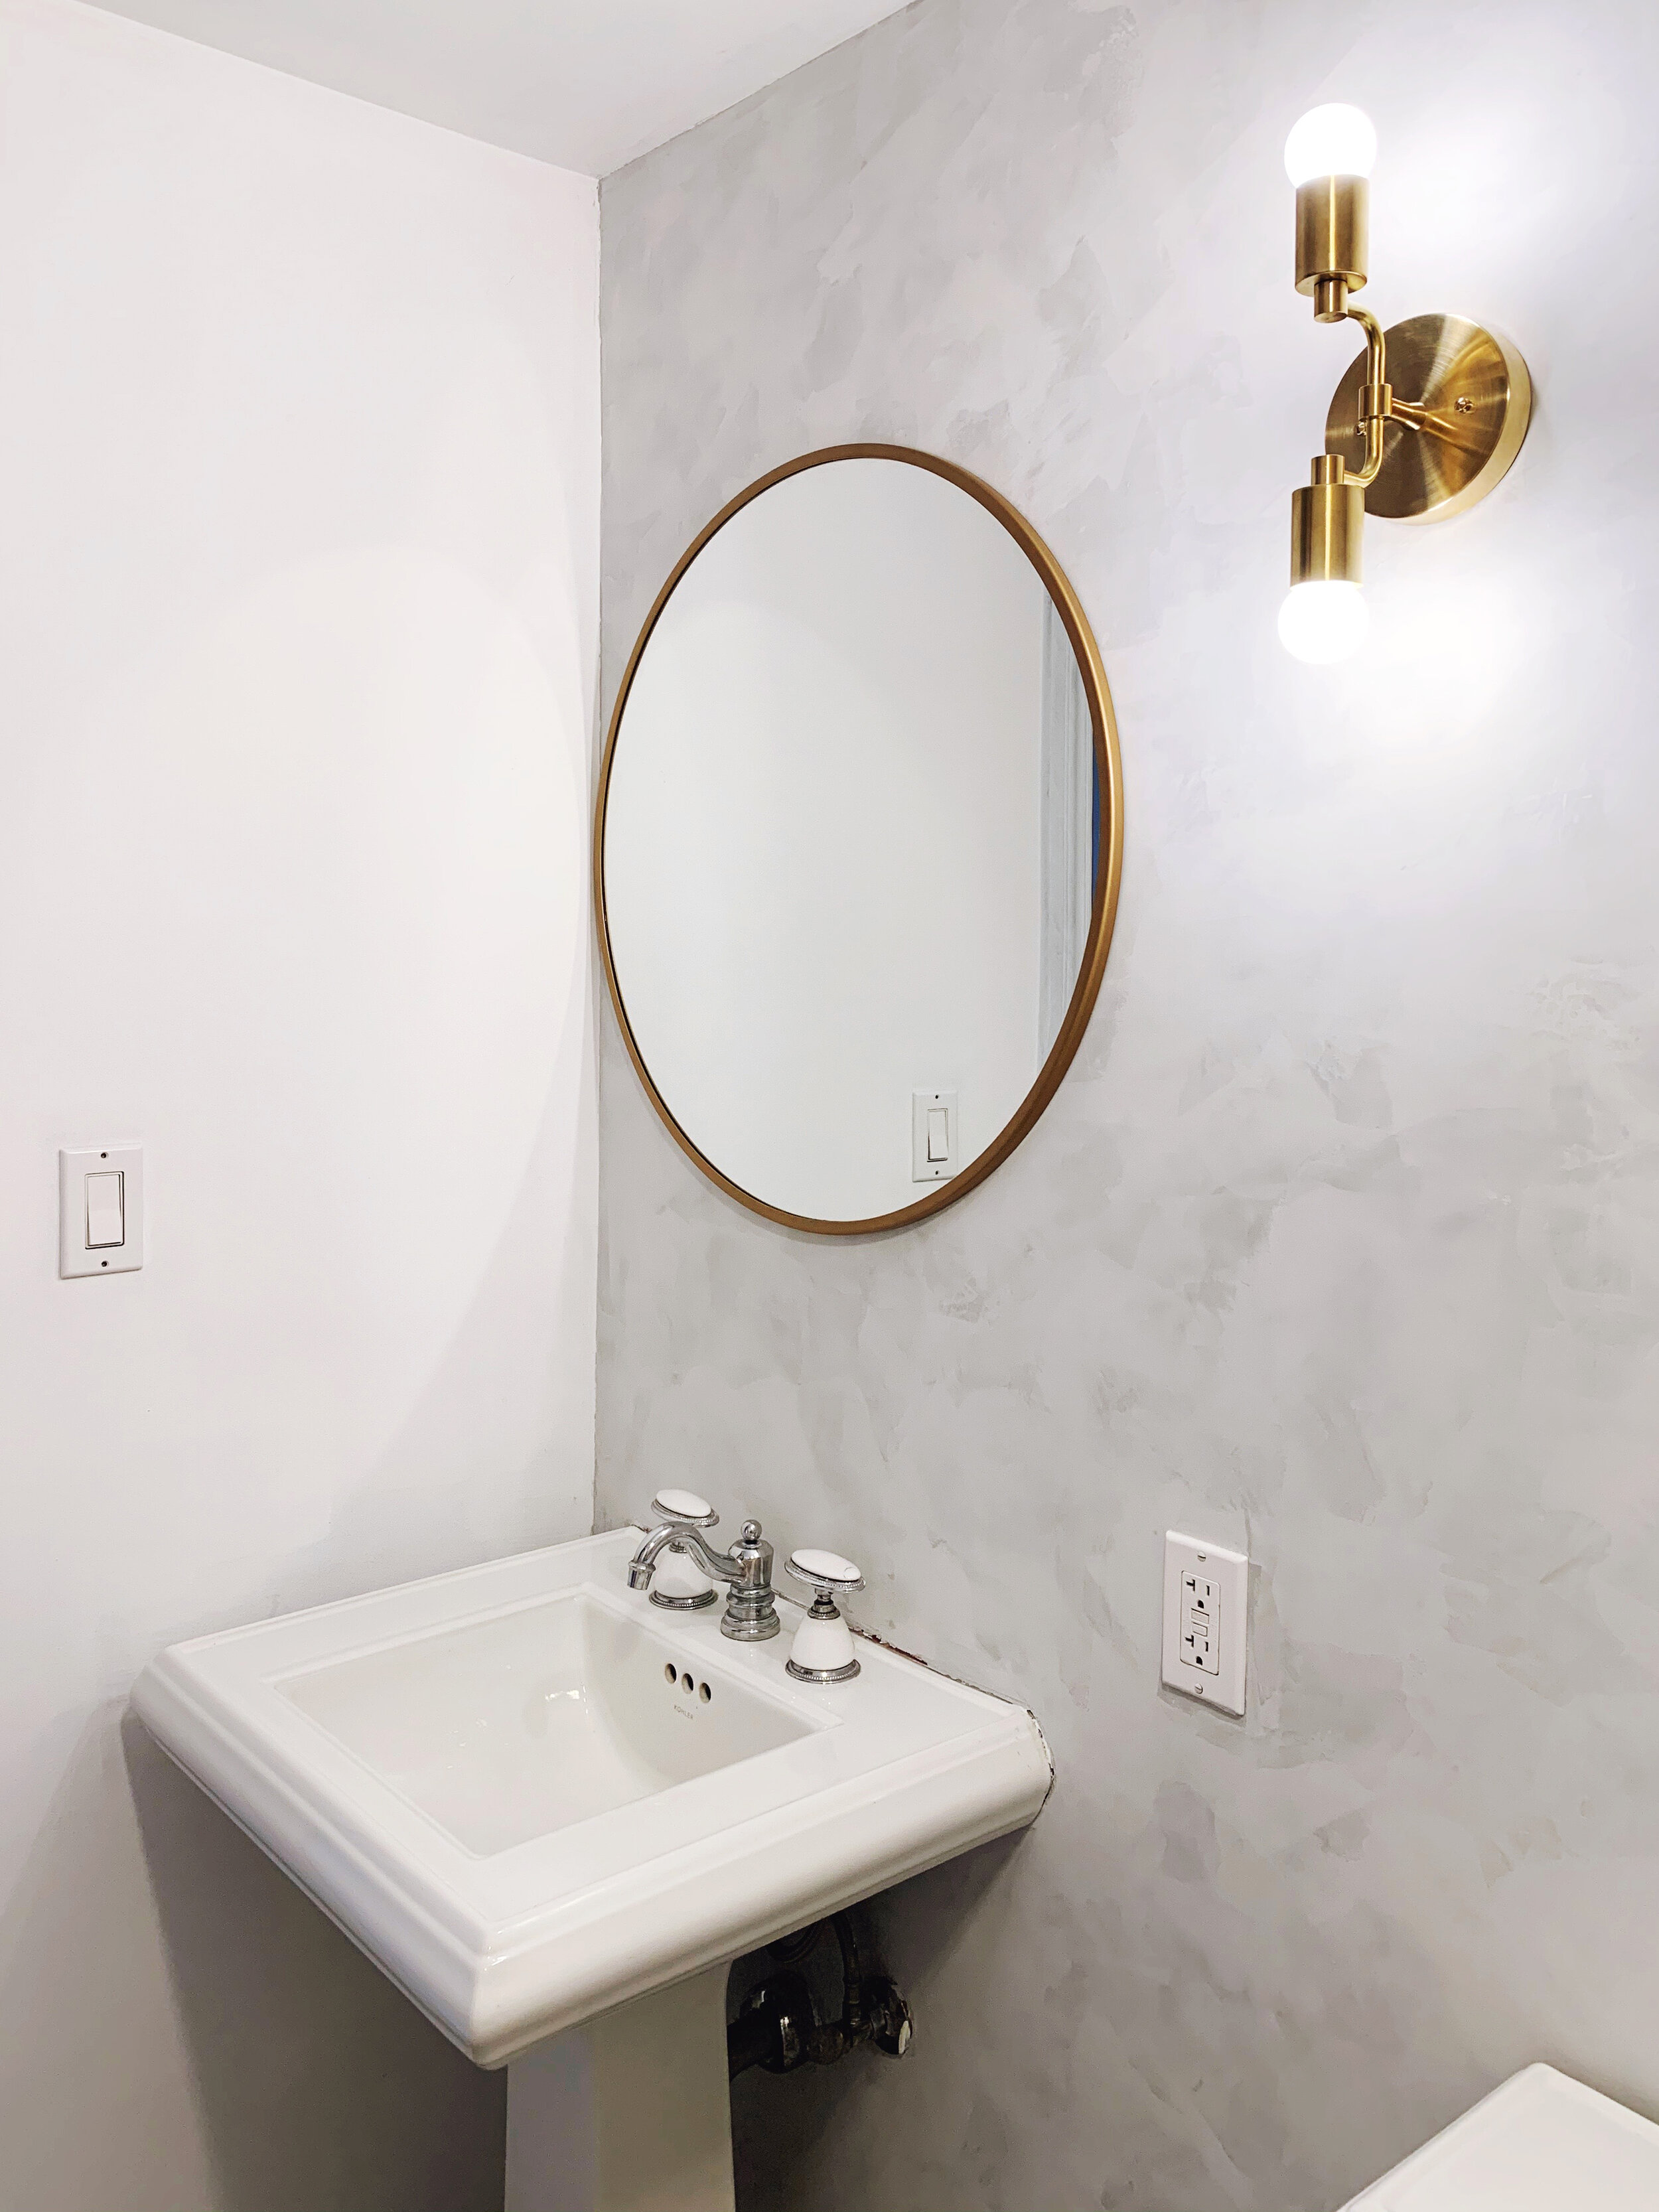
Because I can't leave well enough alone, paint the space and call it a day I tackled our Roman Clay feature walls instead. We had initially just planned to do the wall spanning from the living/sleeping space into the kitchenette. Still, the bathroom was feeling blah and we lacked the time and budget to give it a full overhaul I figured creating a Roman clay focal wall in there as well would give it a little something special.
The Roman clay I used was from Portola Paints (not sponsored), and despite the fact that it was not business as usual with the SIP once I got someone on the phone they were genuinely helpful and went above and beyond with walking me through what I needed to achieve what I was aiming for. I settled on a two-tone application inspired by blogger Lady and Pups and the plaster walls of Lokal Hotel and ordered the Roman clay in Vera for the base coat and Mirror for the top. Then I watched the tutorial video they sent over. I think from start to finish, I ended up watching this video a grand total of five times. Yeah, I was a bit intimidated. To start I did a test on a spare square of drywall. It went pretty smoothly, but the weather was particularly hot when I tried to apply the topcoat, and it was drying out a bit too quickly to get the effect I wanted. Lesson one: avoid doing this on one of the hottest days of the year.
Feeling emboldened, I started with the bathroom, figuring it was a much smaller wall and that the mirror and other fixtures would cover a lot of it, so it was lower risk. The first coat went up without a hitch, but when I started applying the second coat, I noticed dark streaks appearing in the finish. I finally figured out this was somehow created by the metal blade of my putty knife, so I switched to plastic. Lesson two: consider using a plastic applicator for lighter shades. I applied two coats of the Vera and a thin coat of Mirror on top following the instructions in the video (apply with a putty knife with flowing strokes and work from a wet edge, cutting in as you go.) and sanding in between each layer. I love how the bathroom has turned out and am almost (!) finished with the main wall. It's a textured look with a lot of movement, but the surface is perfectly smooth.
The other project I tacked was restoring our water damaged butcher block countertops. We had attempted just sanding and oiling them when we first moved in with little luck, so I decided to bleach the stains out with Oxalic acid. After sanding all I could, I mixed up the hot water and bleach. Wearing eye protection, gloves, and a mask, I applied it to the full surface, scrubbed the dark spots, and left it to soak for 45 min. Slightly better but still very much there. After a little trial and error, I decided to spot treat the area with an old toothbrush dipped in the mixture and giving it a little scrub every 15 min over a couple of hours and while there's still some dark streaking in the grain of the wood the results are night and day.
Thanks for following along, you can find week one here, week two here, three here, four here, and check back next week for week seven. You can check out the rest of the guest participants here or the amazing featured designers here. You can also follow along on Instagram by following #oneroomchallenge for some serious eye candy.
*This post contains affiliate links and I will be compensated if you make a purchase after clicking on my links, click here for our full policy and disclosures.


