One Room Challenge: Week Seven, Our DIY Bed with Floyd's “The Framework” and a Progress Report
While last week I wrote about feeling as though we had just turned a corner, this week was full speed ahead, a foot on the accelerator. After the first month of this project being spent on demo as we uncovered unexpected issues that put us behind schedule, it feels amazing to be finishing up a new project every day.
Here’s a little summary of what we’ve completed this week: we repainted the kitchen cabinets start to finish, and with a bit of help from this affordable paint sprayer and pop-up shelter, it was about as quick and painless as possible with a flawless finish. We prepped them with a de-glosser, a quick sanding, and a coat of Klitz adhesion primer. We painted the Ikea wardrobes that we’re using to create a wall of storage in the same way. Next up, we removed the old carpet (but kept the carpet pad and tacks) and rolled out the massive jute rug that I’m planning to cut to size and bind next week. We got the lighting installed and finally, we built our bed!
I searched high and low for an affordable bed for the space, and we discussed building something ourselves, so when I stumbled on “The Framework” by Floyd, I was excited to try it out. If you want to skip the DIY aspect, they sell “The Bed,” wood panels, and all, and you have options to customize it with a headboard or under-bed storage. The birch and white option is very similar to what we ended up doing, and assembly is a breeze.
To create our bed from scratch, we ordered three sheets of Maple plywood and cut them each in half. Taking the two halves of each board, we lined them up carefully along two edges then laminated them with wood glue, applying a liberal amount (but not so much it squeezed out the edges) quickly spreading it then sandwiching the boards together and clamping them overnight to dry. Once the boards were laminated, we cut them to size (86” long x 22” wide x 1.5”). We have a queen-sized bed, so we needed three; for a king, you would need four.
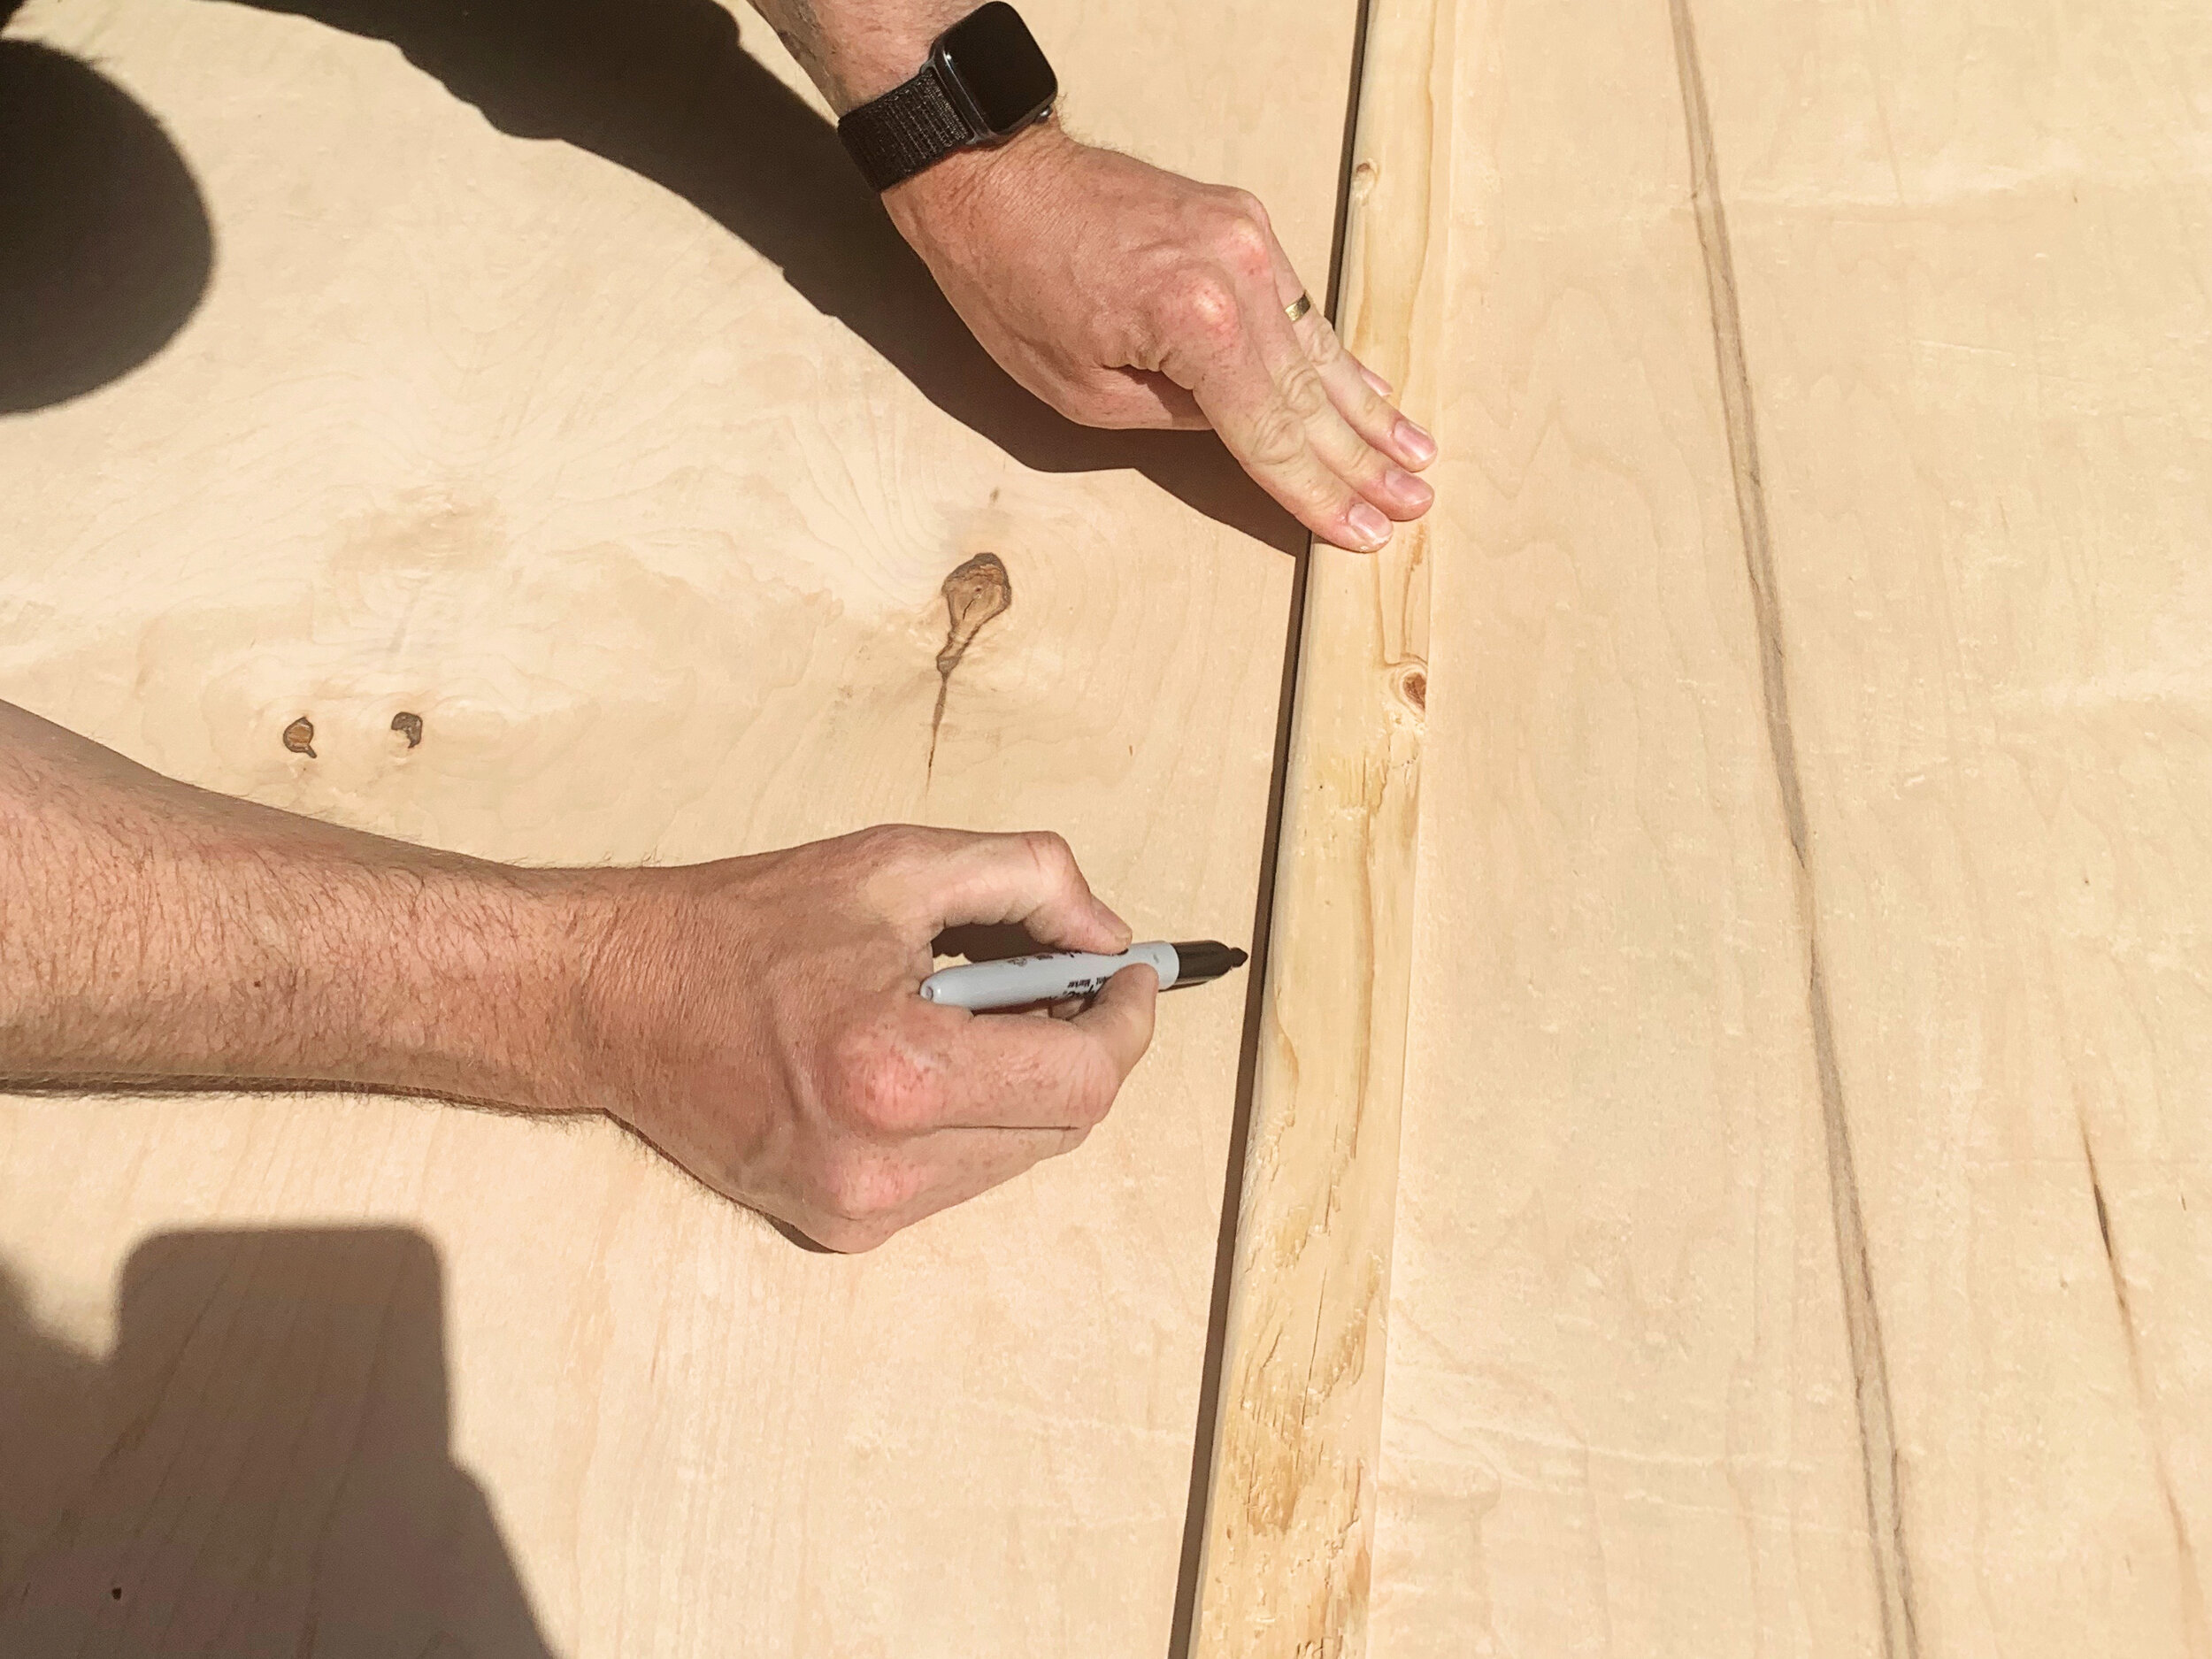
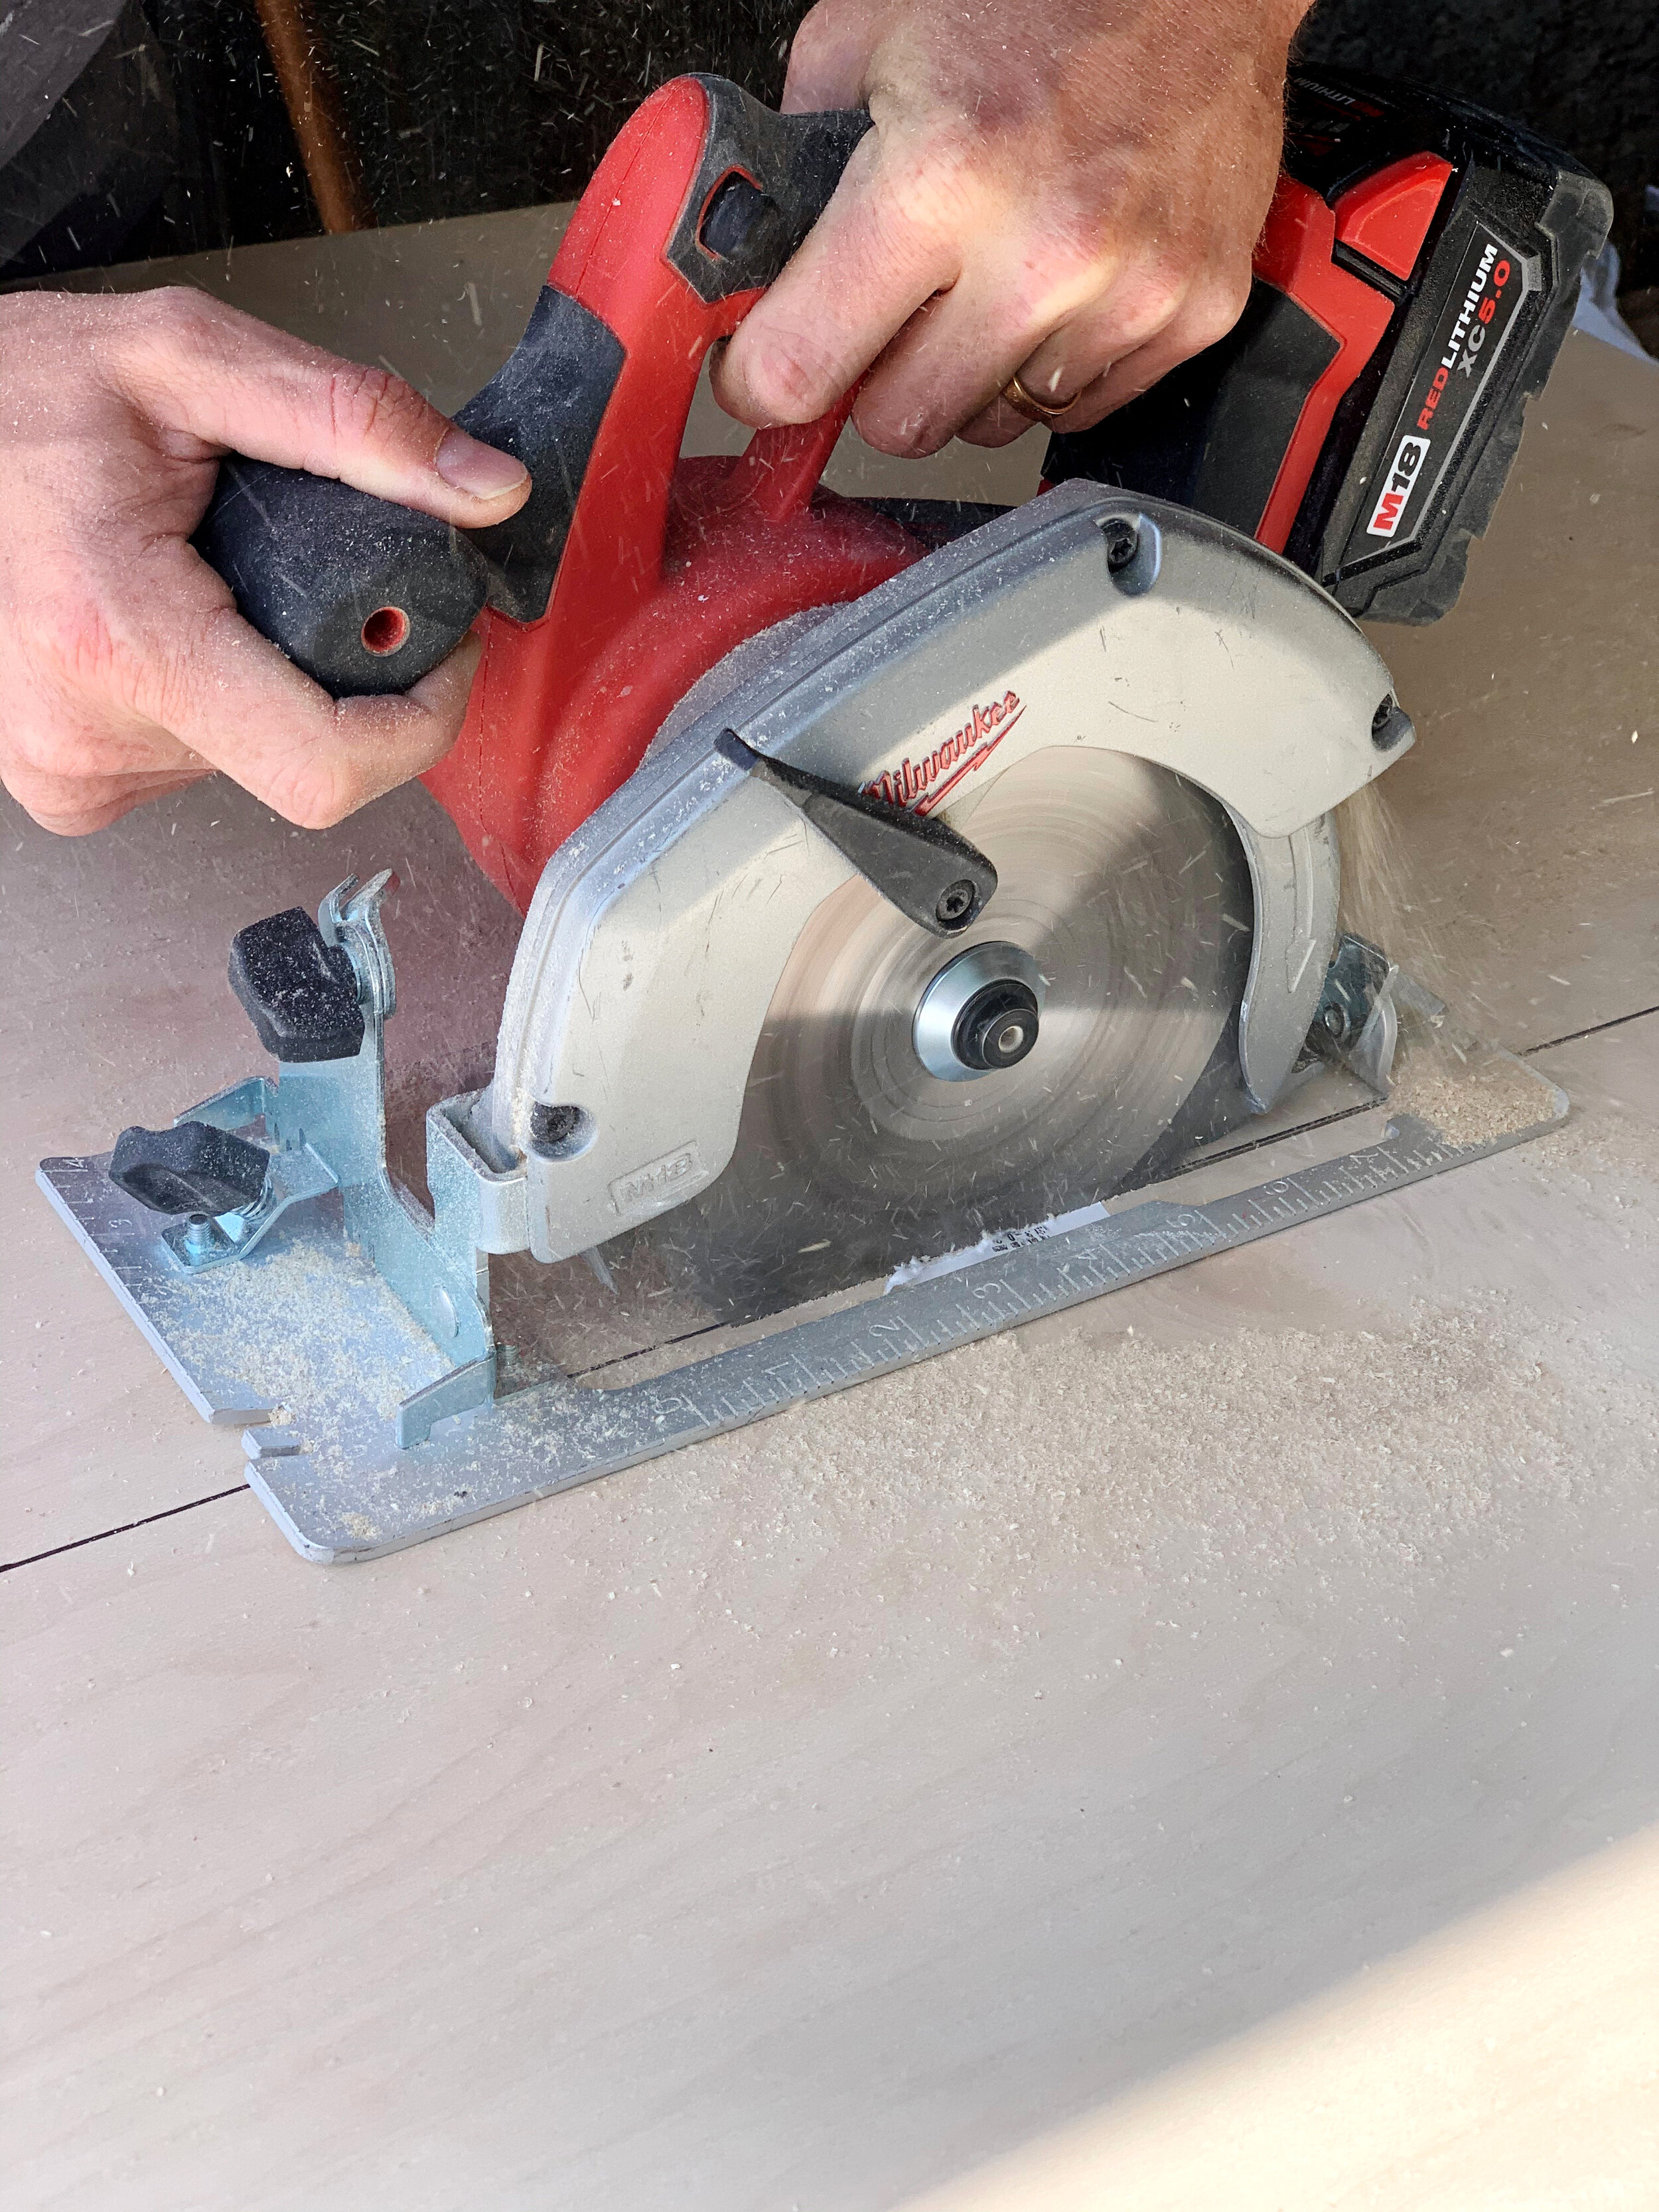
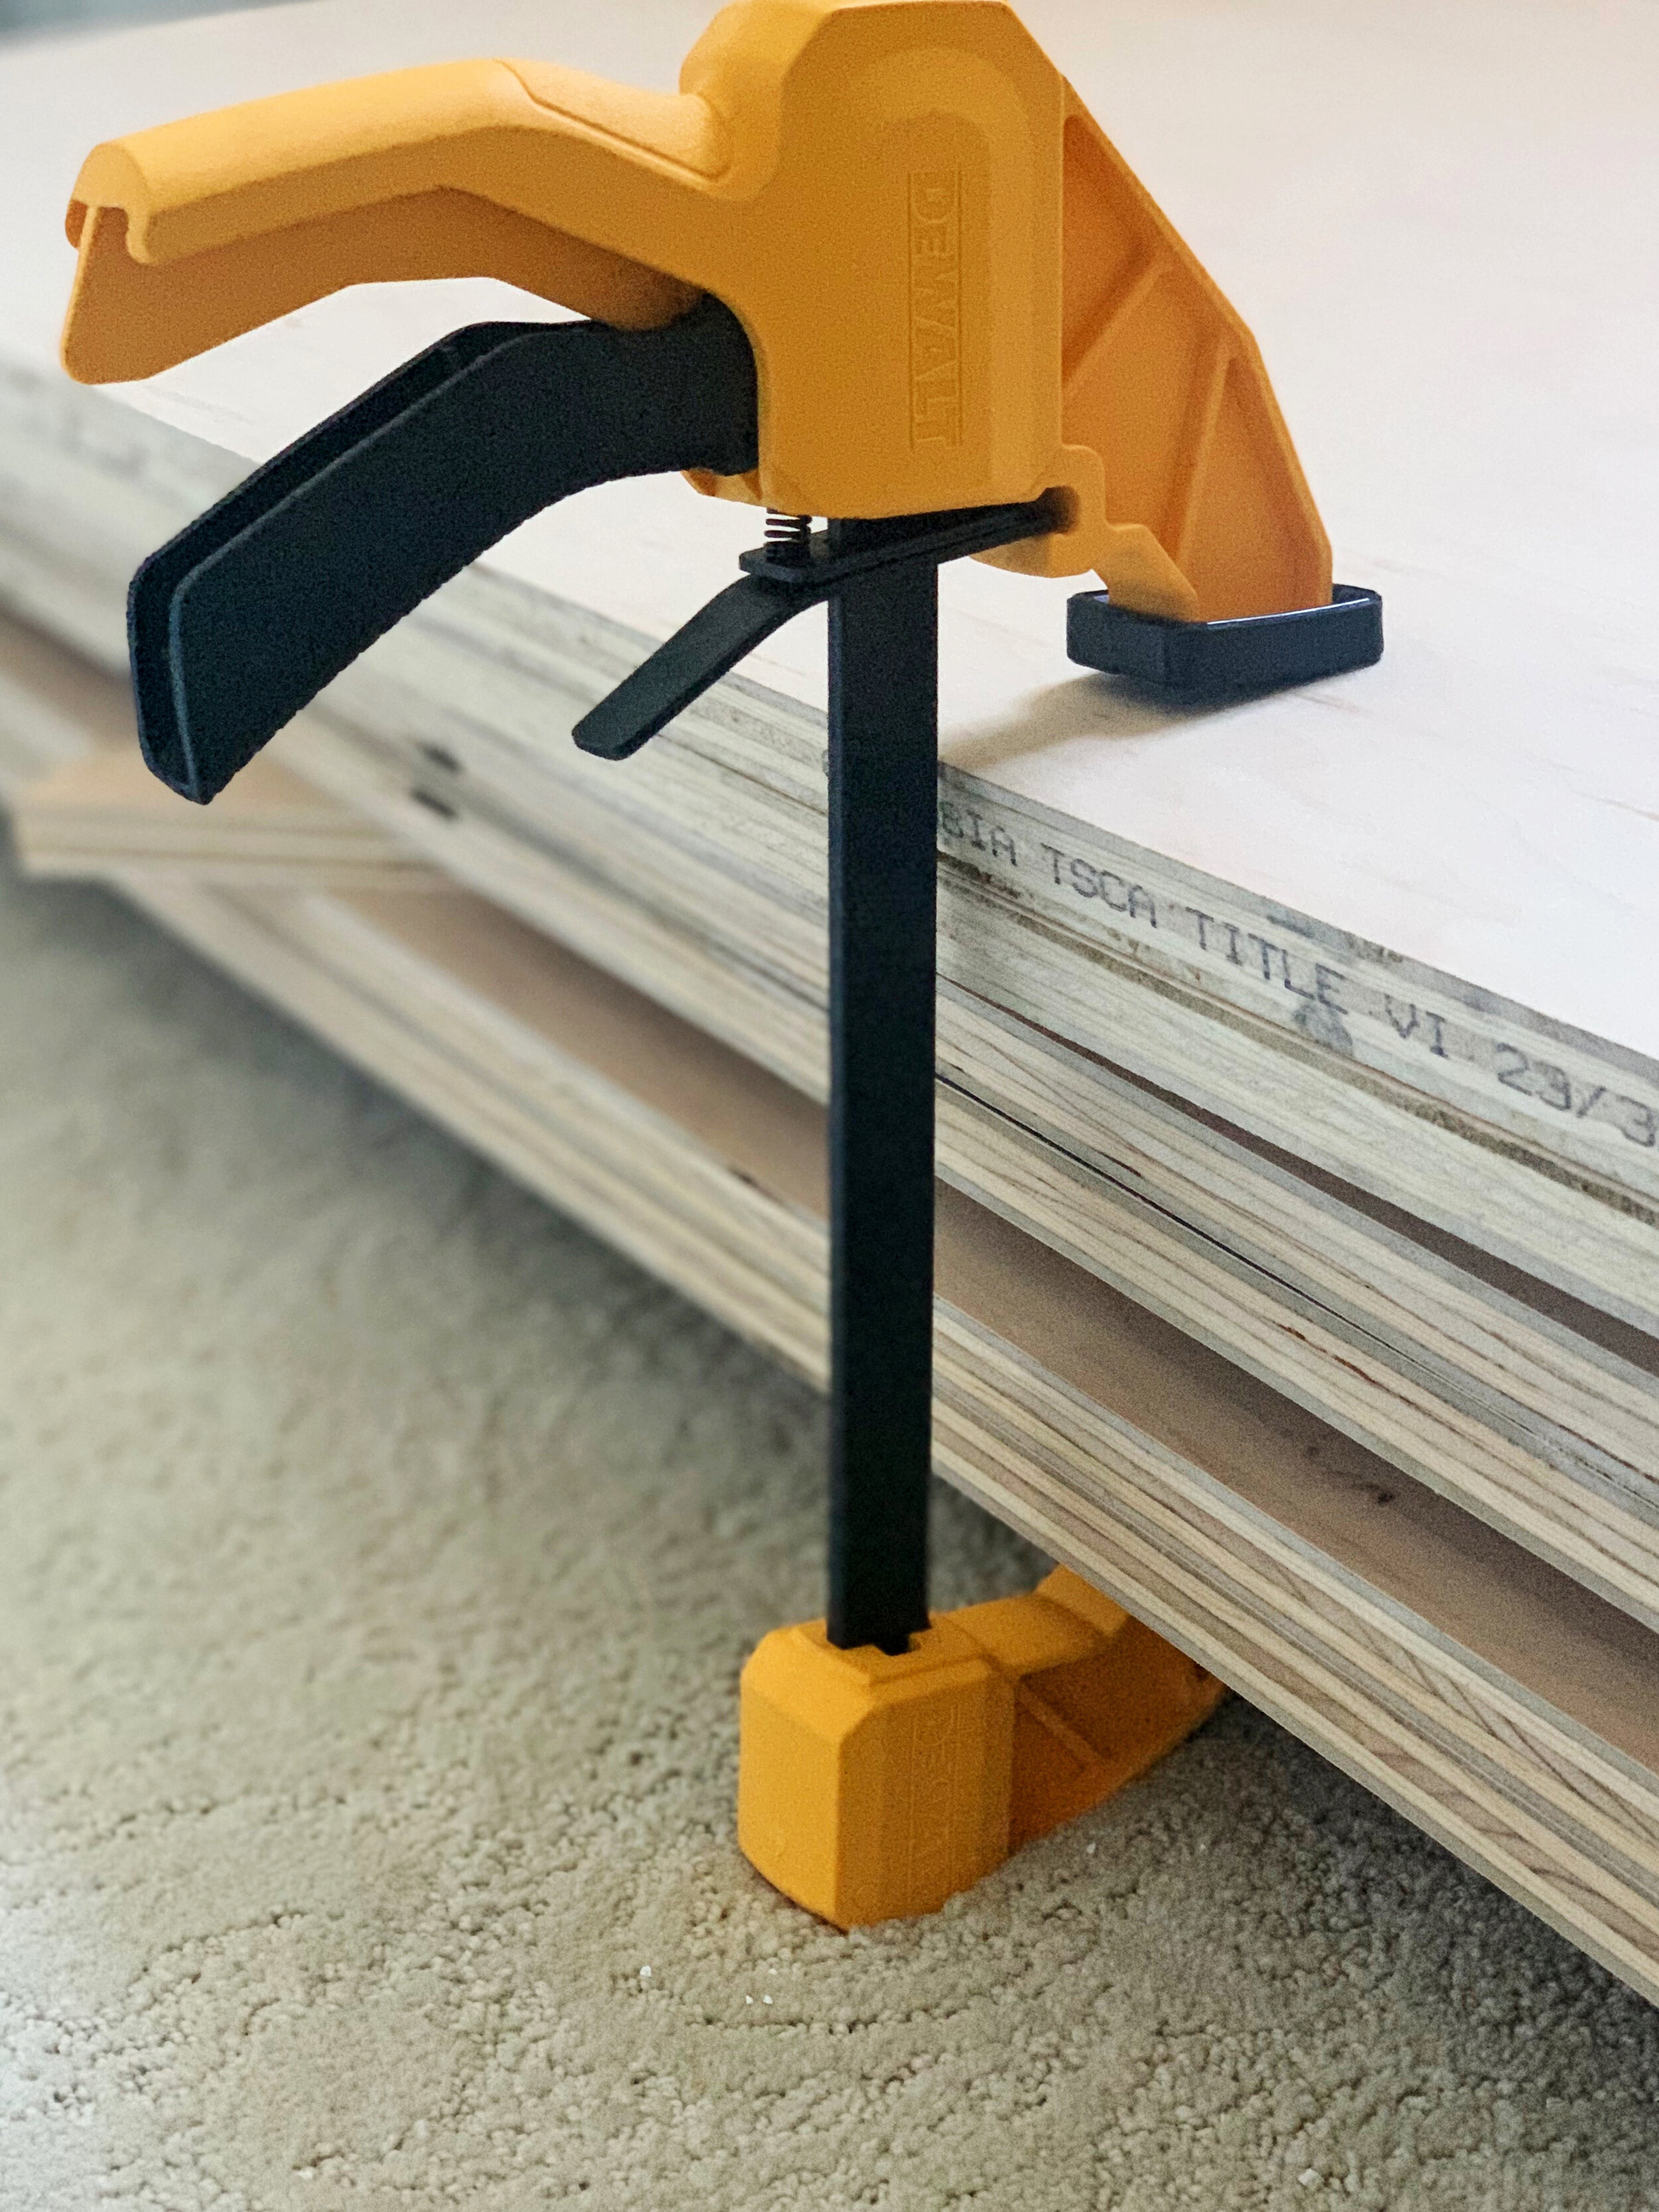
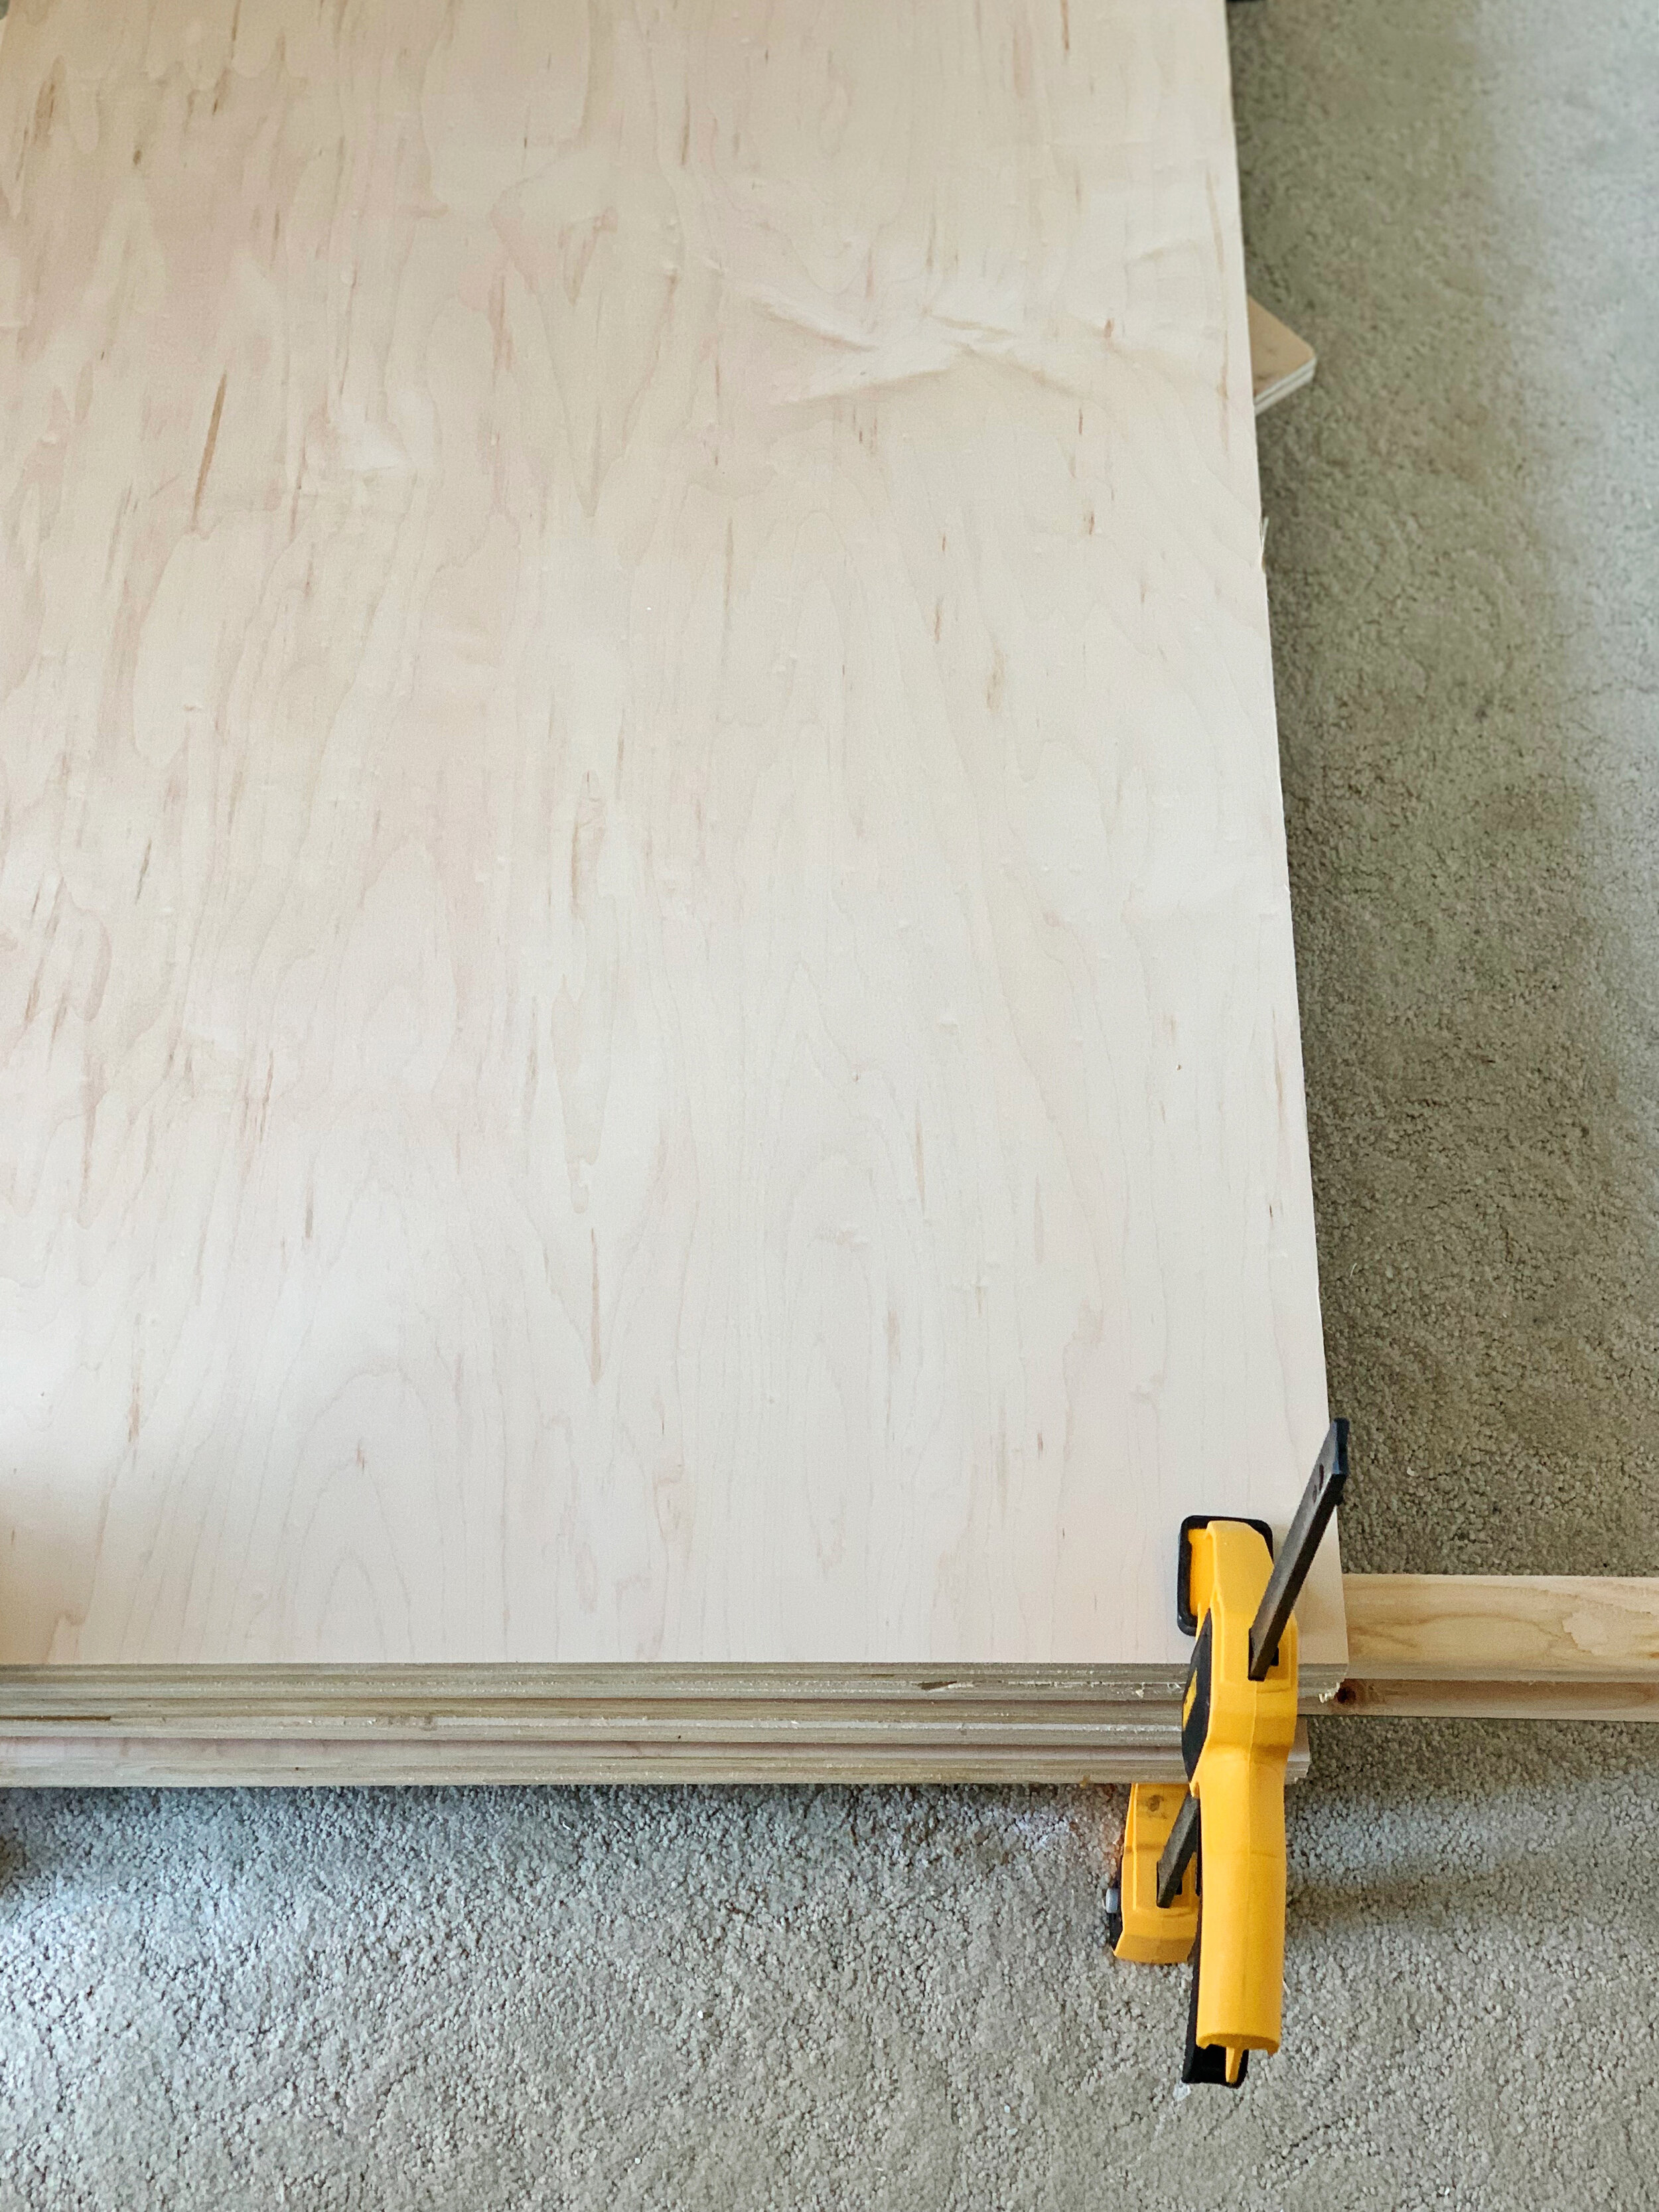
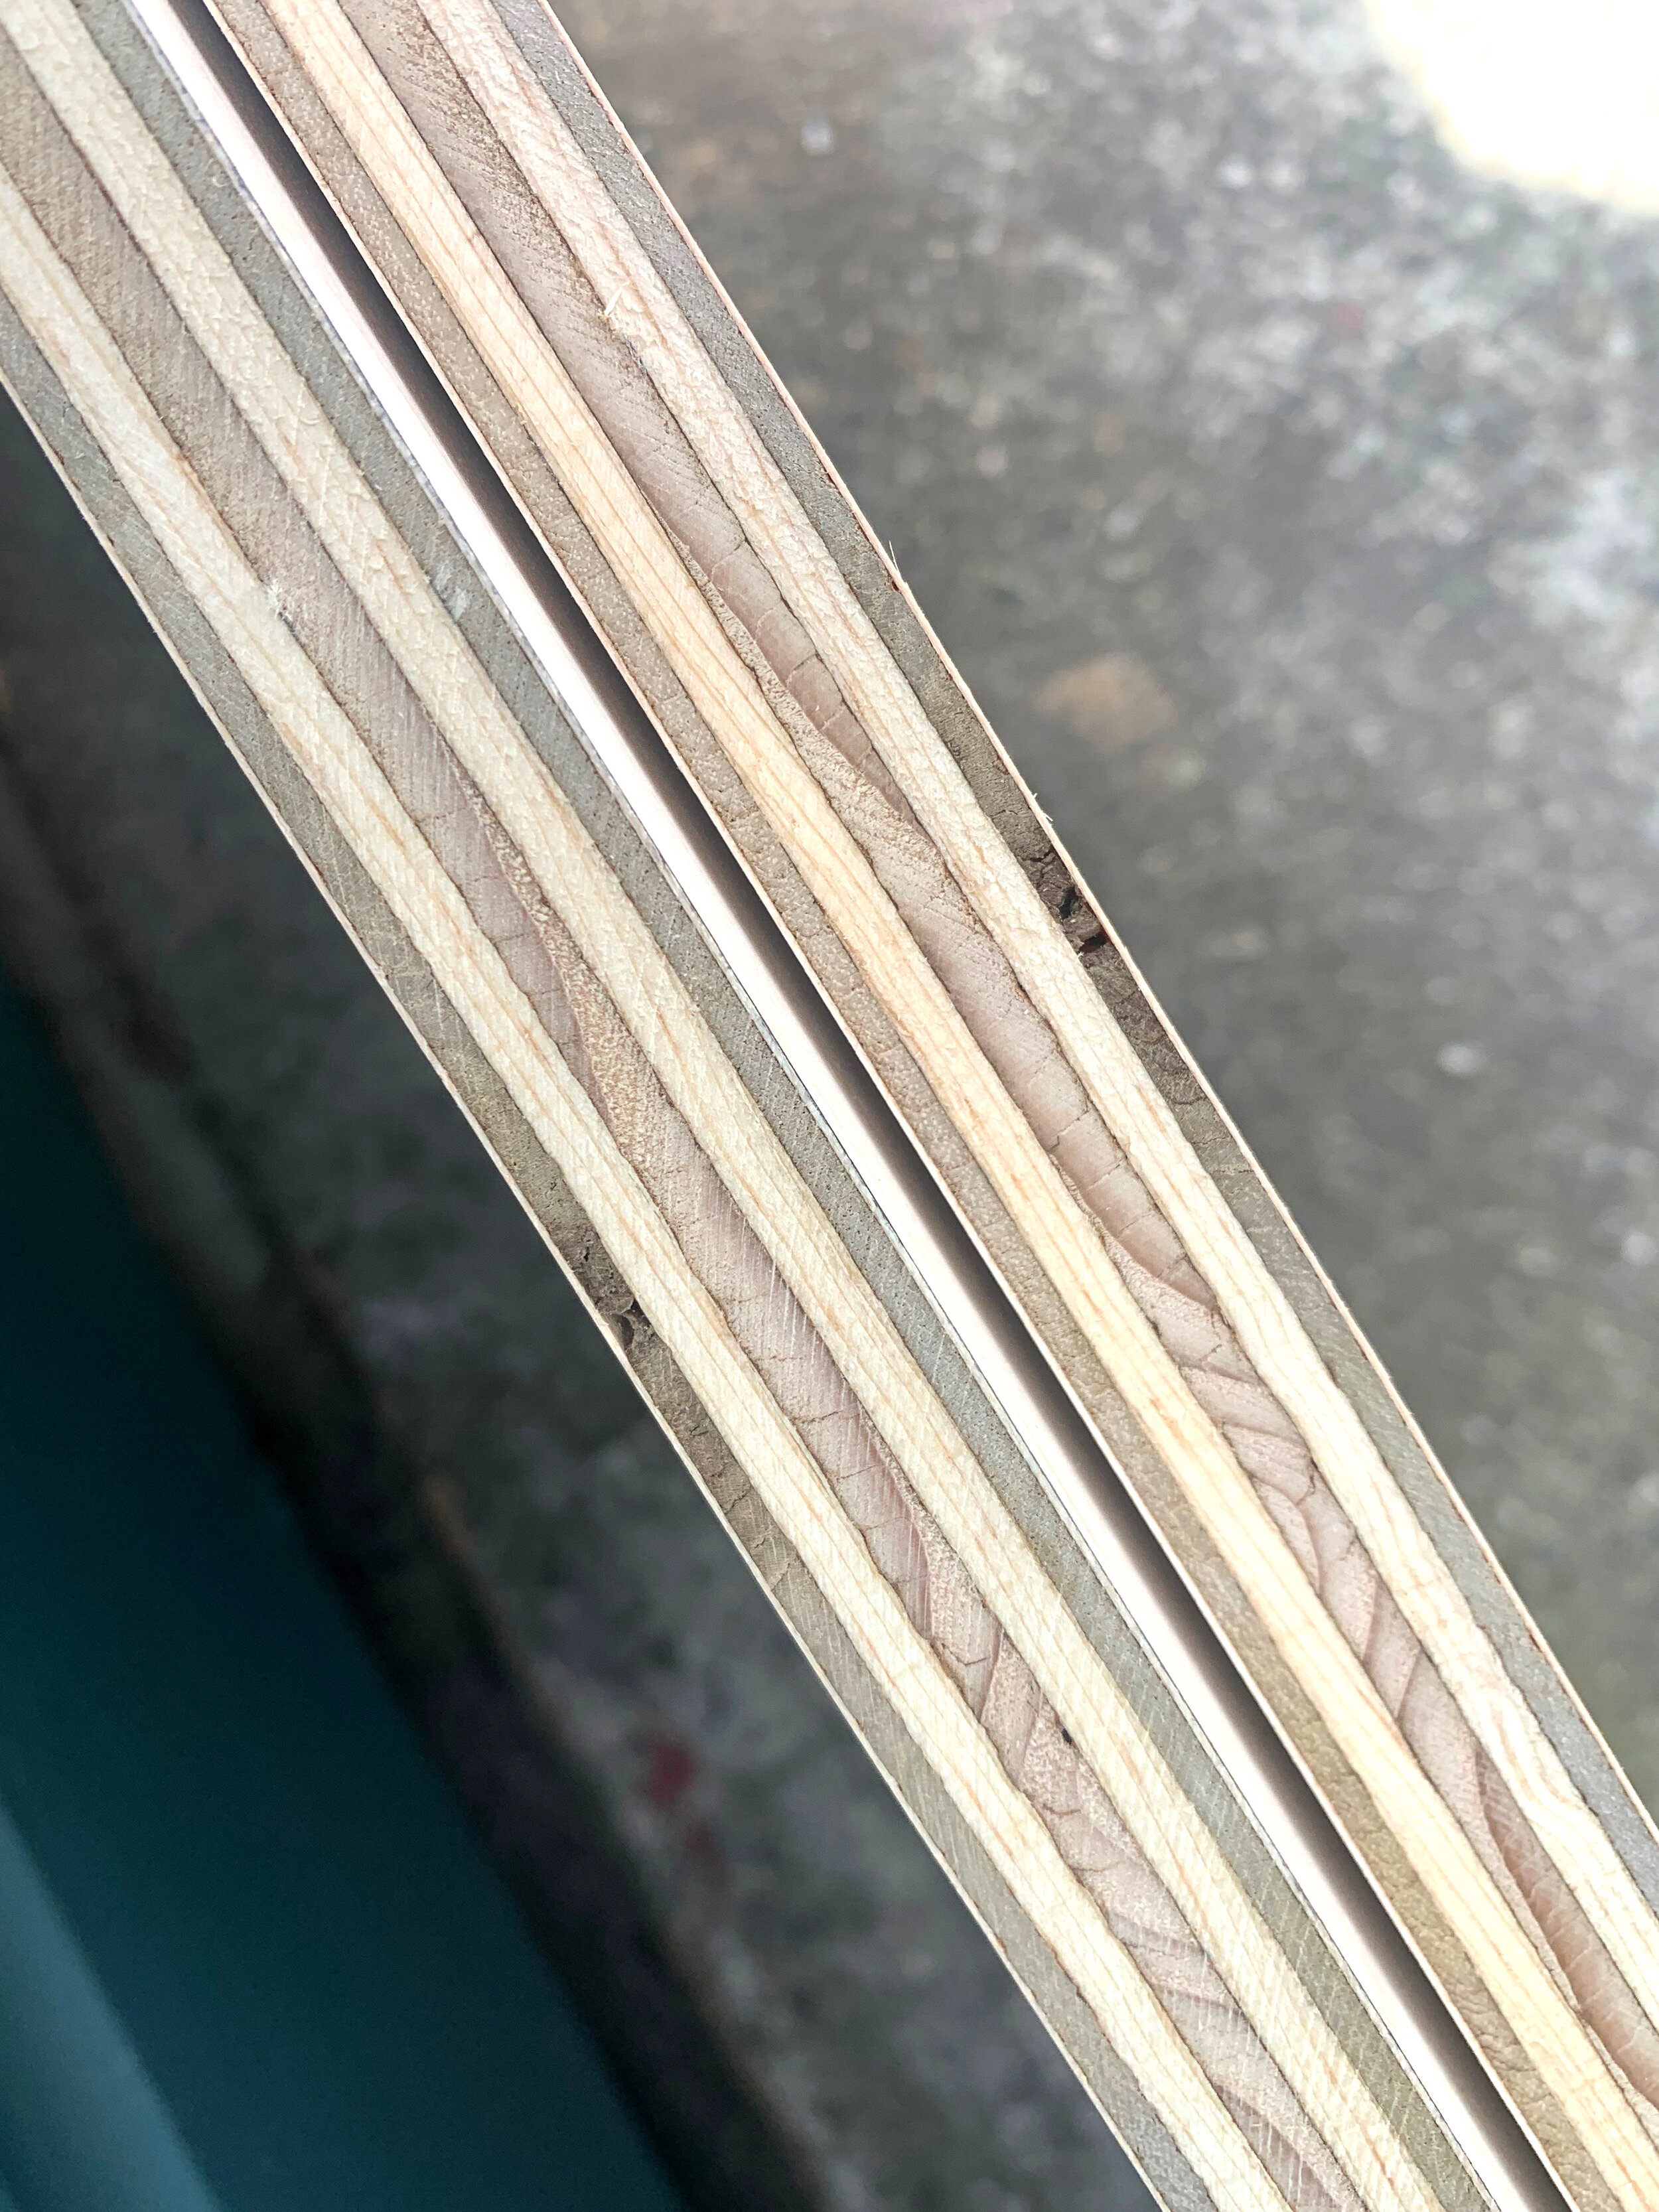
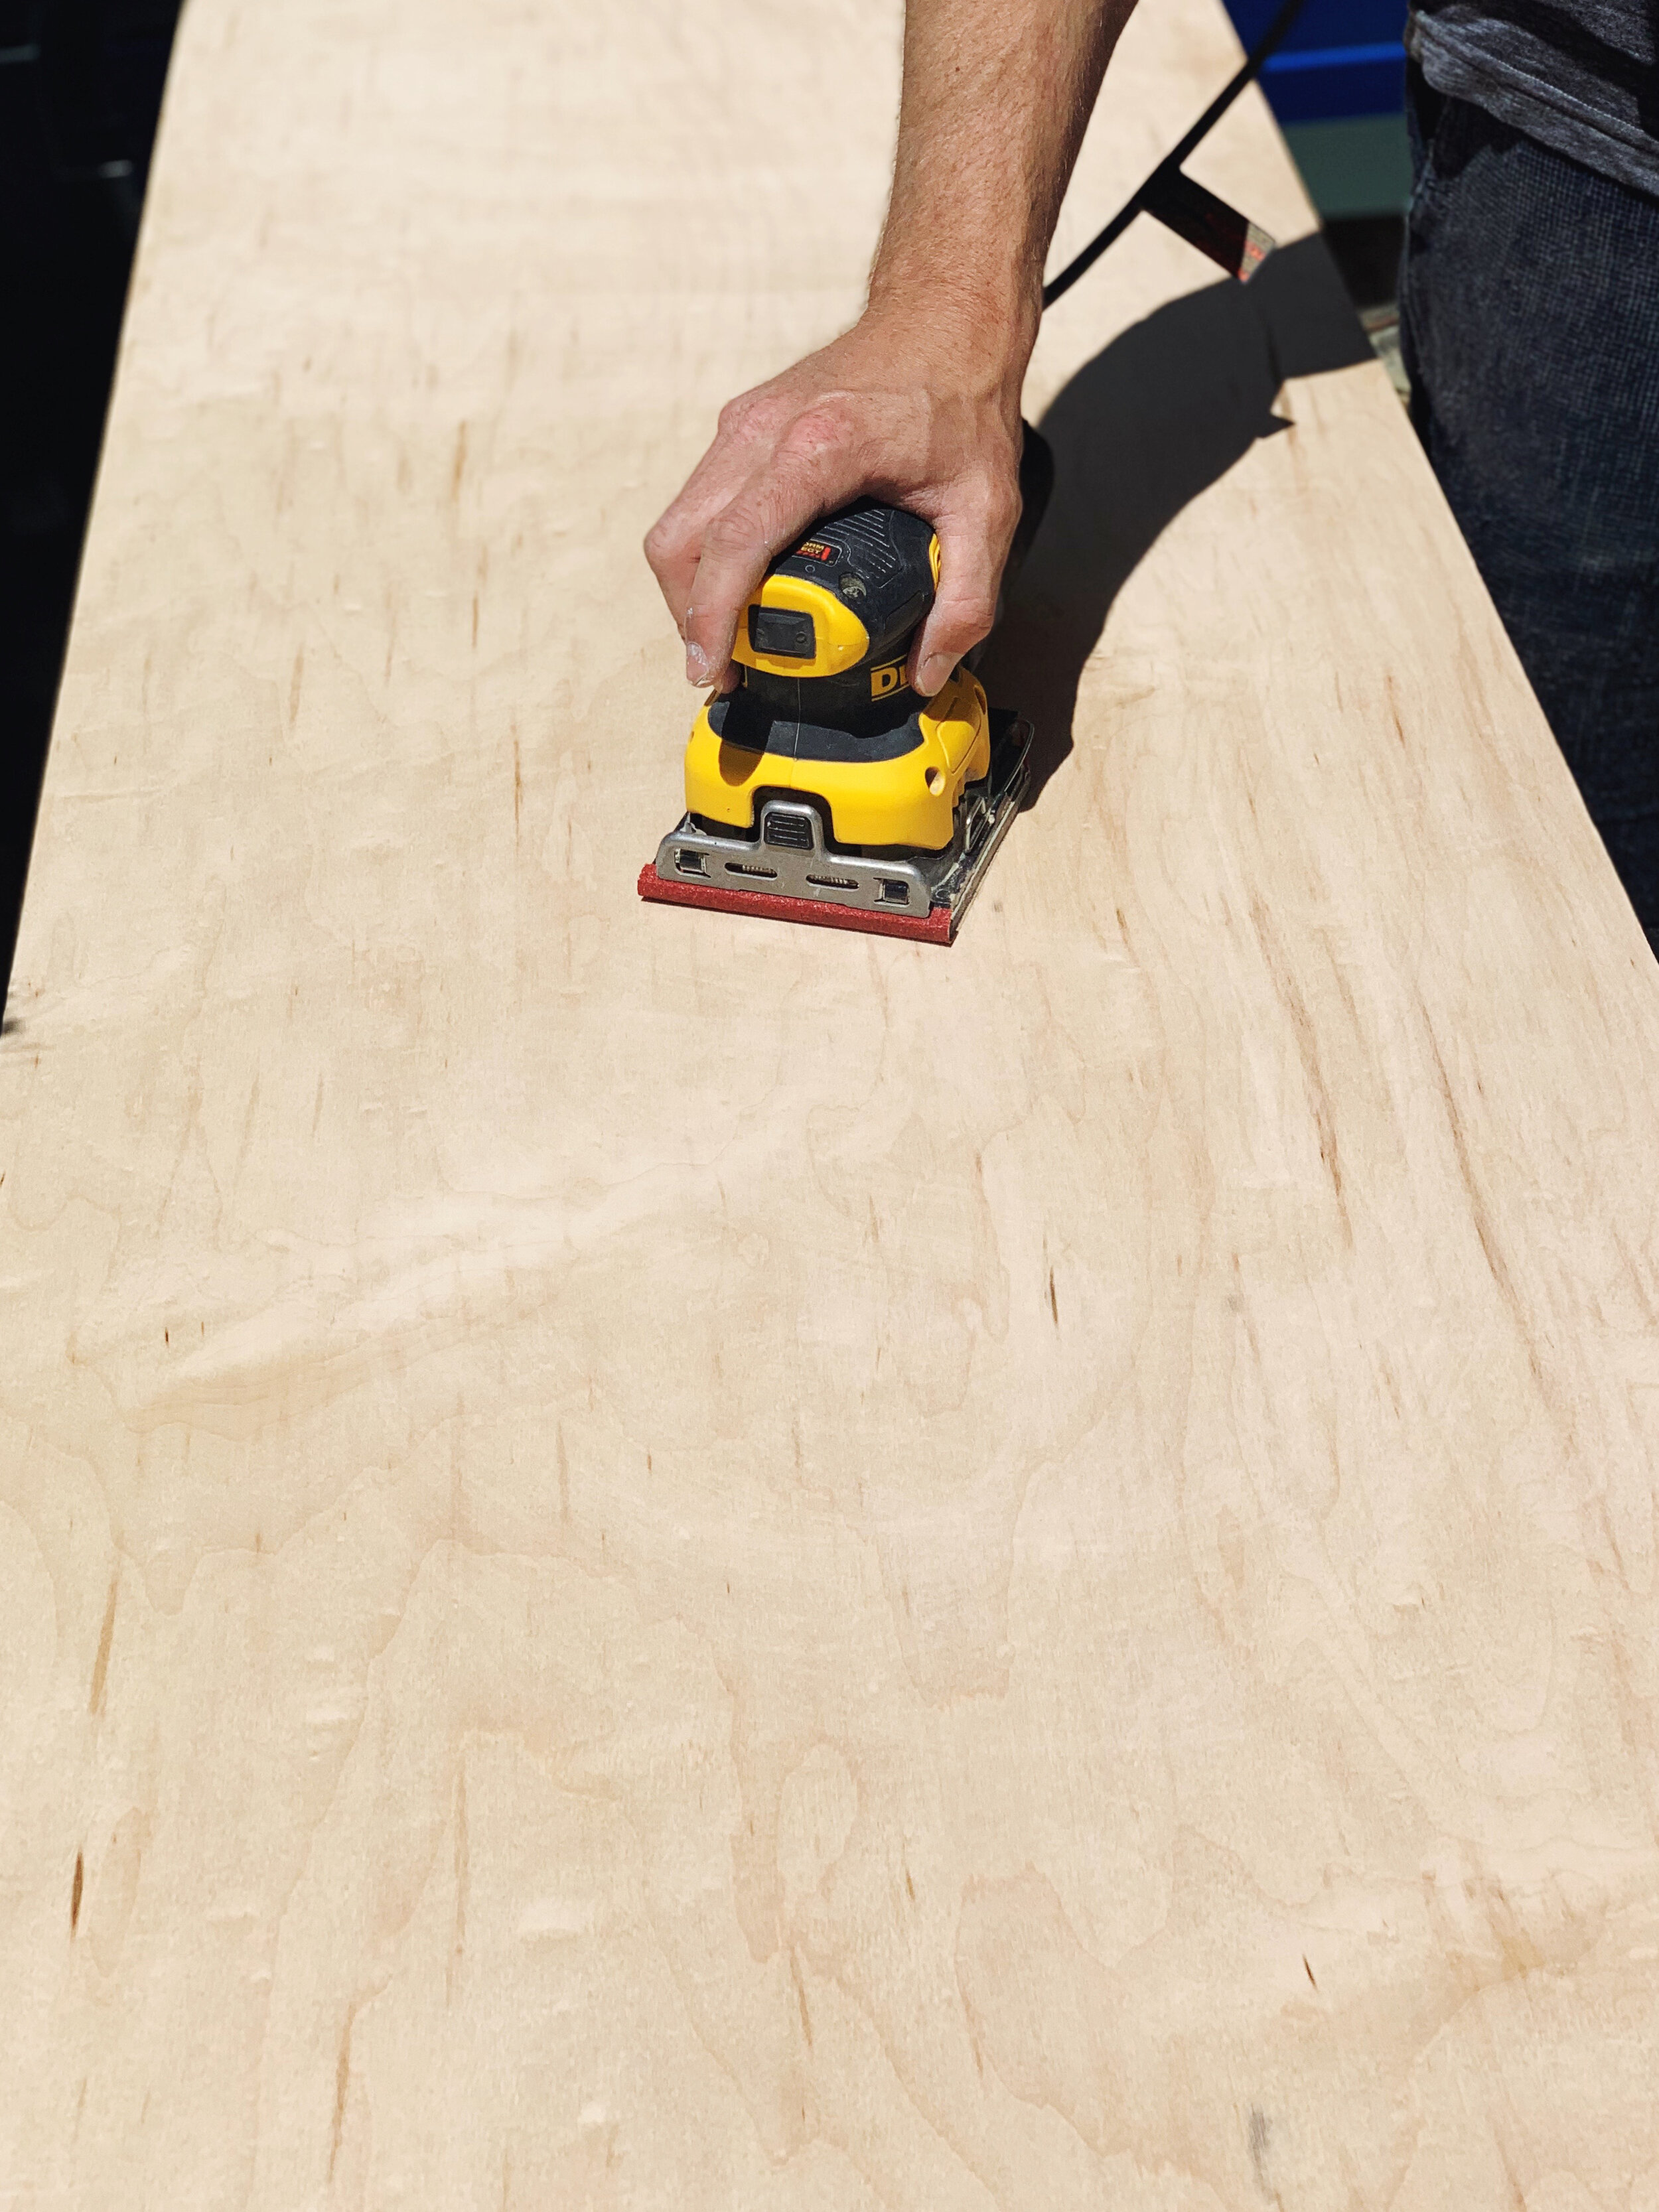
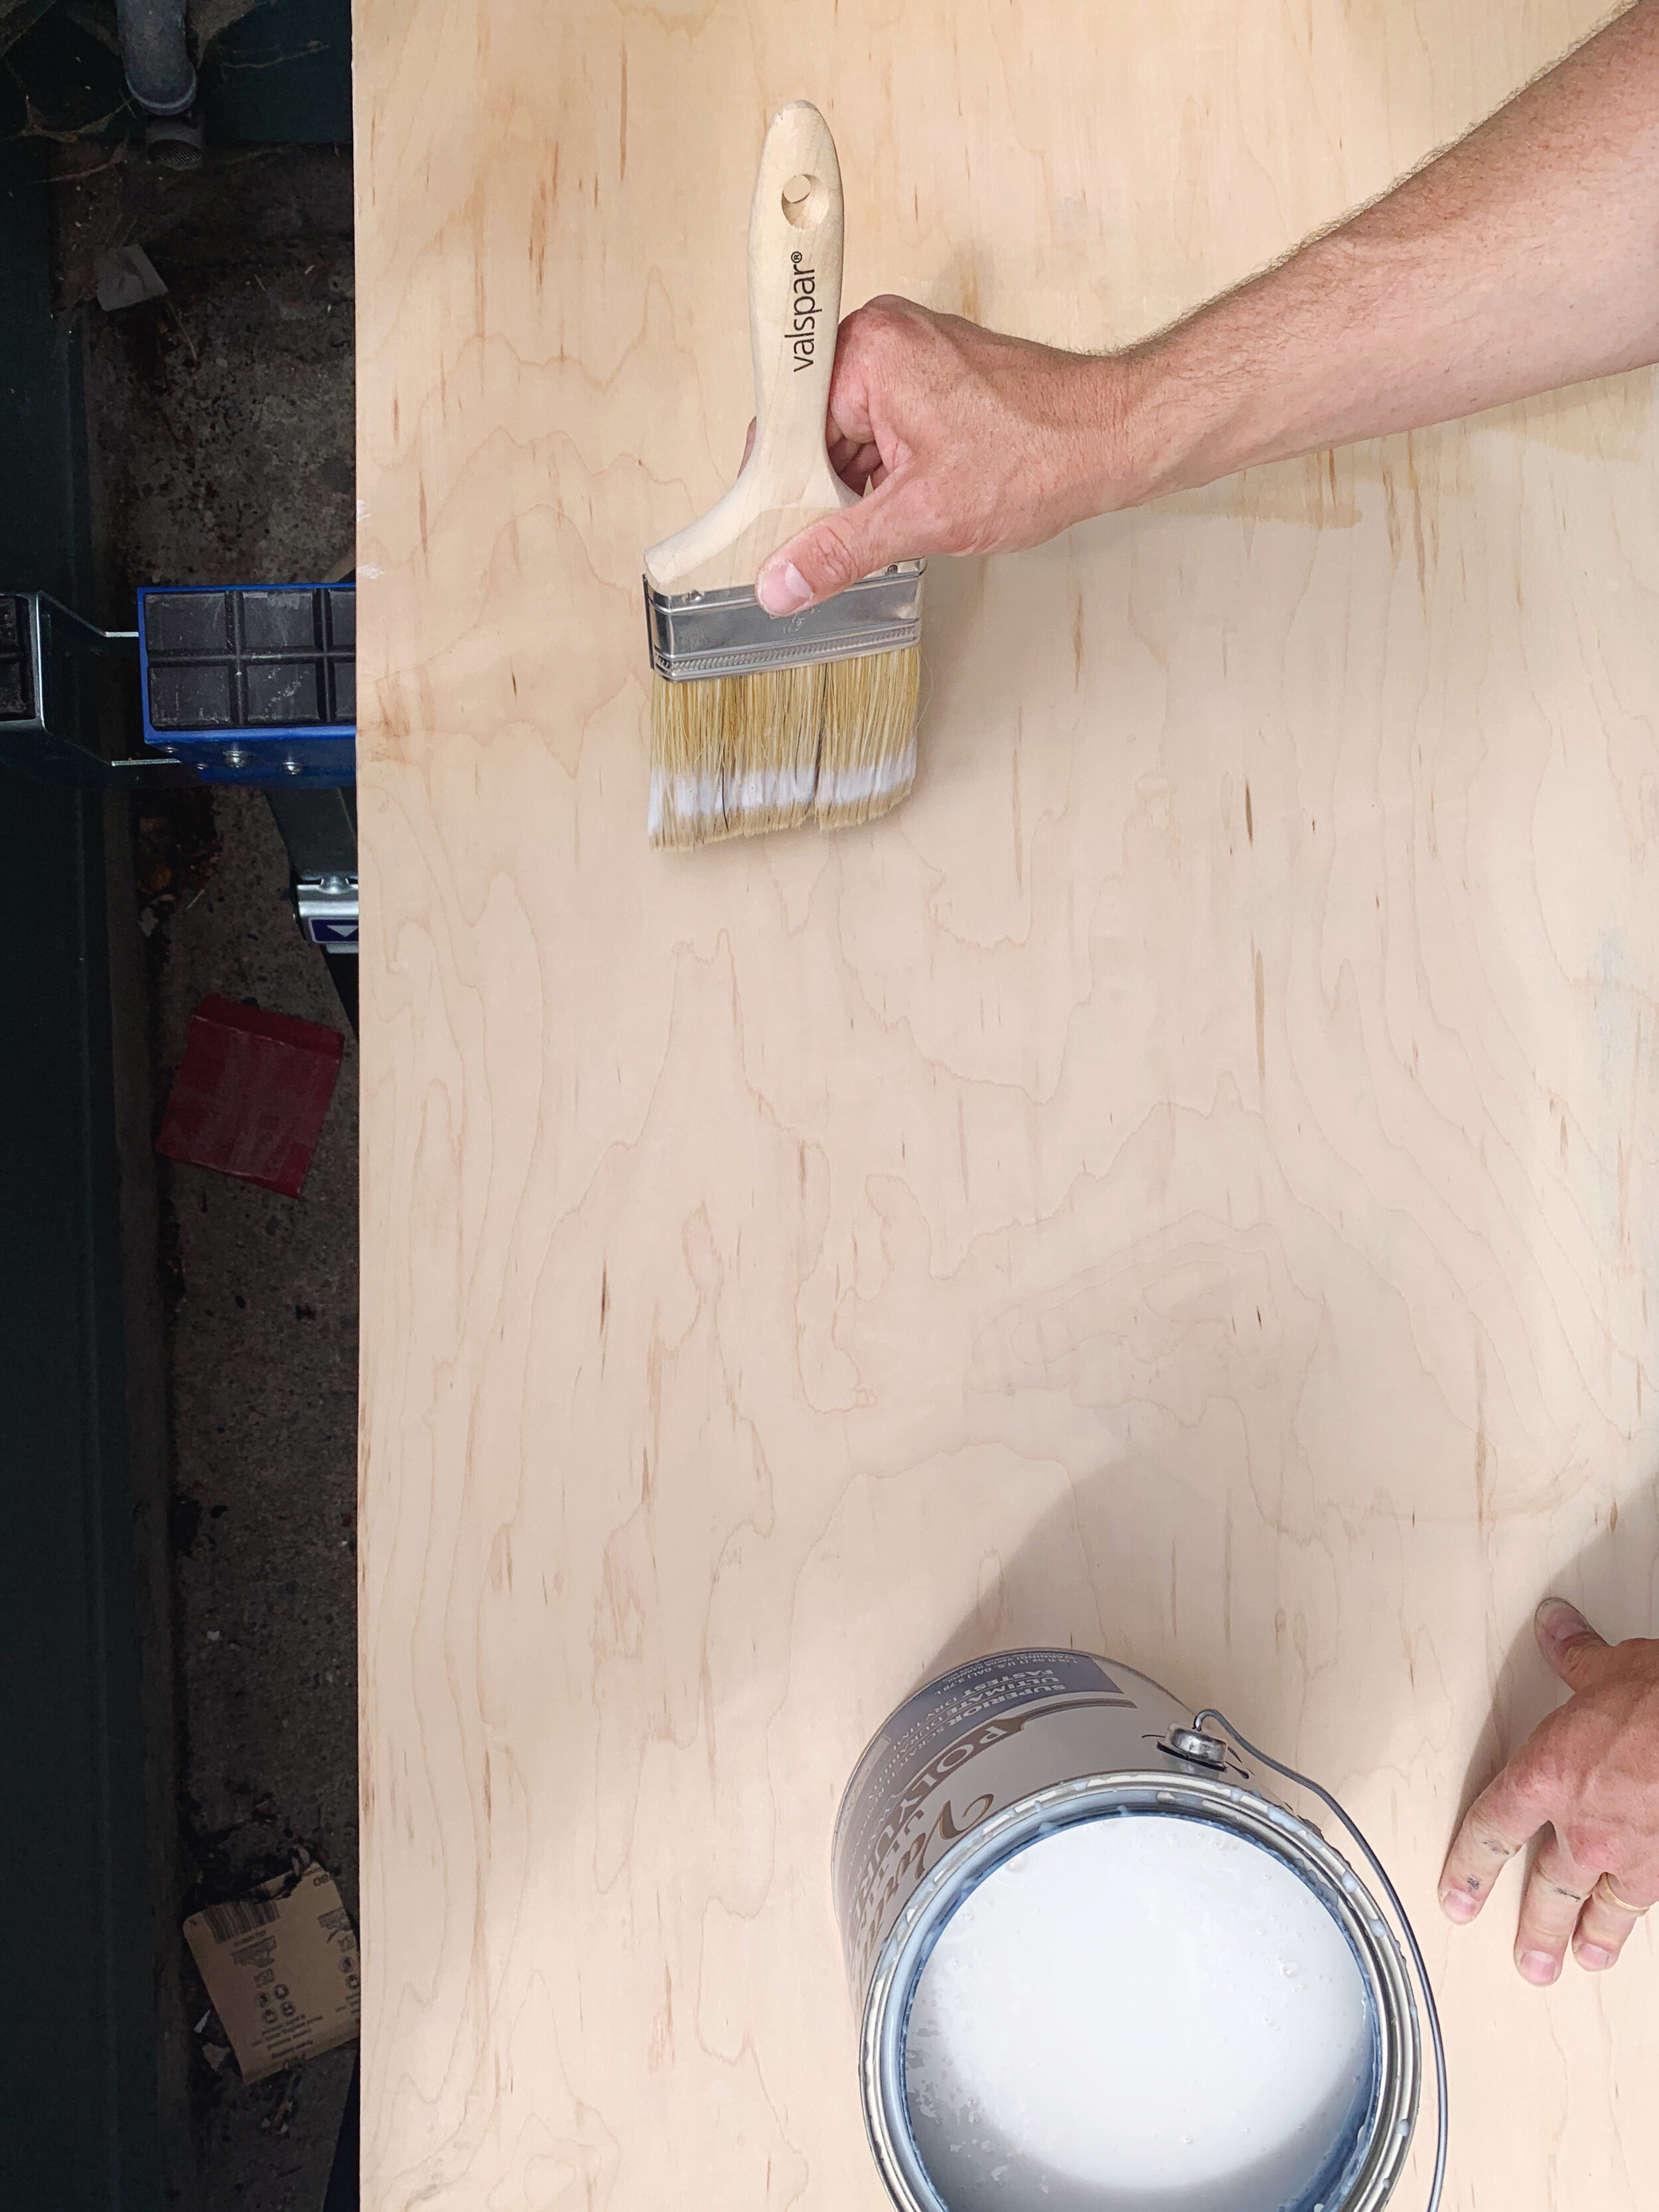
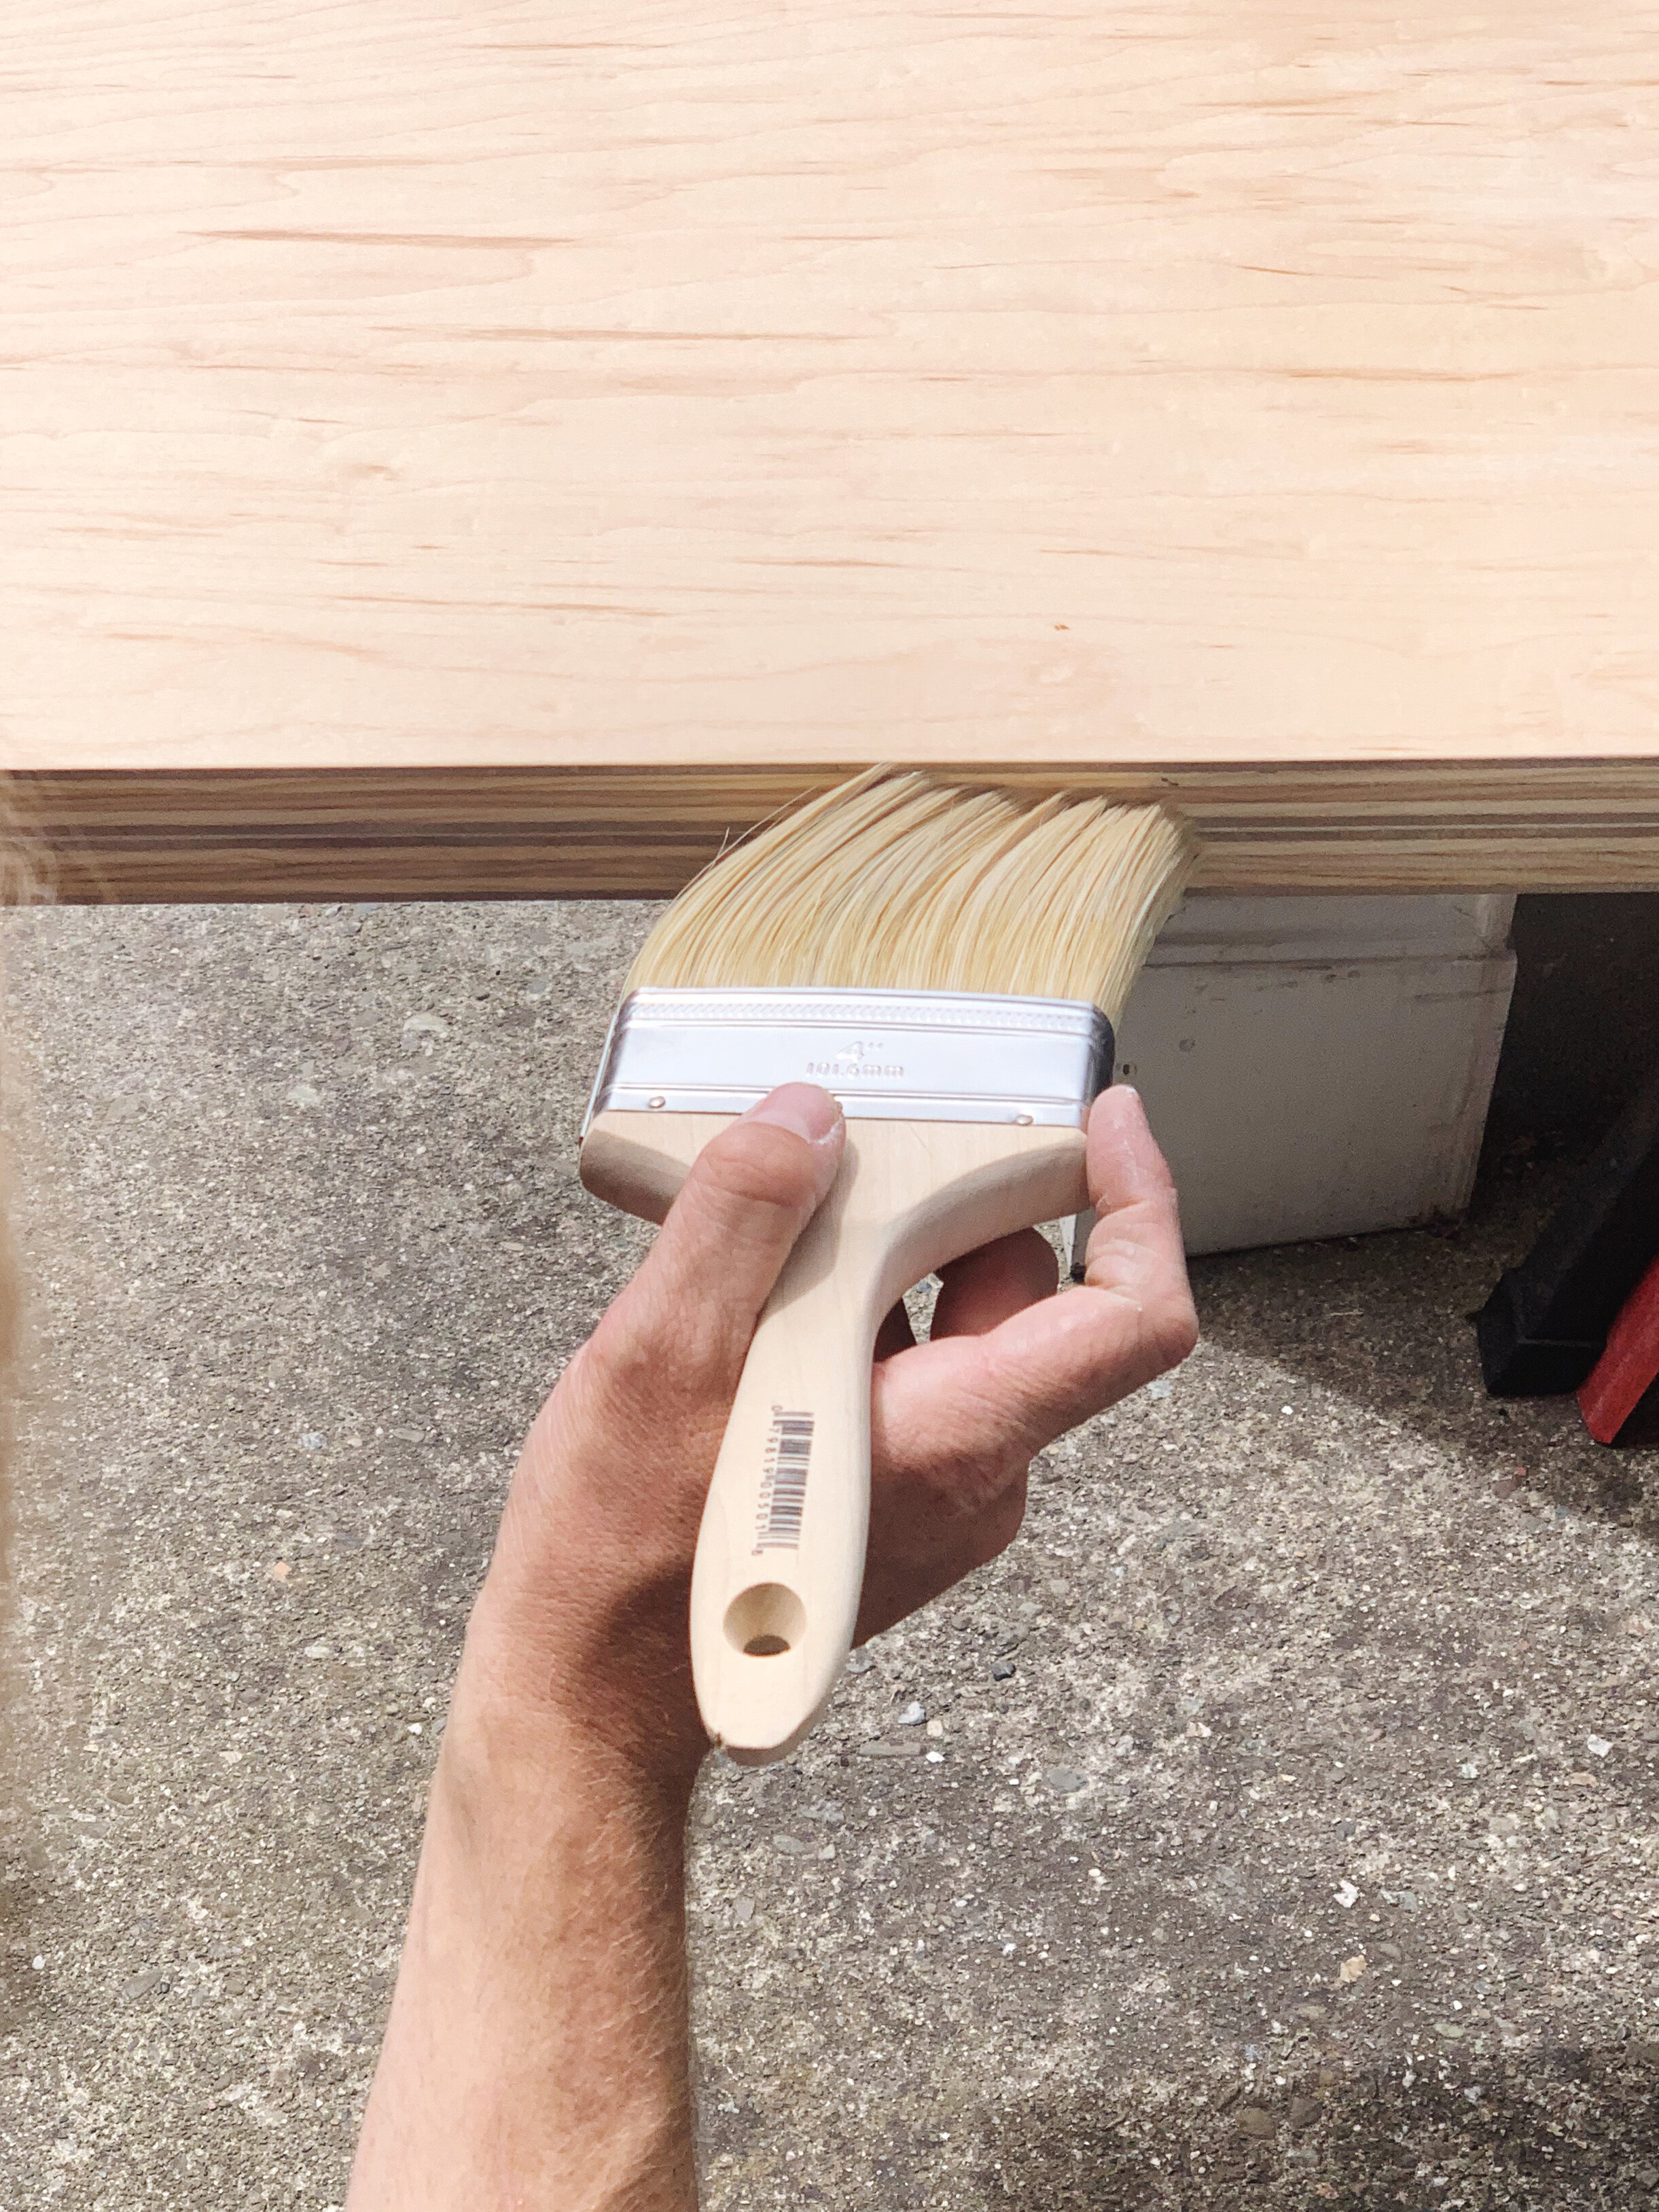
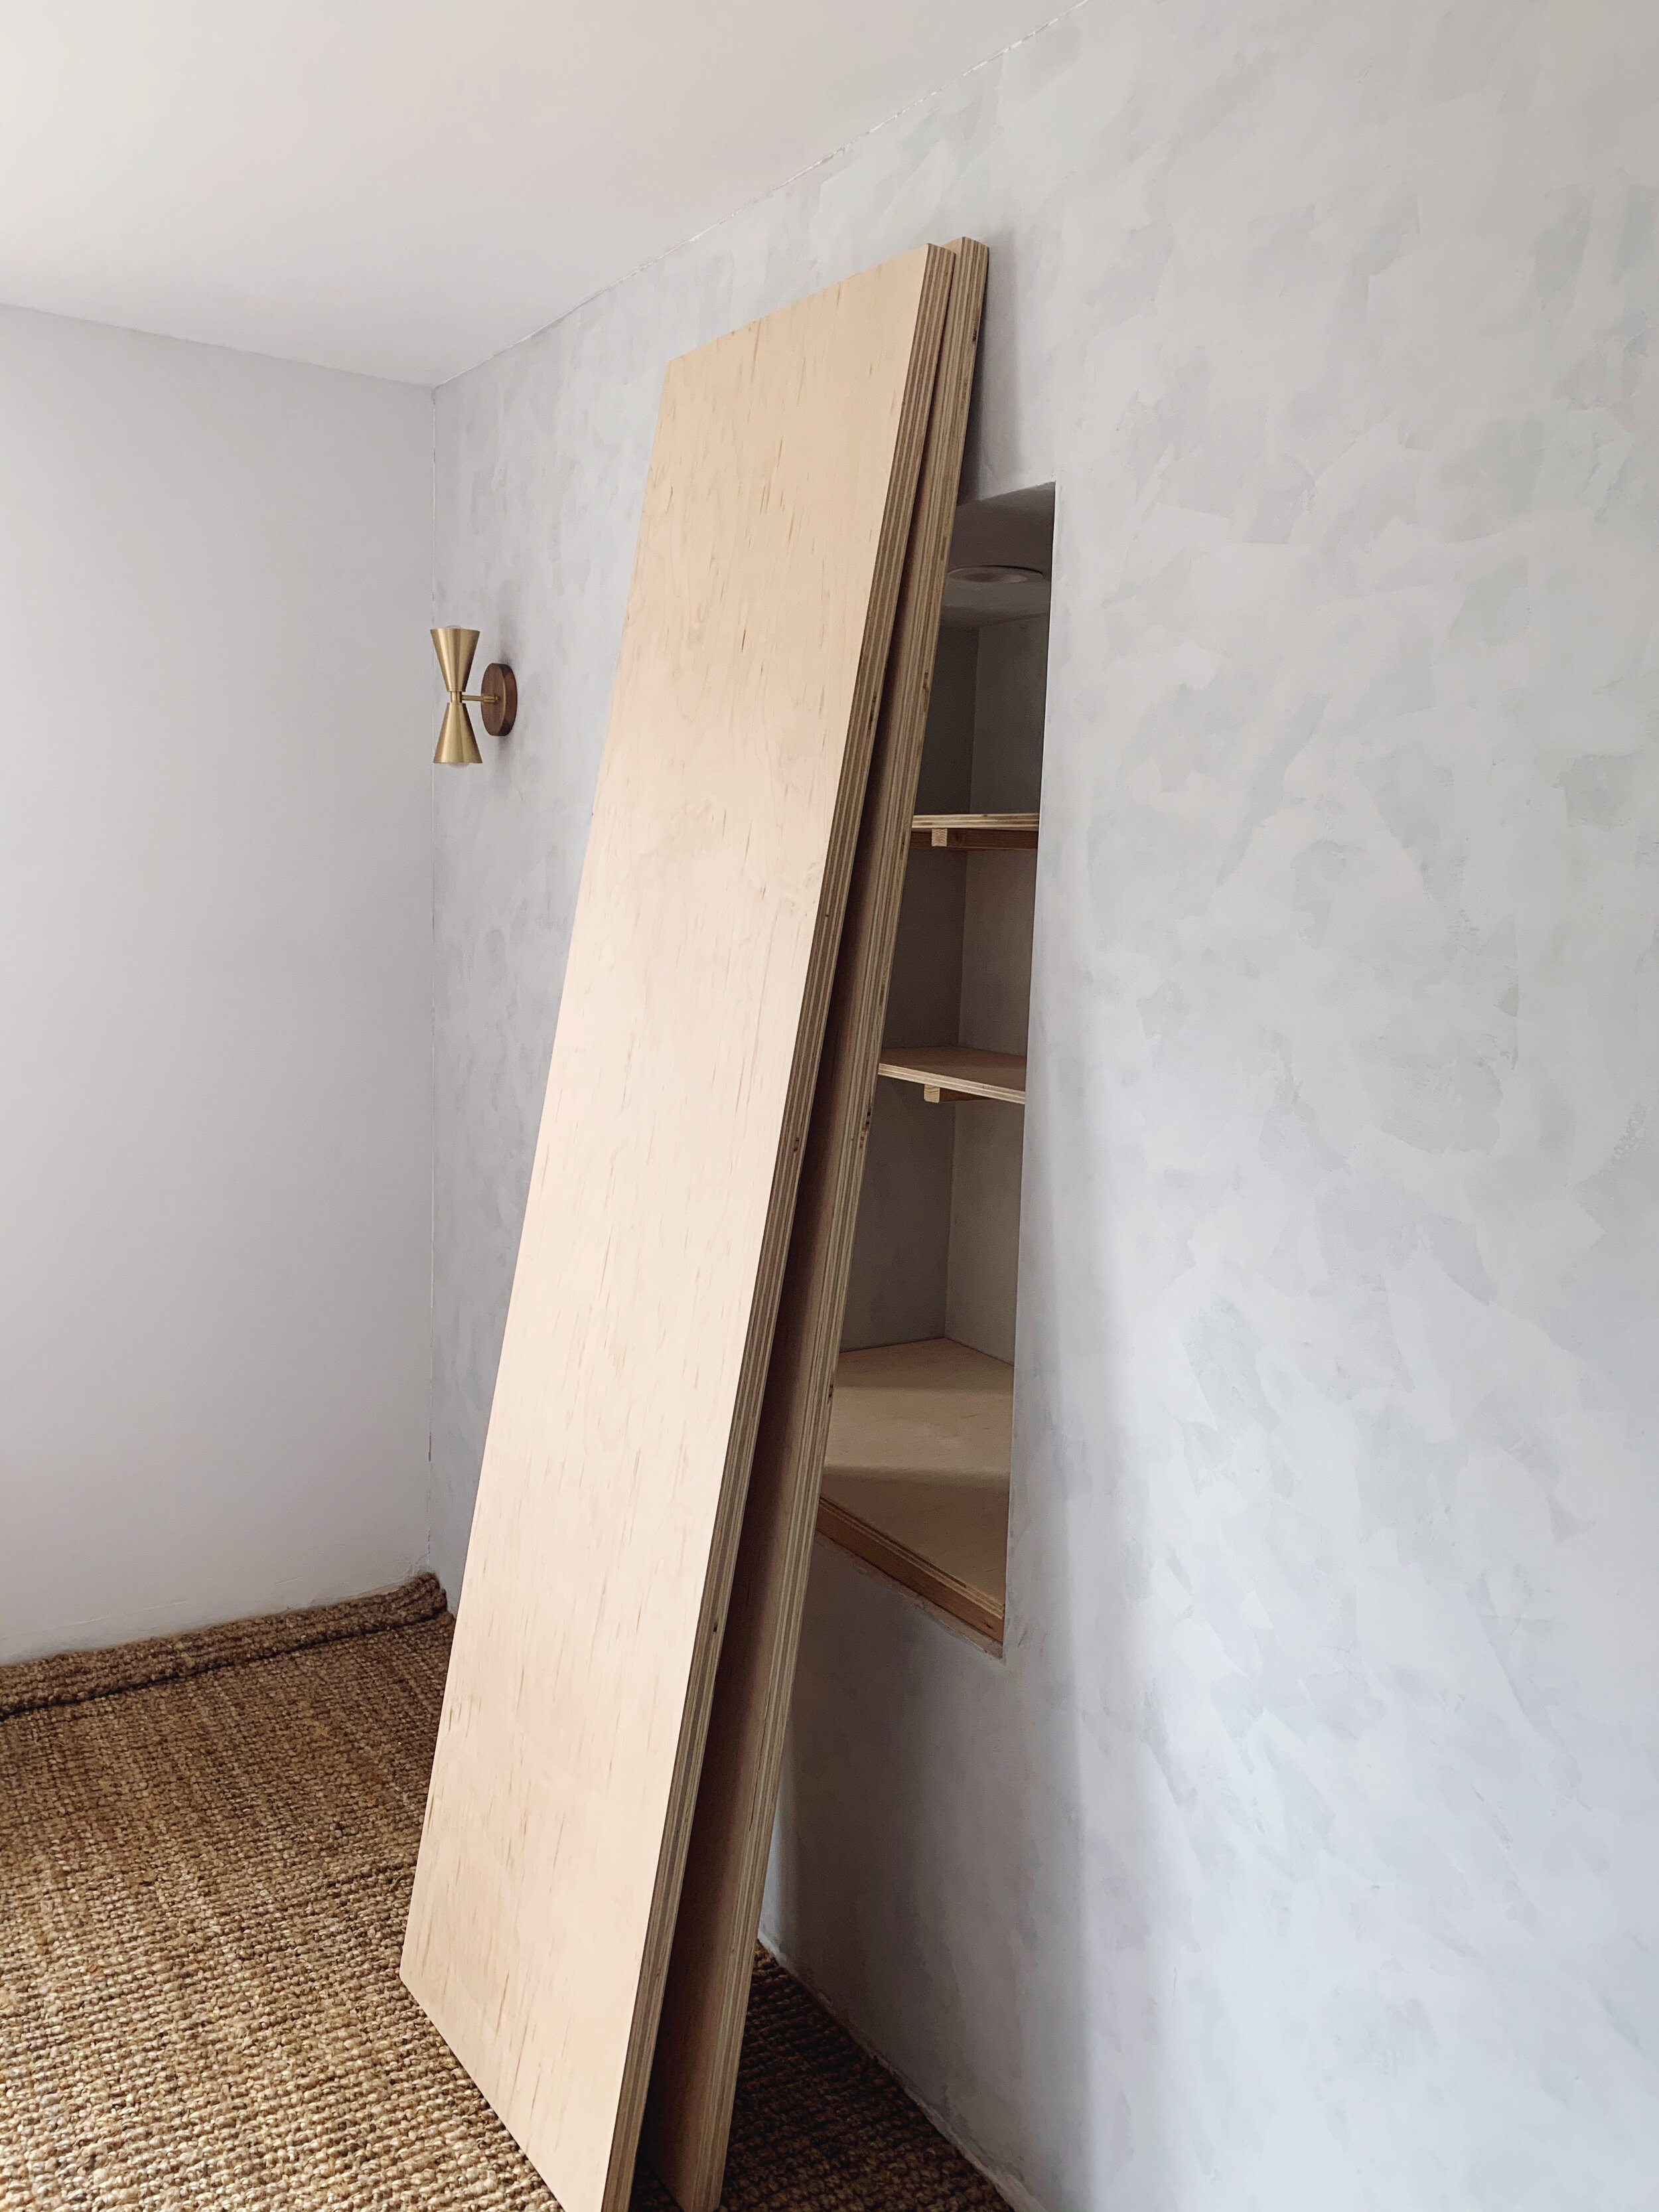


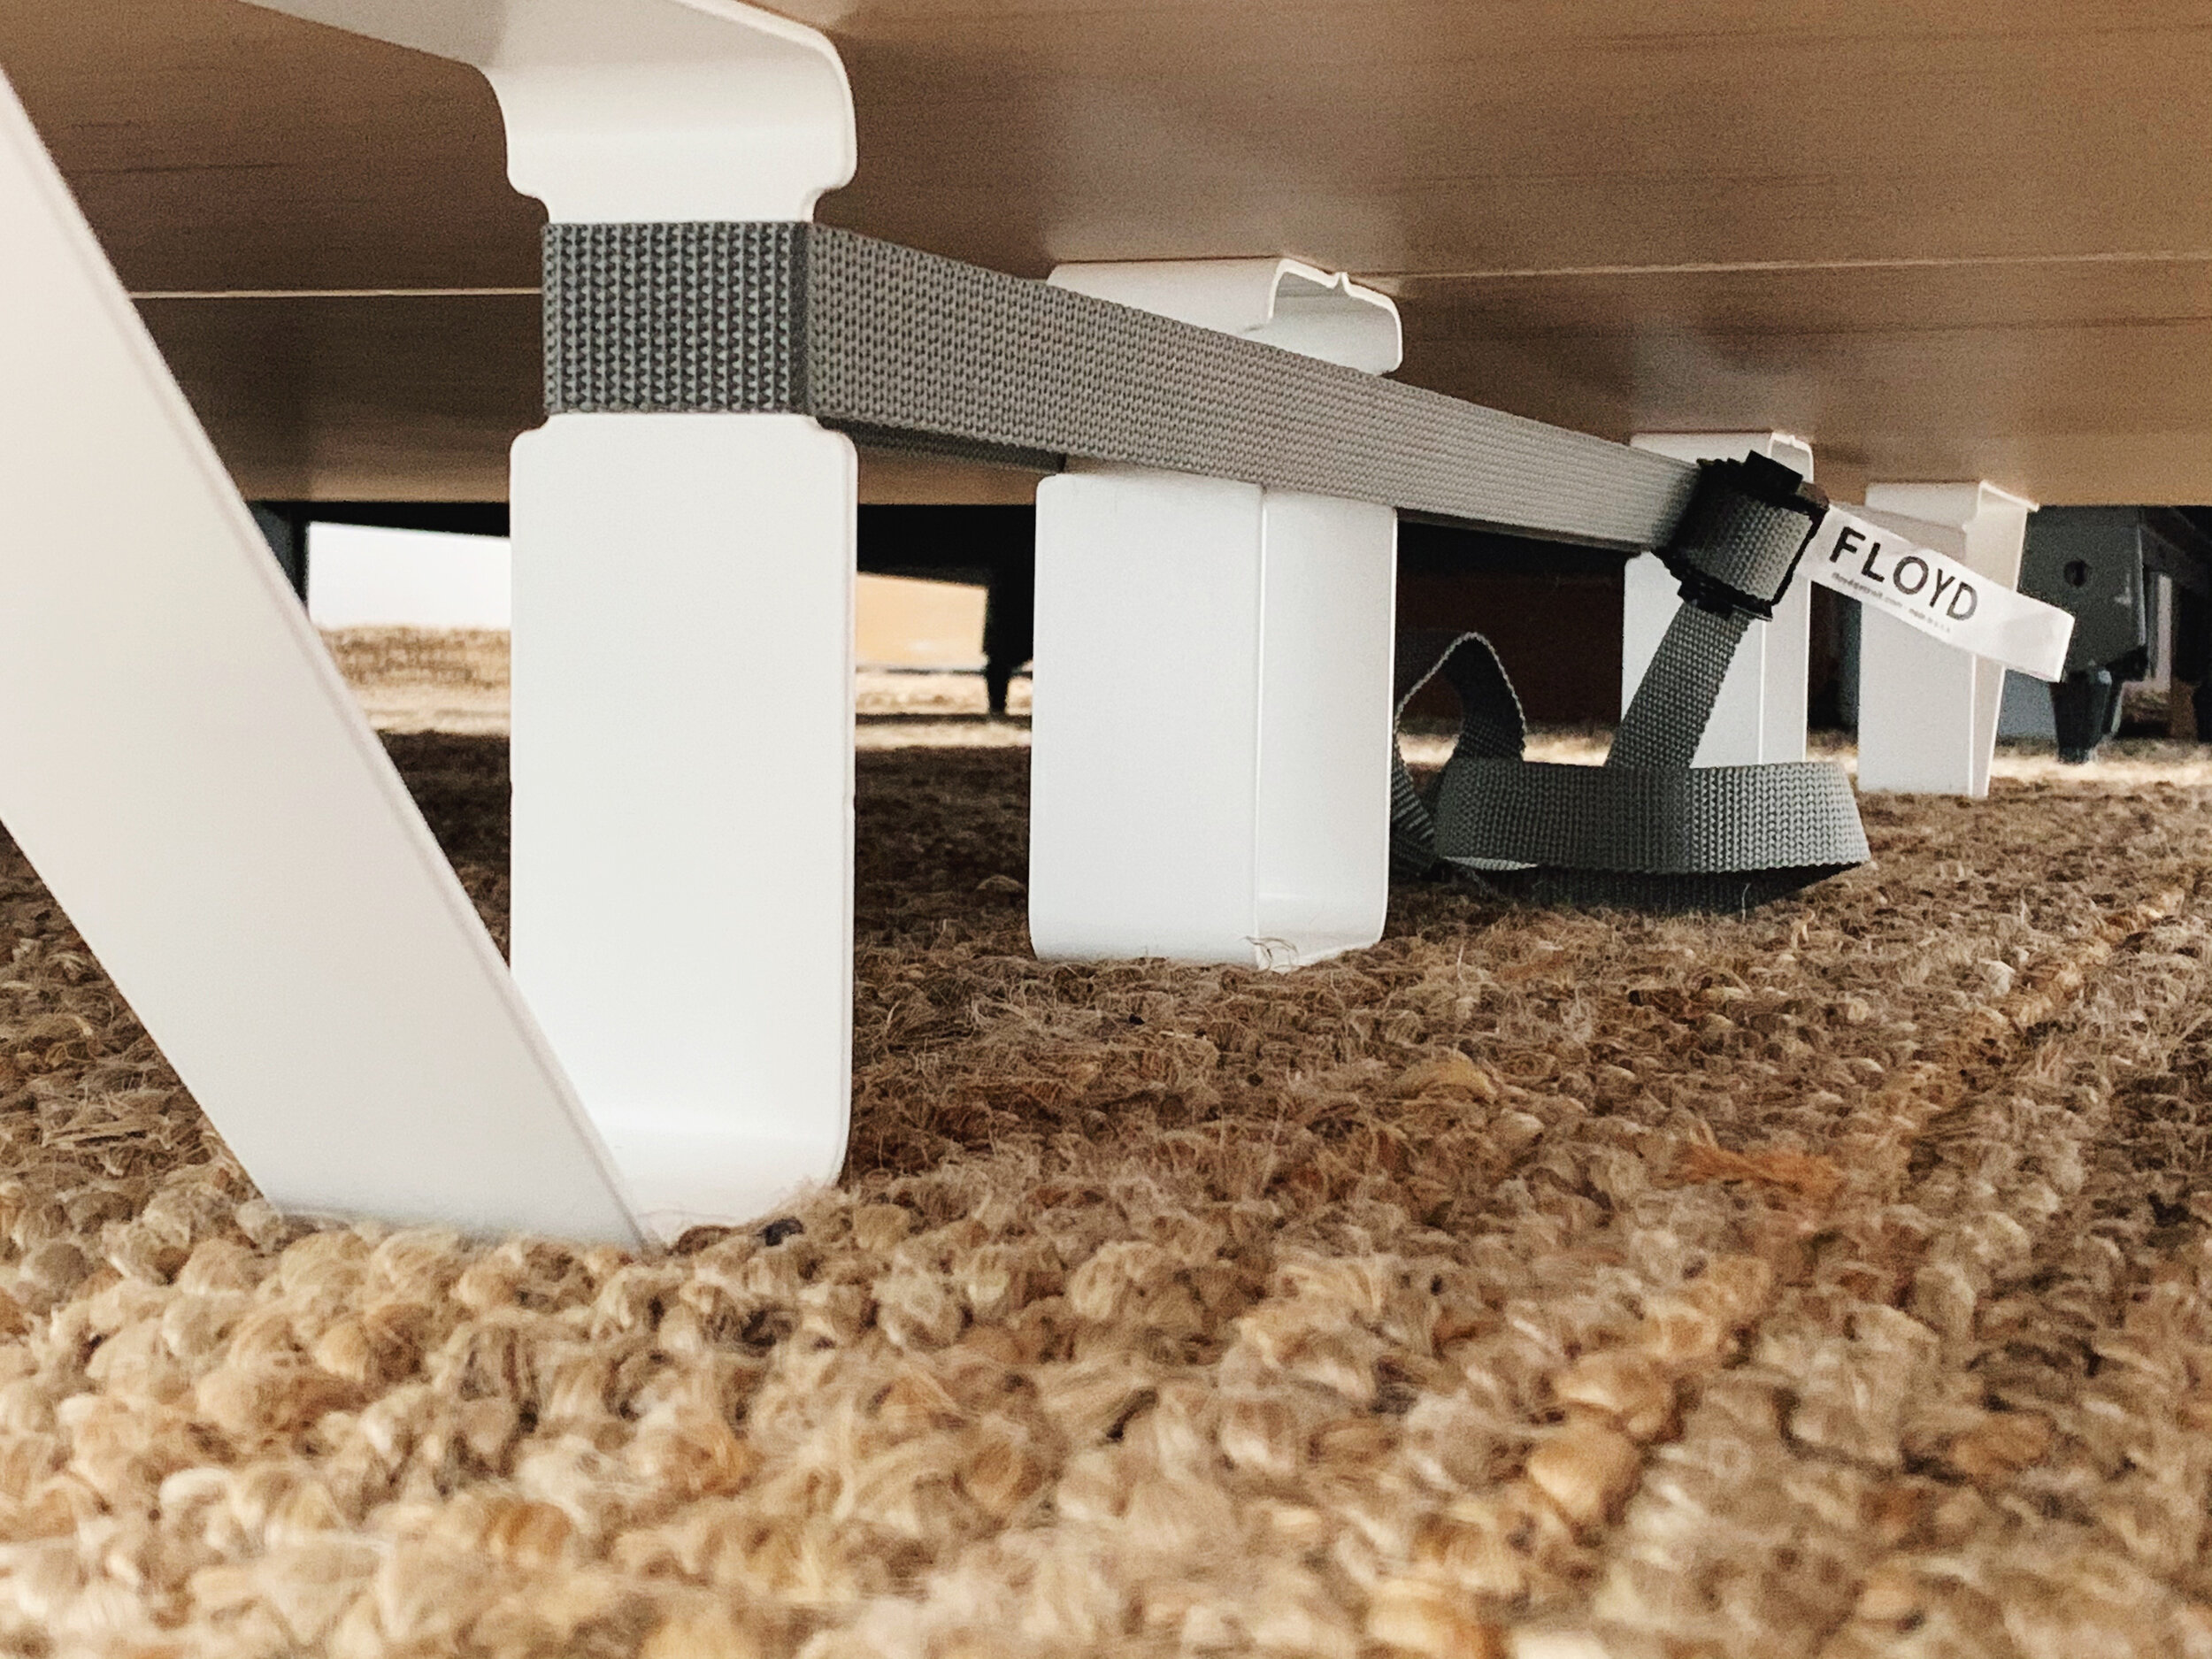
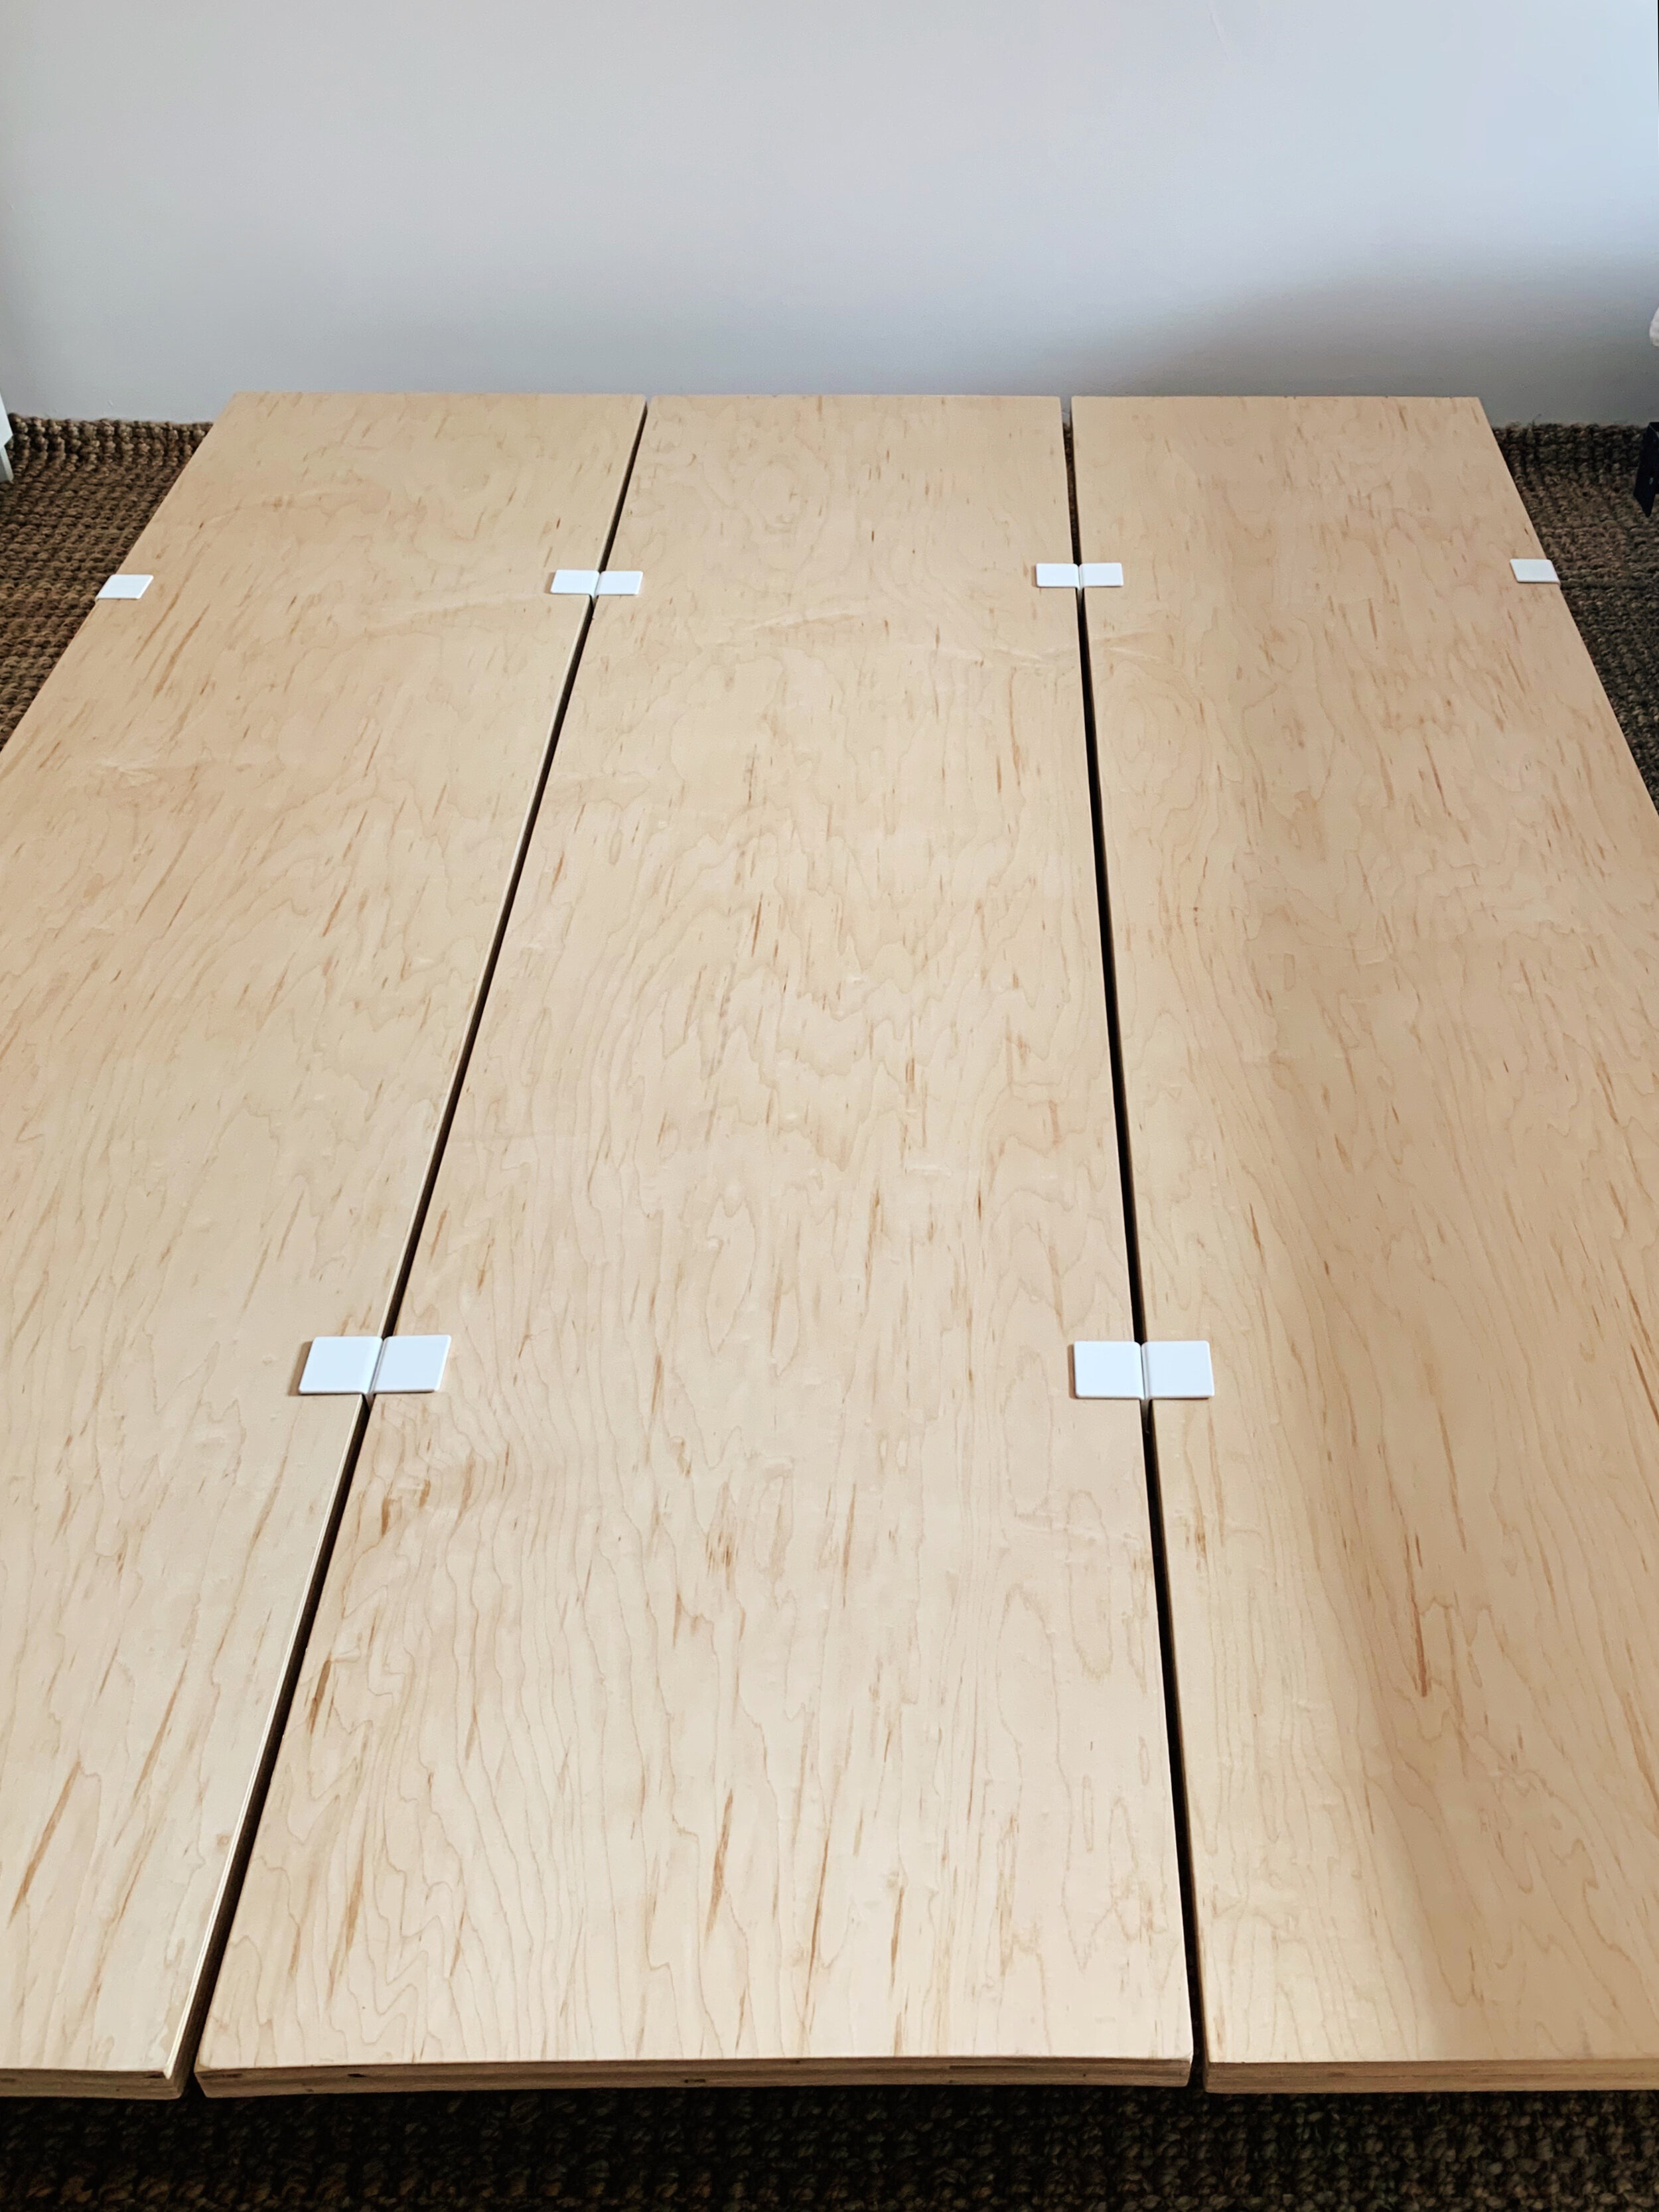
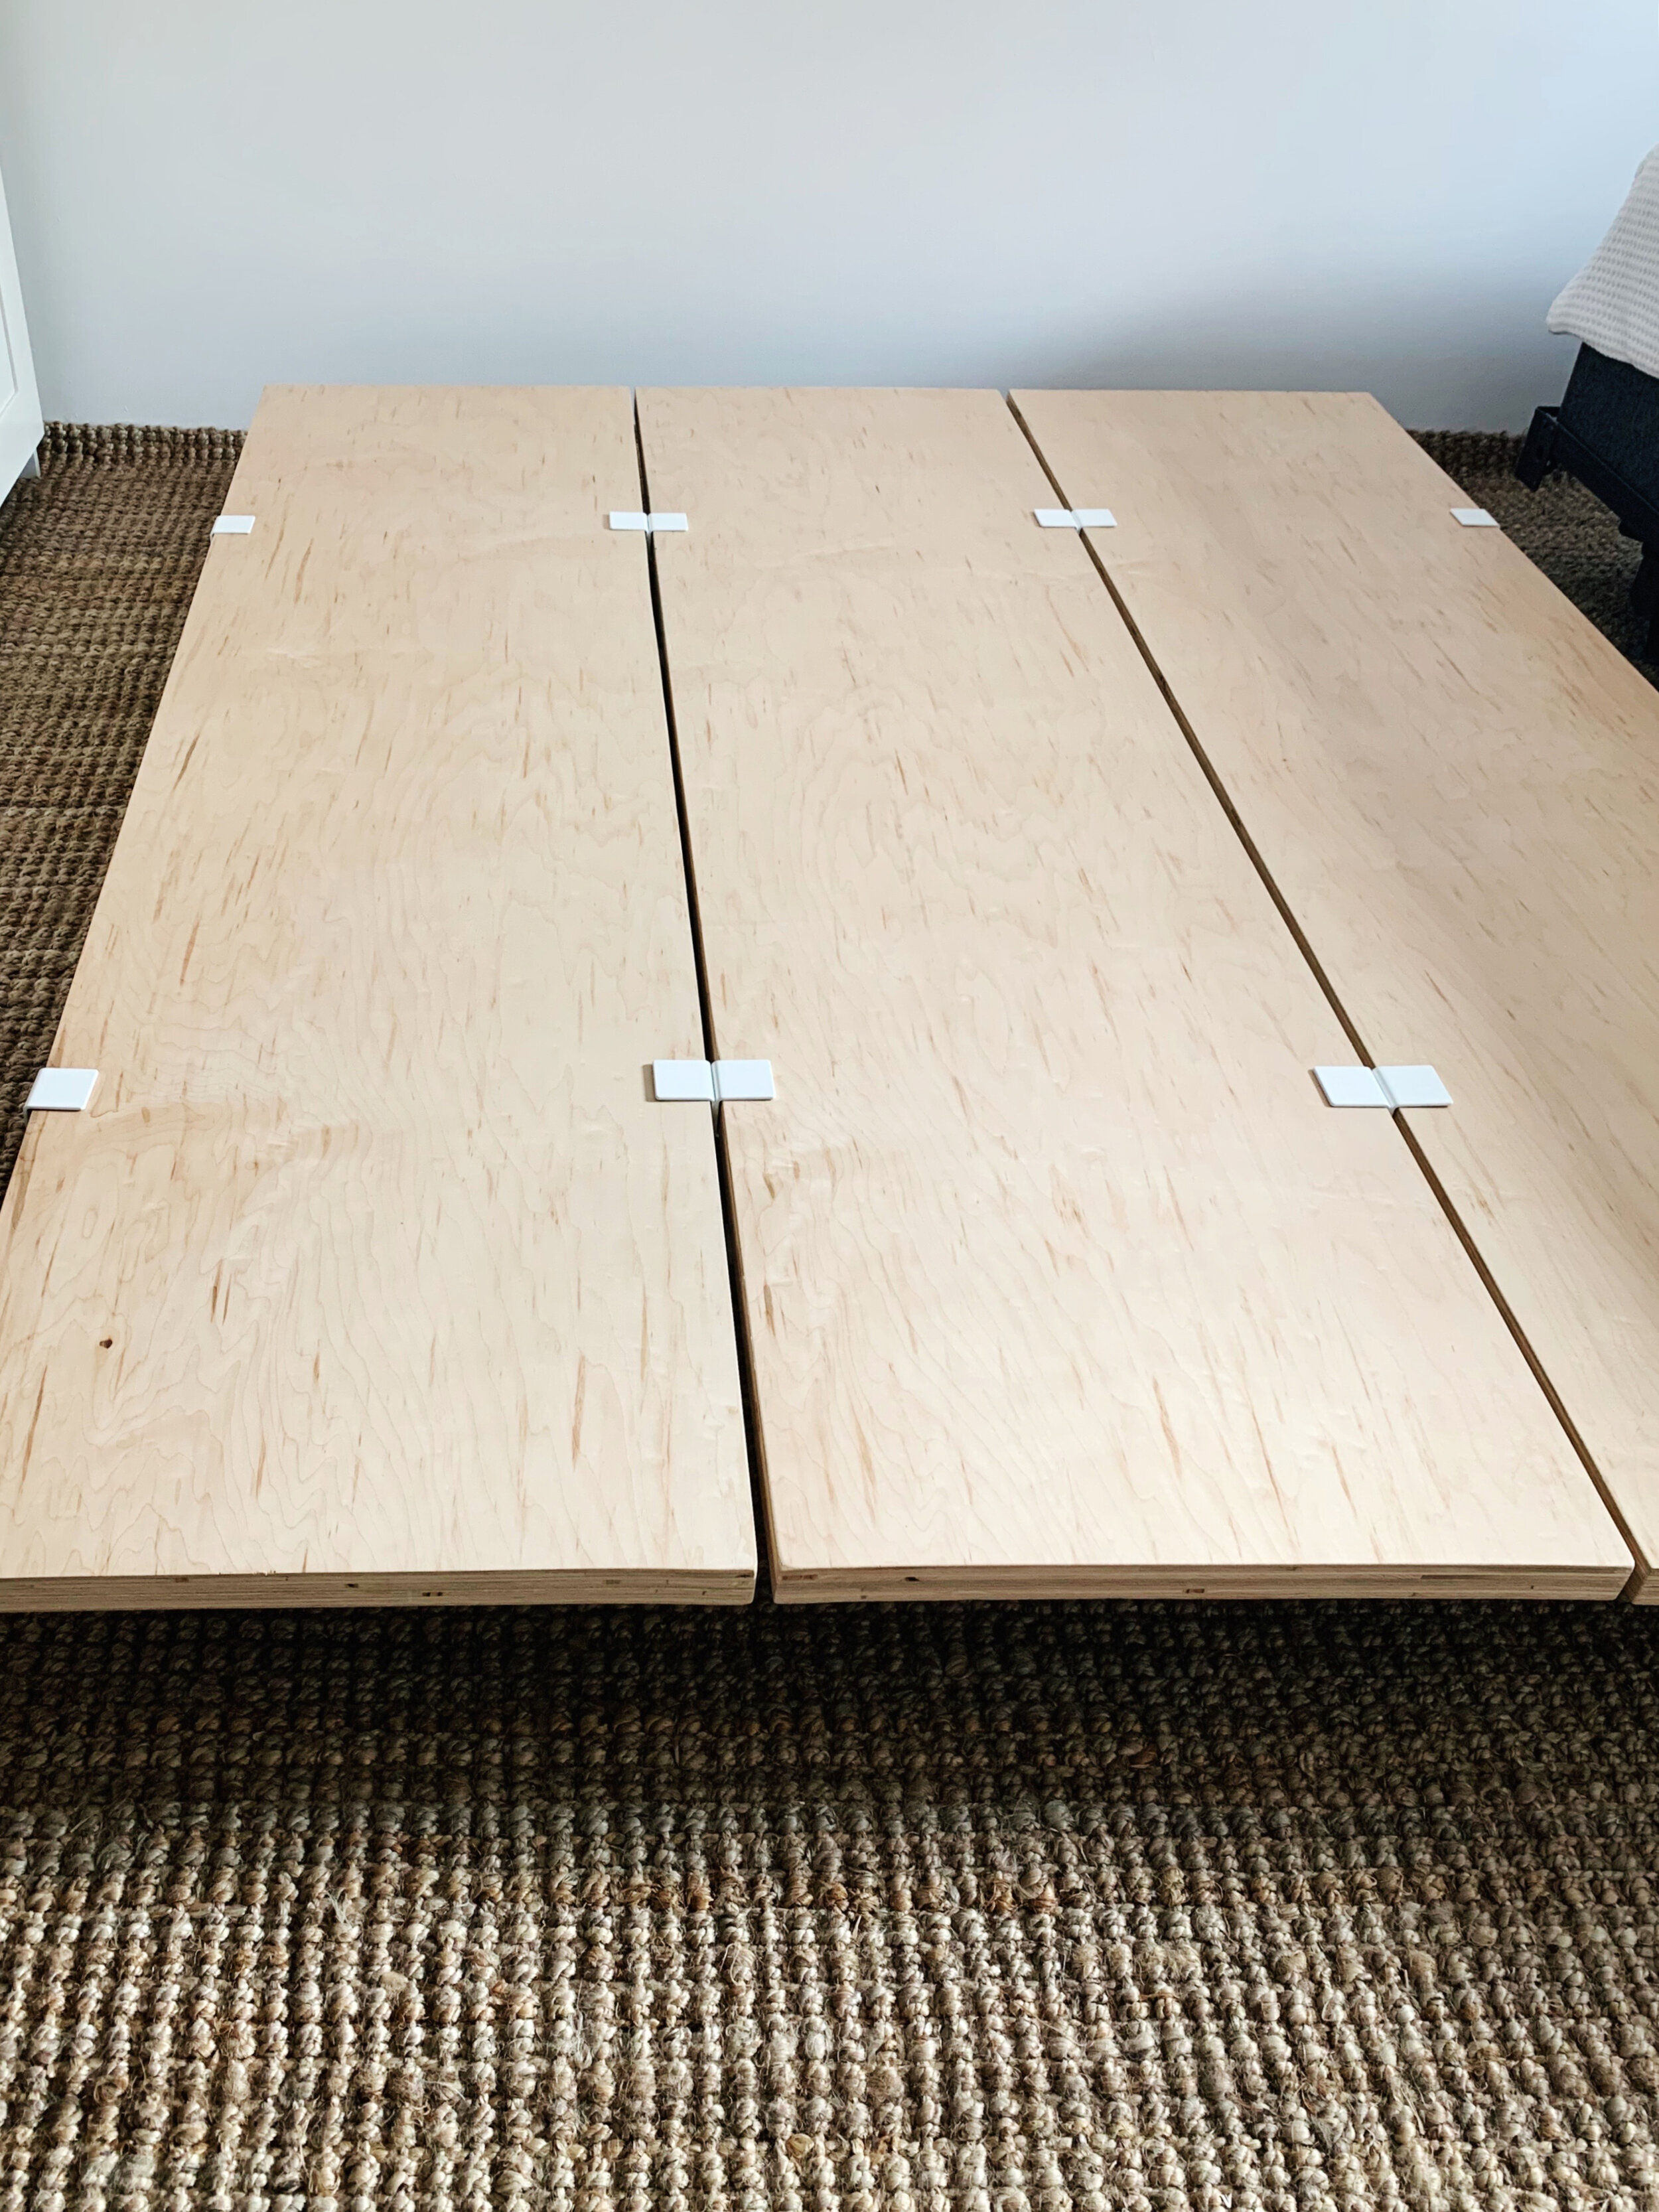
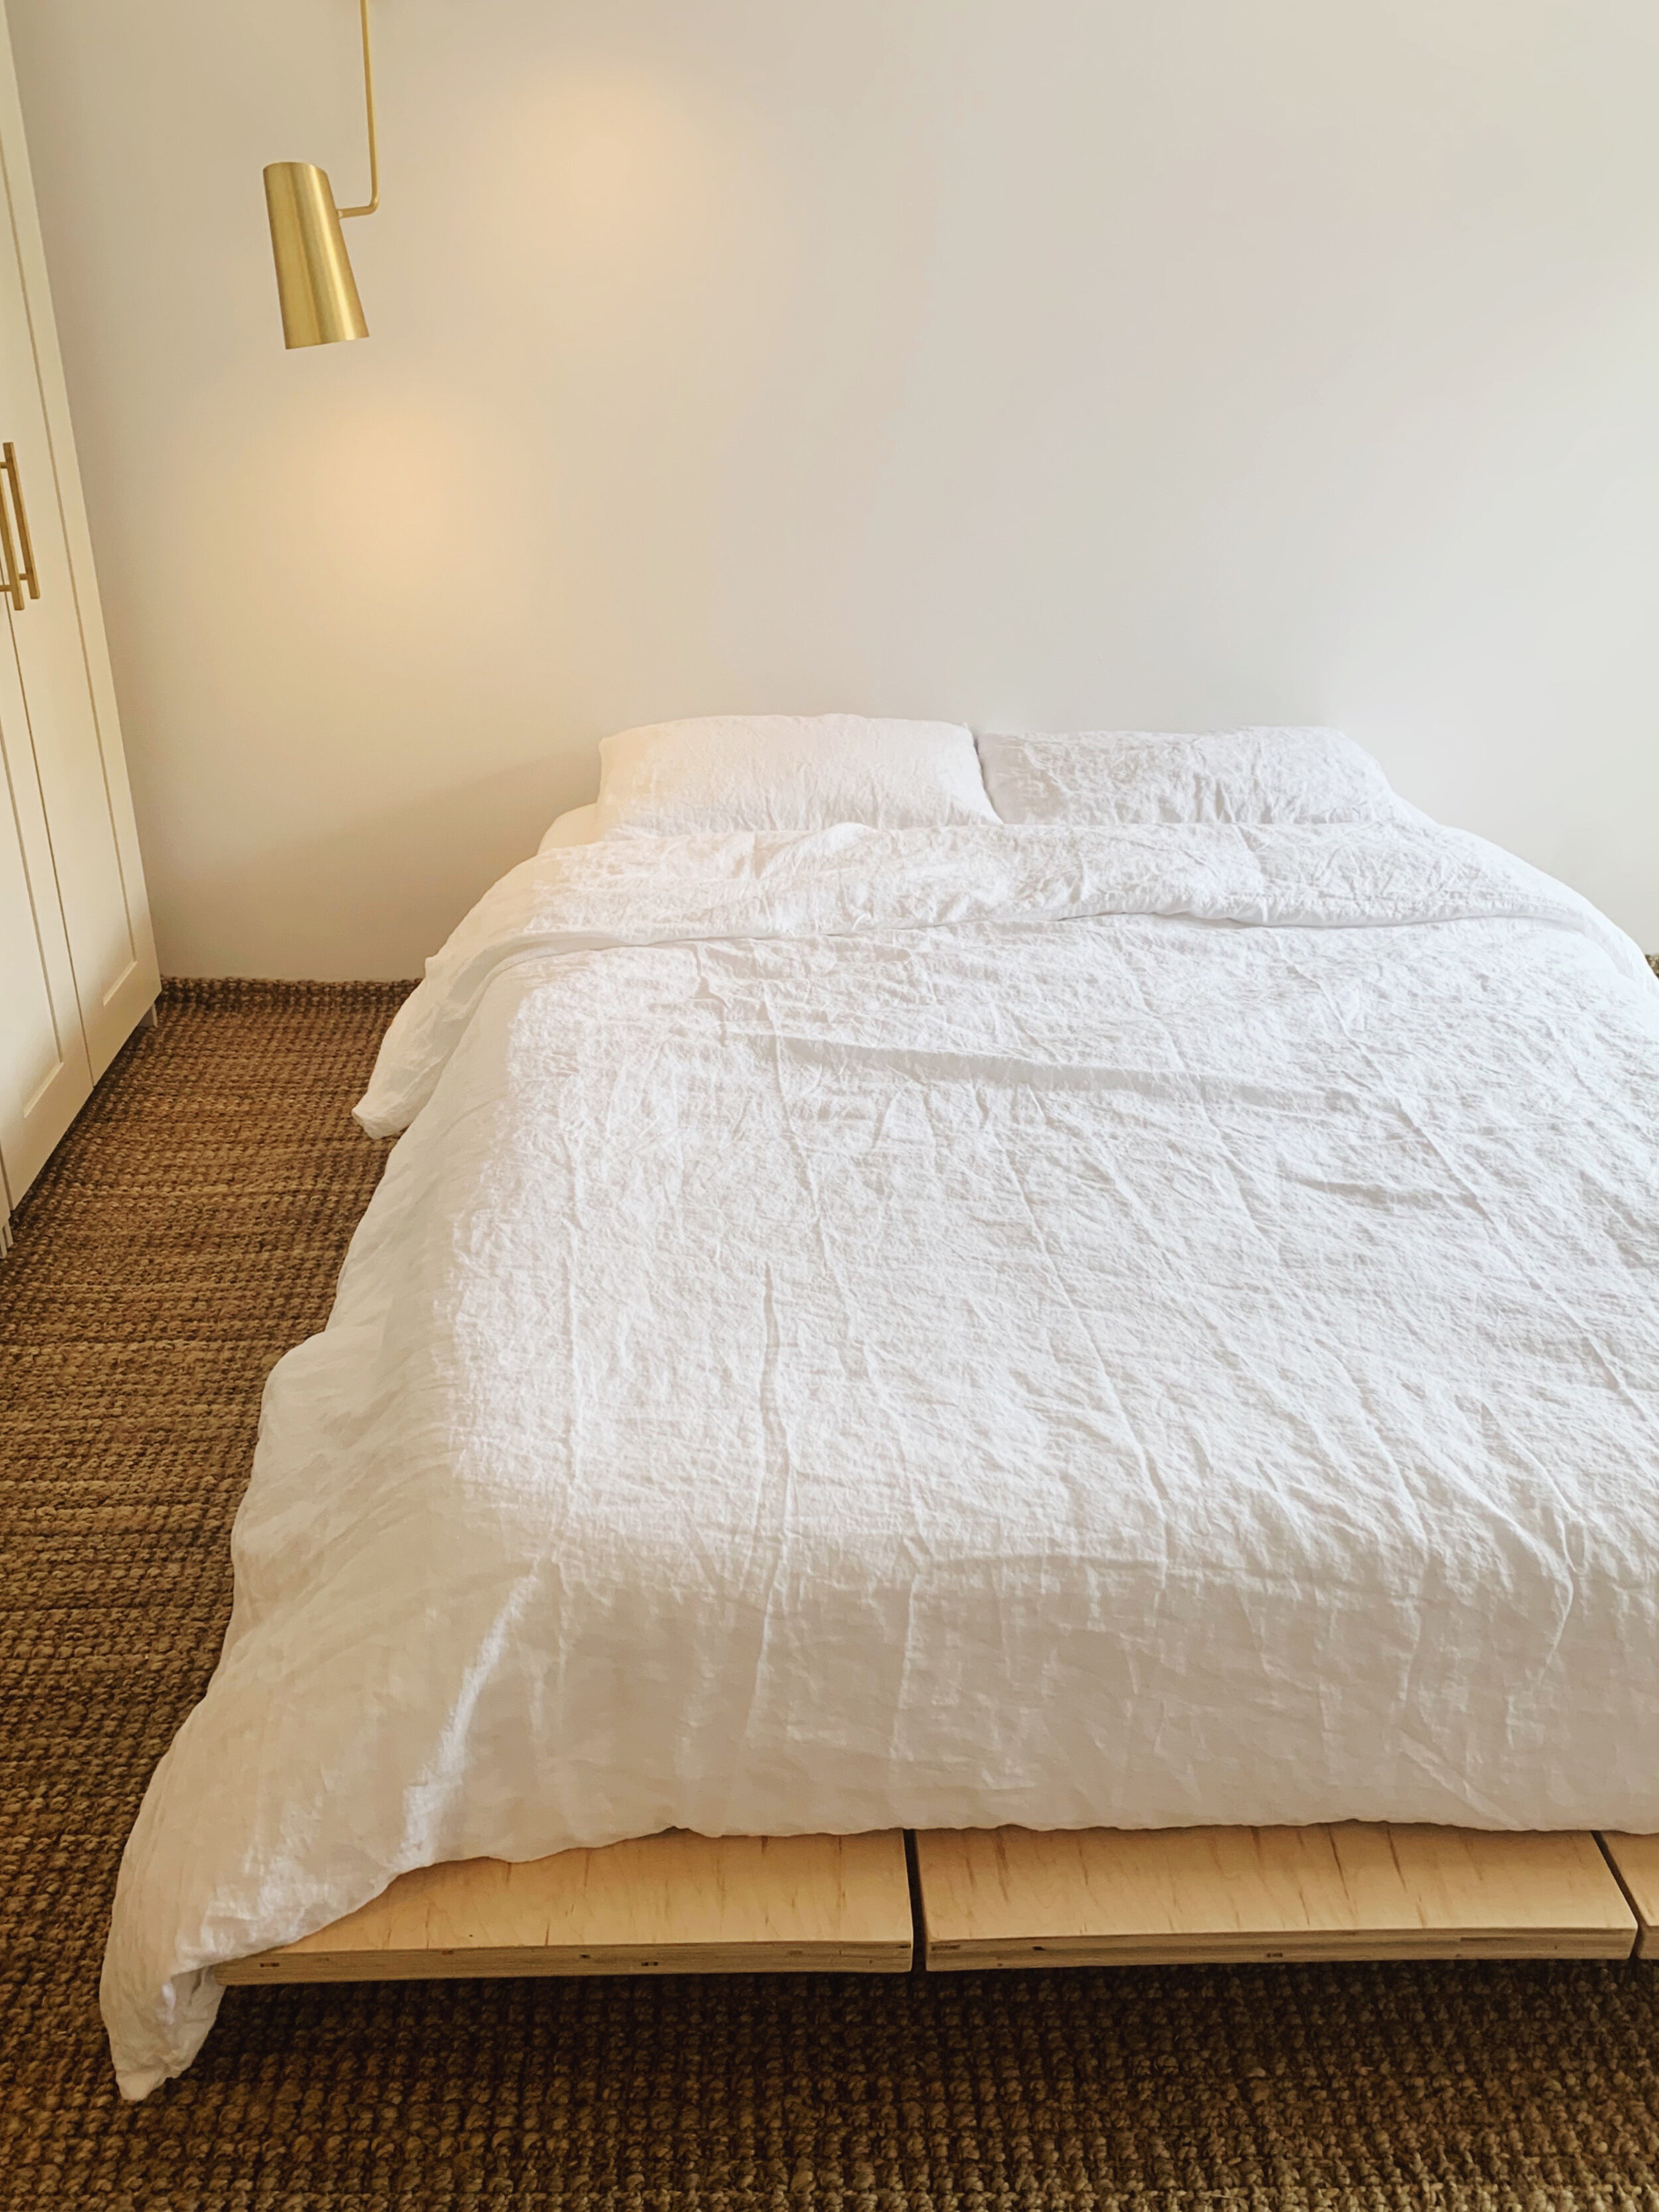
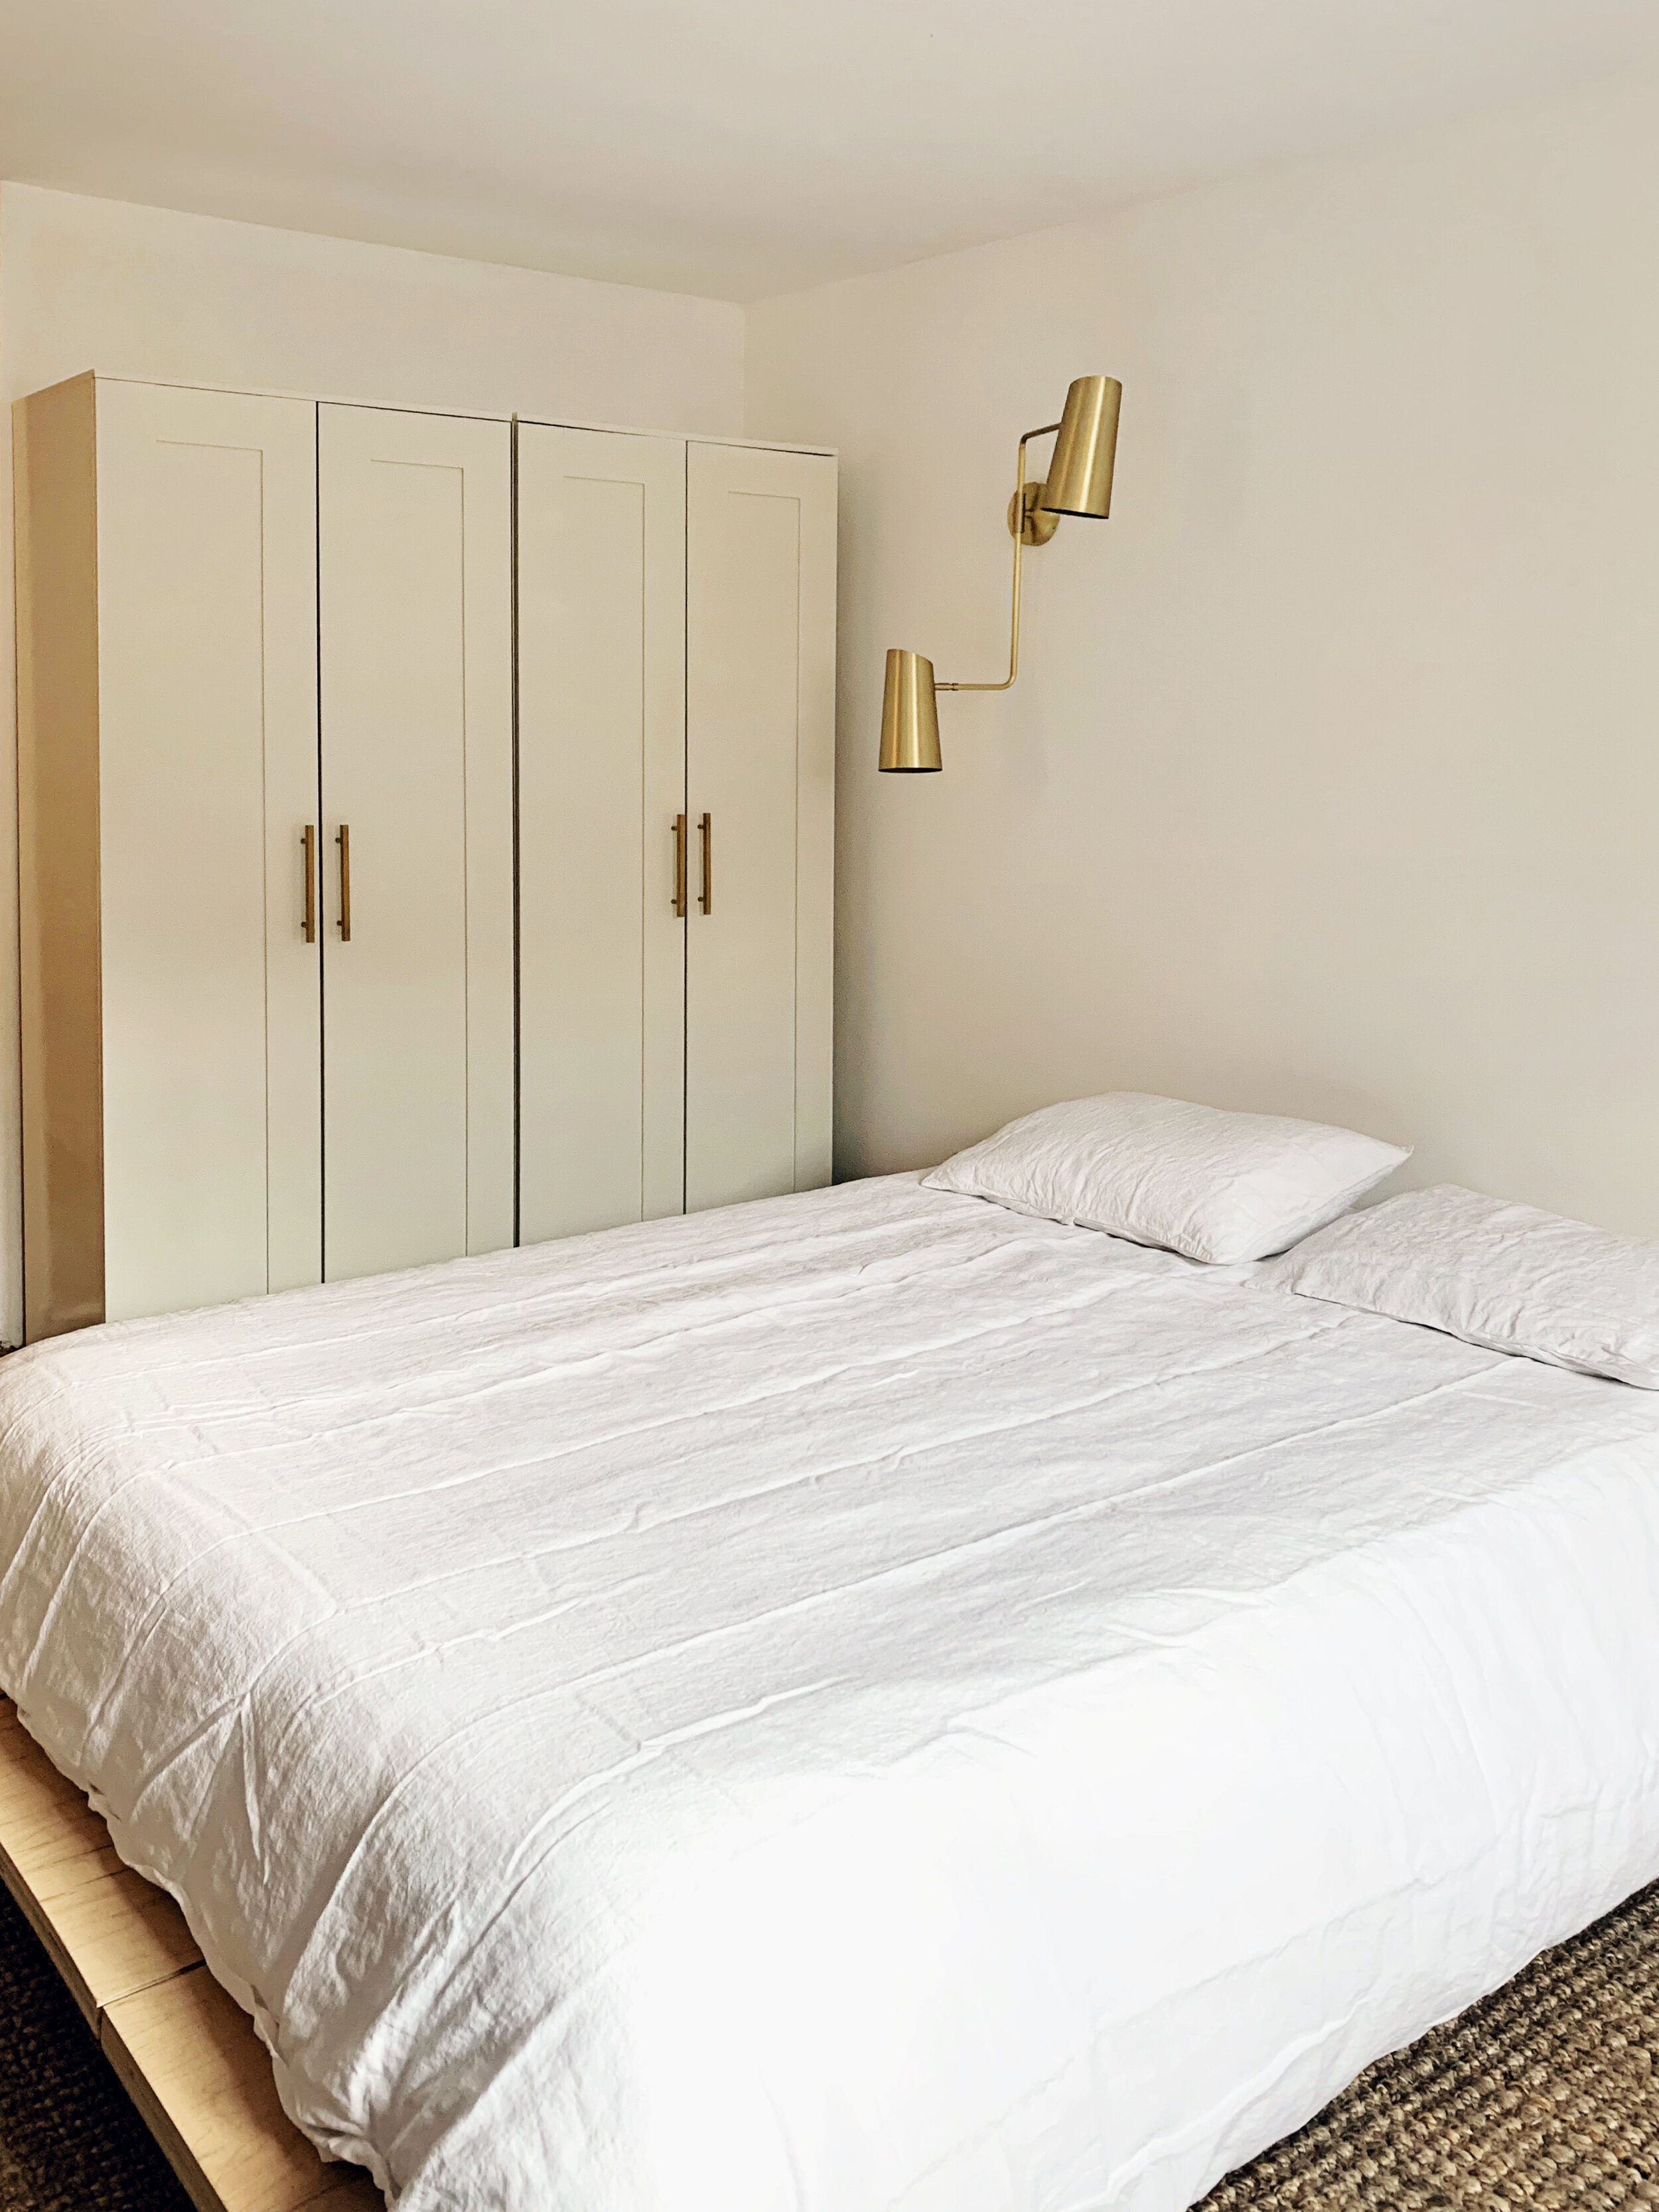
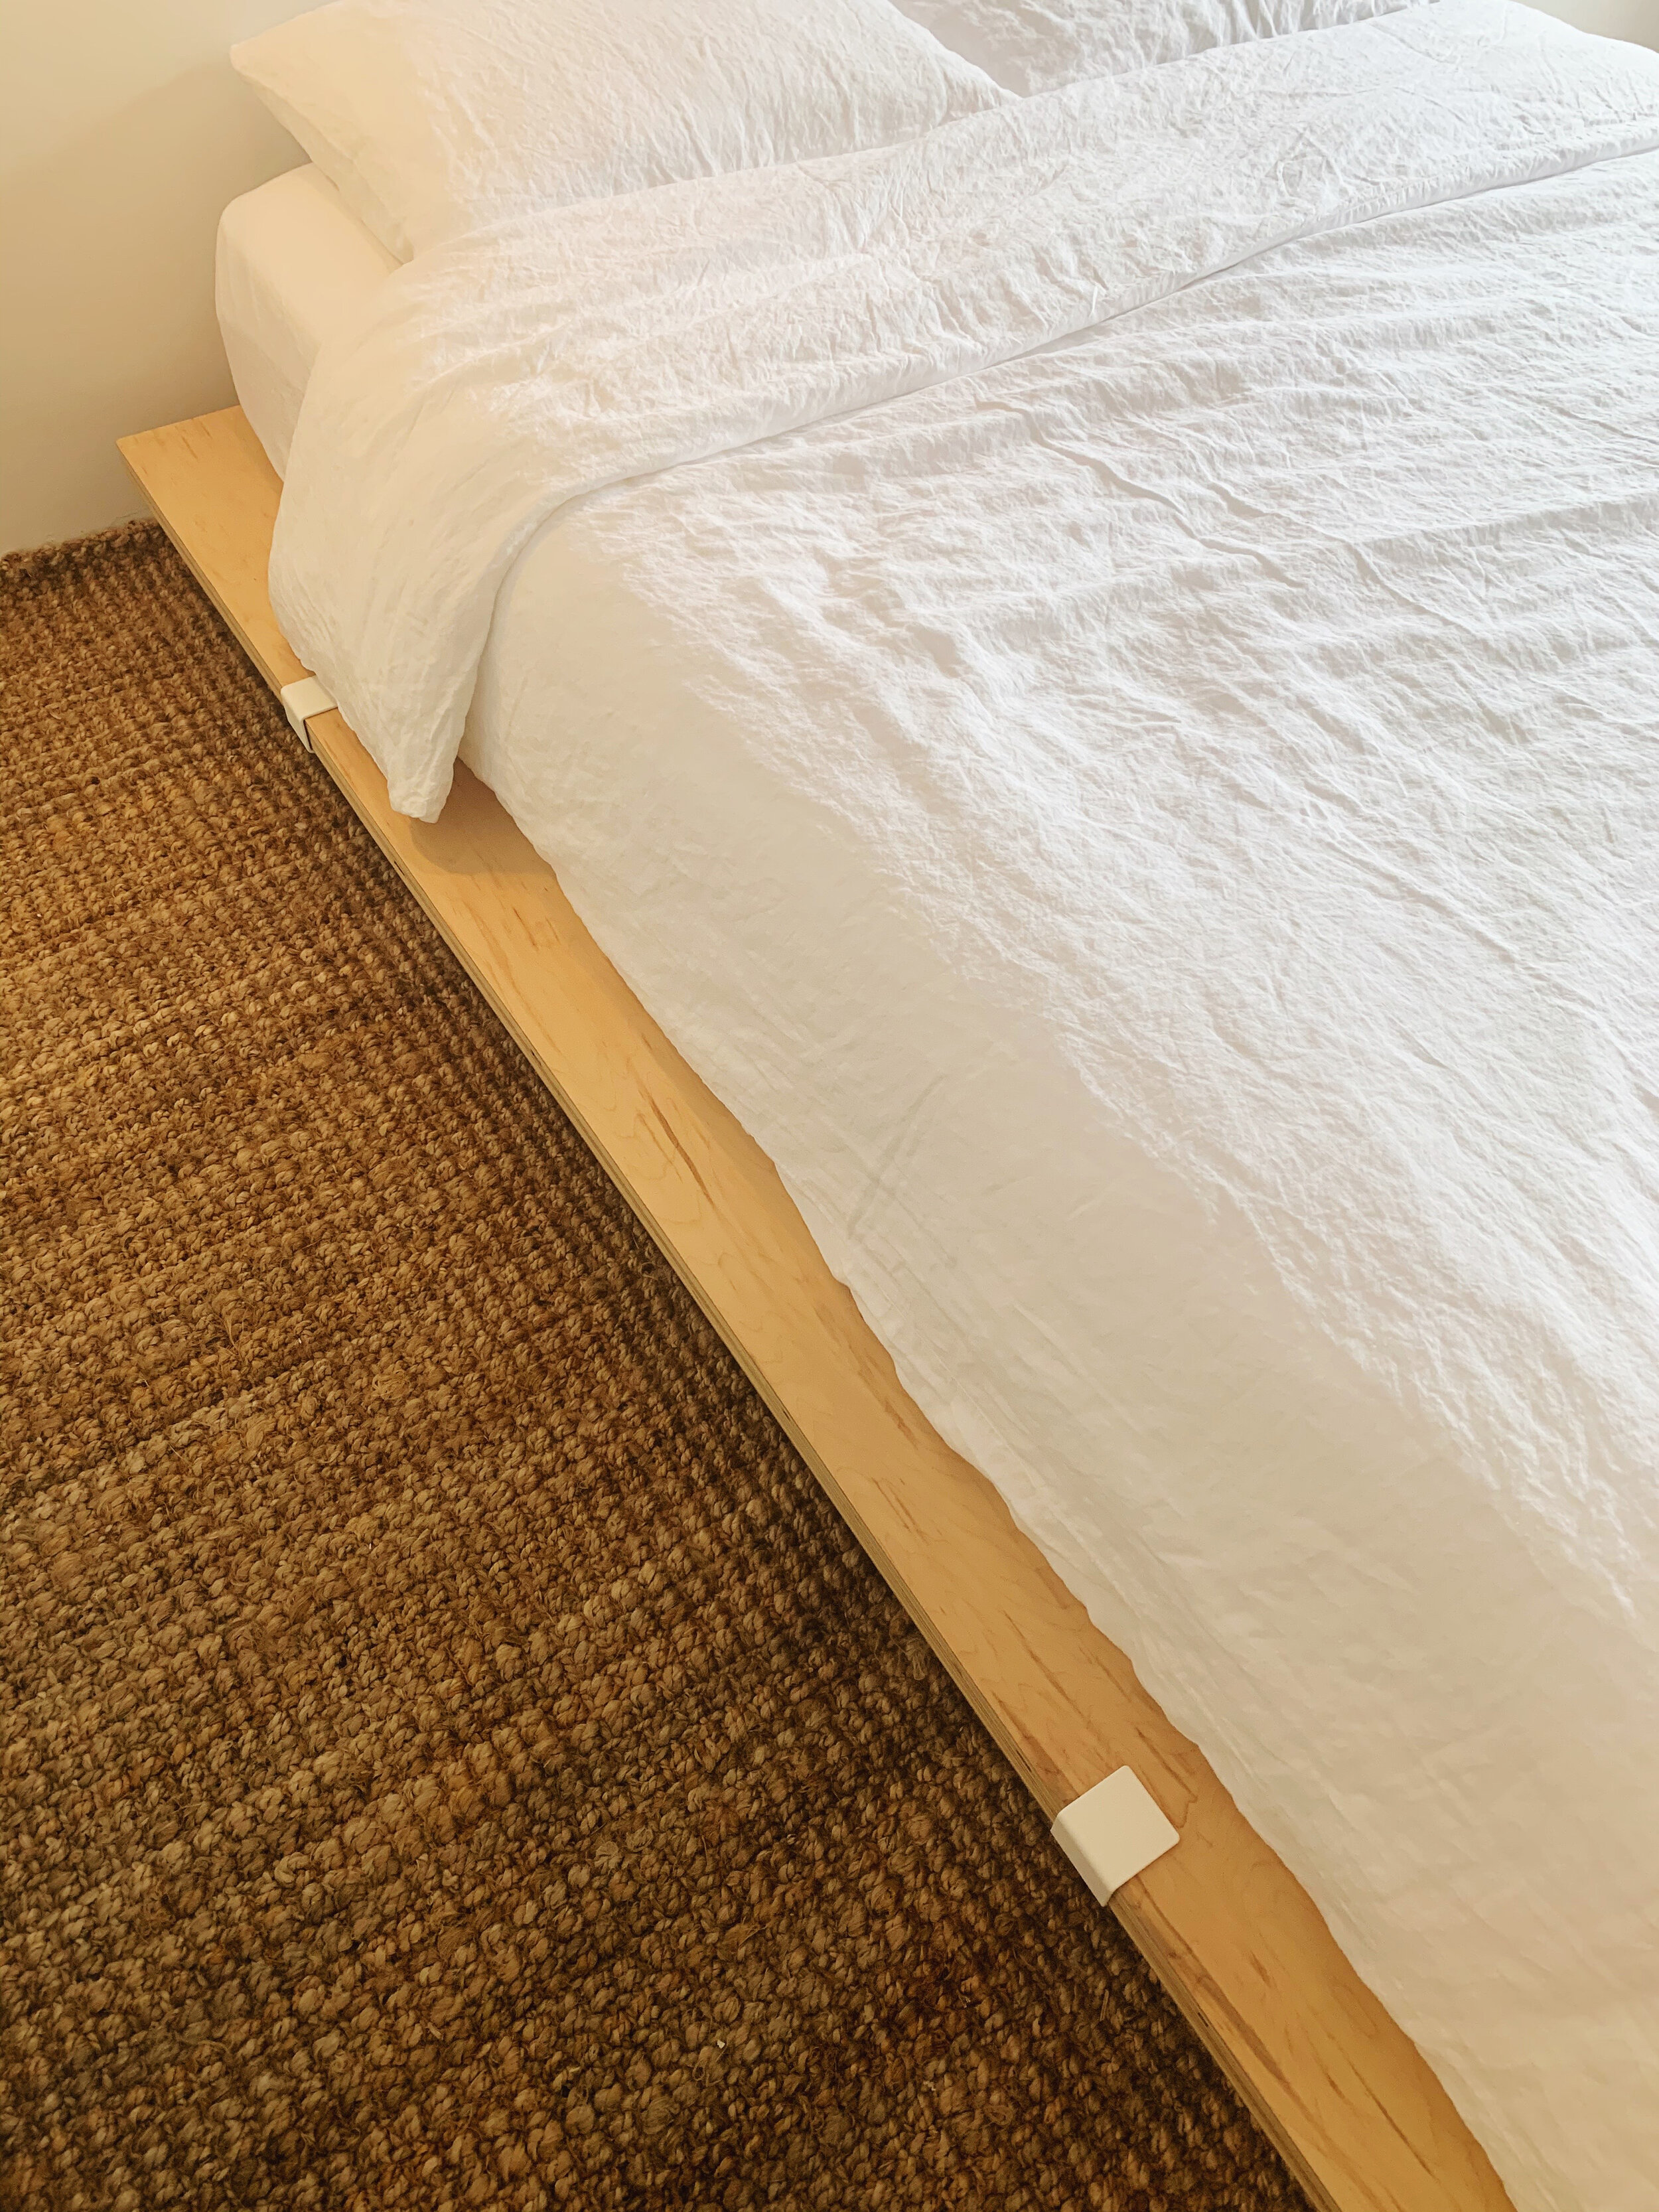
Once the boards were laminated and cut to size, we gave them a quick sanding and a coat of interior Polyurethane to give it some protection without altering the look of the bare wood. Finally, we got to the hardware. Floyd was kind enough to supply the hardware for this project, but The Framework runs $220 and has everything you need to turn your wood panels into a custom bed, very quickly. Setup was pretty straightforward, we laid out the boards on the floor how we wanted them placed then slipped the supports between the boards and the “feet” on the edges near each of the four corners. We then used the provided straps underneath the cinch it all together and ensure nothing would move around. It’s as easy to take apart as it is to put together so, if you’re like us and redecorate a lot, you can easily move the bed frame from room to room or recycle the wood for your next project and if you’re renting it’s a great way to make moving that much easier (something we’ve also done a lot.)
That’s it for this week- the next post will be our final reveal, and we can’t wait to show you the end result. I still need to paint and stencil the concrete floors, and there are a lot of loose ends to tie up, but it’s all starting to come together.
Thanks for following along, you can find week one here, week two here, three here, four here, and check back next week for week seven. You can check out the rest of the guest participants here or the amazing featured designers here. You can also follow along on Instagram by following #oneroomchallenge for some serious eye candy.
*This post contains affiliate links and I will be compensated if you make a purchase after clicking on my links, click here for our full policy and disclosures. Product was supplied by vendor for the purposes of this post.


