DIY: Natural Dye Shibori Easter Eggs
Today’s project comes to you today, courtesy of a lot of trial and error. My kitchen looked like one big science experiment was taking place for the better part of the day yesterday, and a lot of my ideas didn’t quite work out… that said, I’m really happy with the ones that did. I wanted to create a project that most of us could do with things that we already have on hand or that you would pick up as part of your weekly grocery run. I was inspired by one of my favorite Shibori techniques and wanted to find a way to apply it to an egg, which is a challenge considering Shibori traditionally involves folding or otherwise manipulating textiles- and you can’t fold an egg.
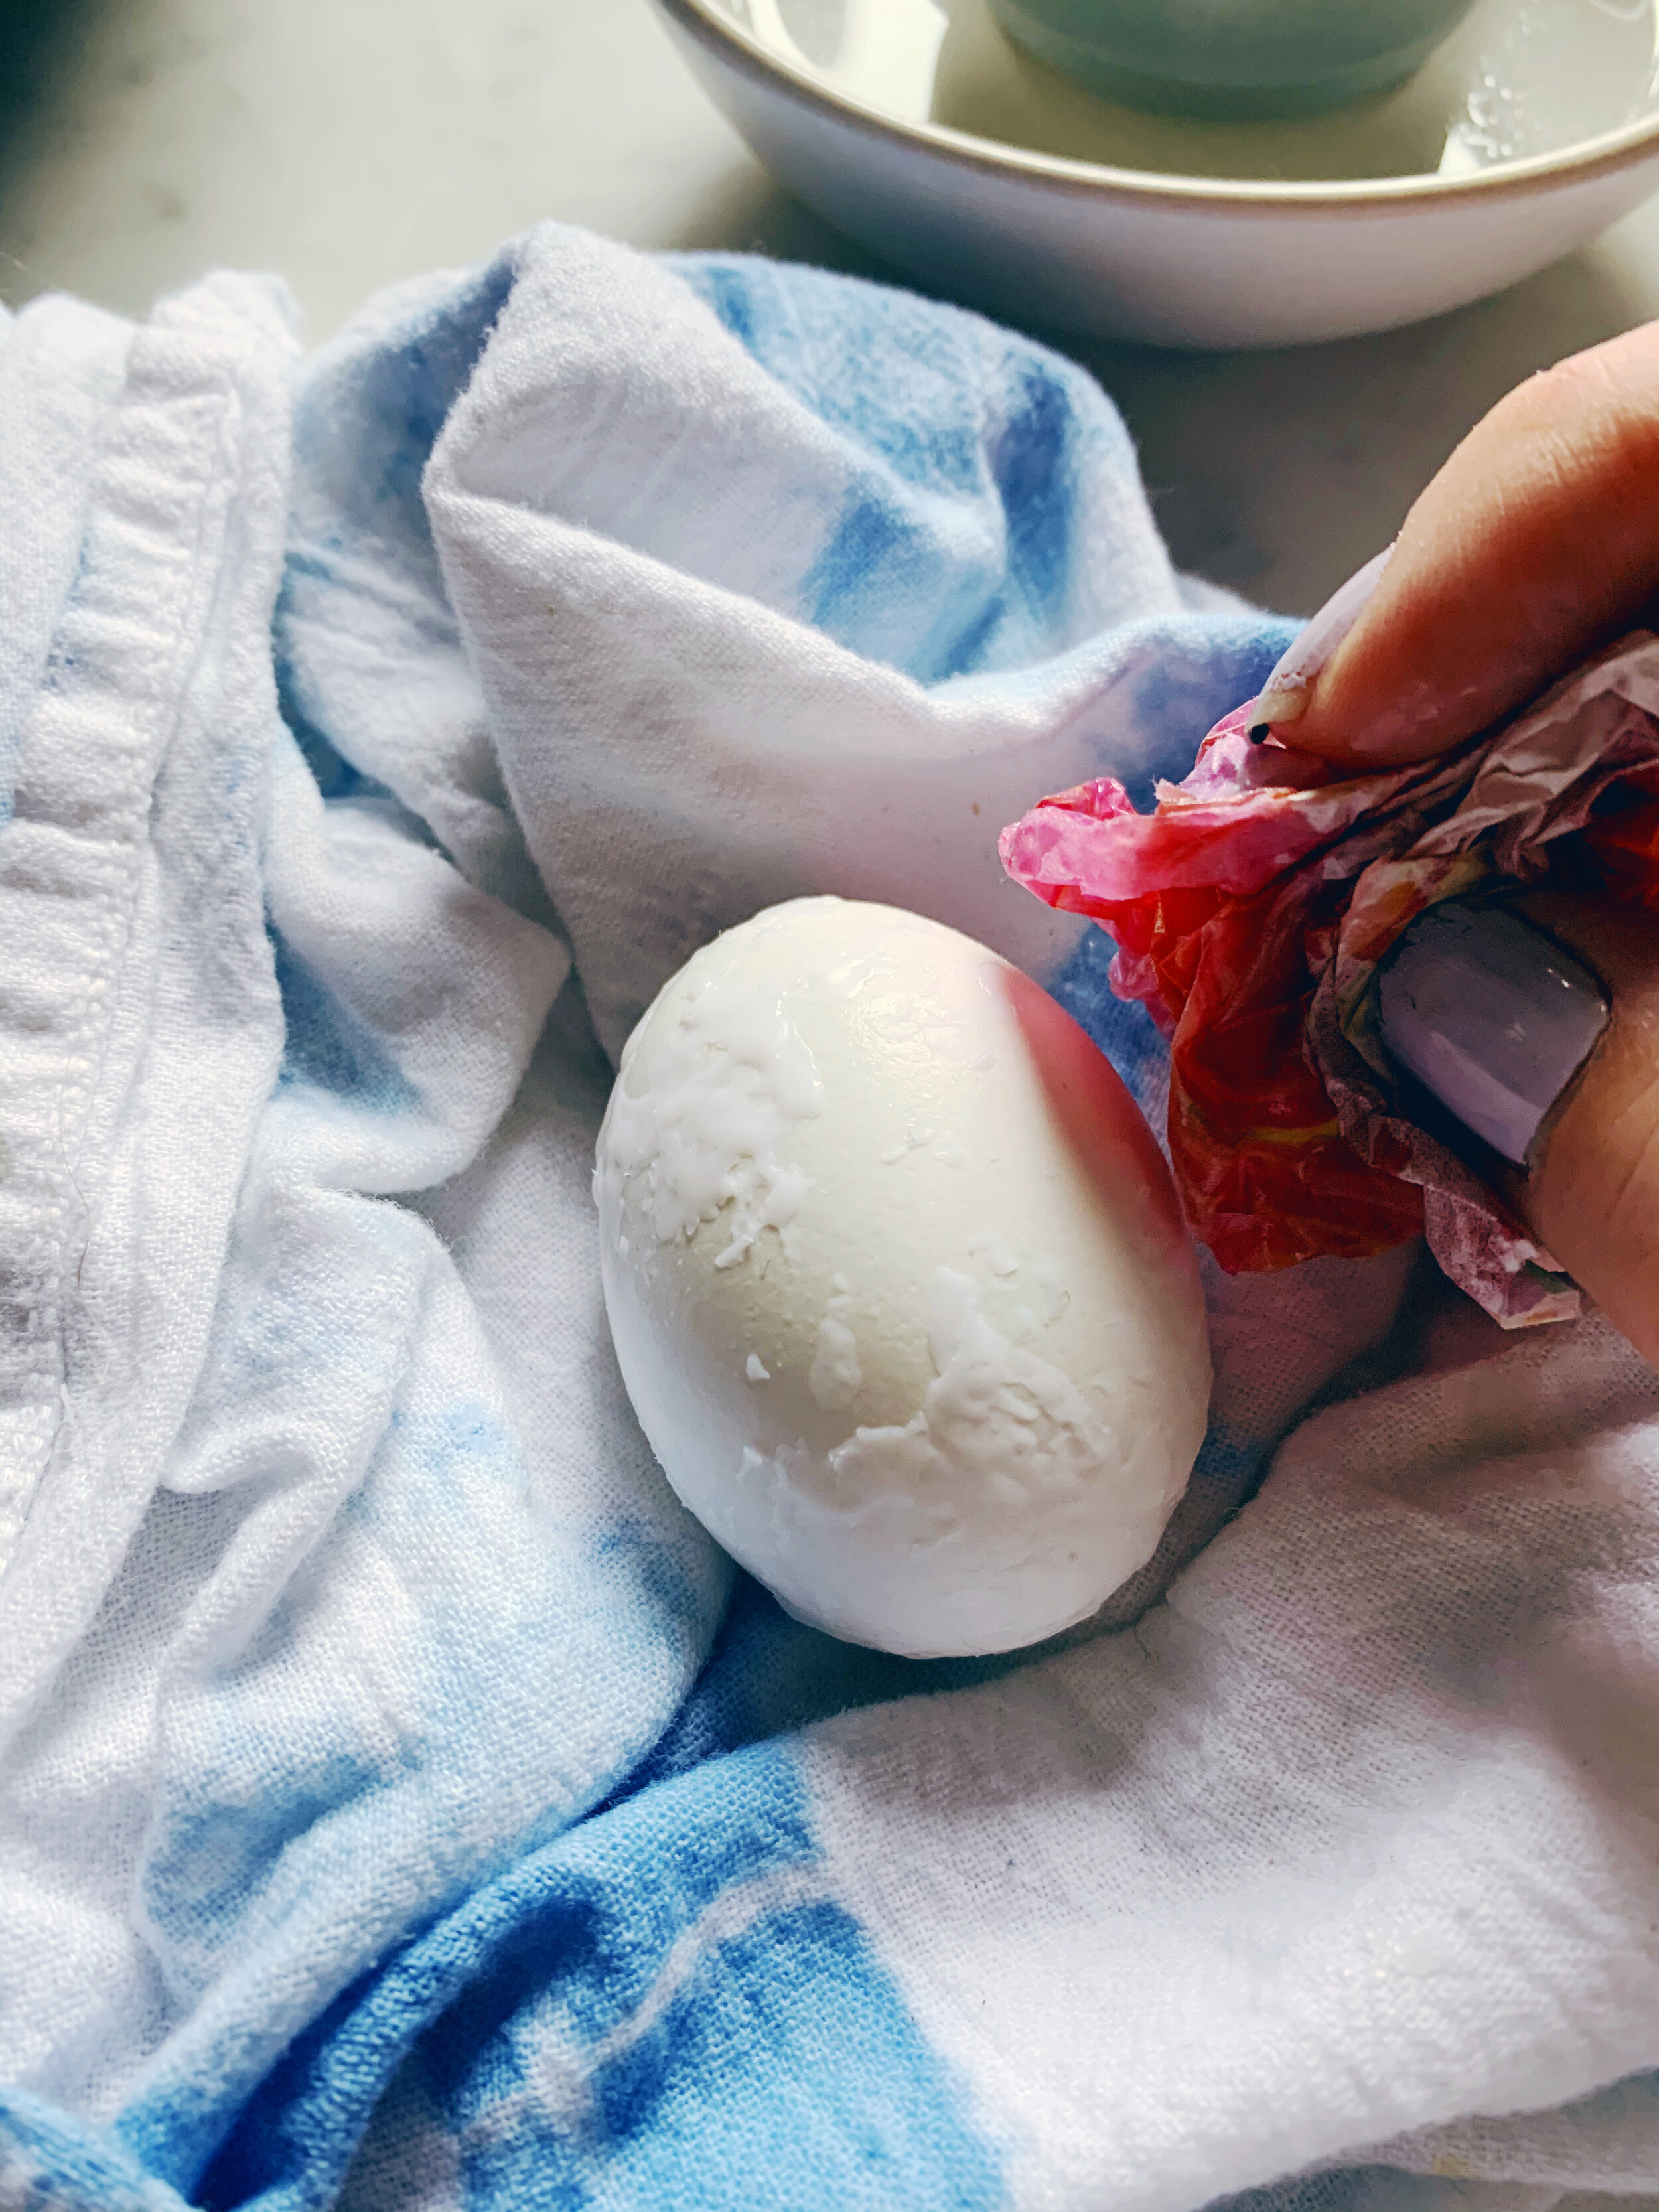
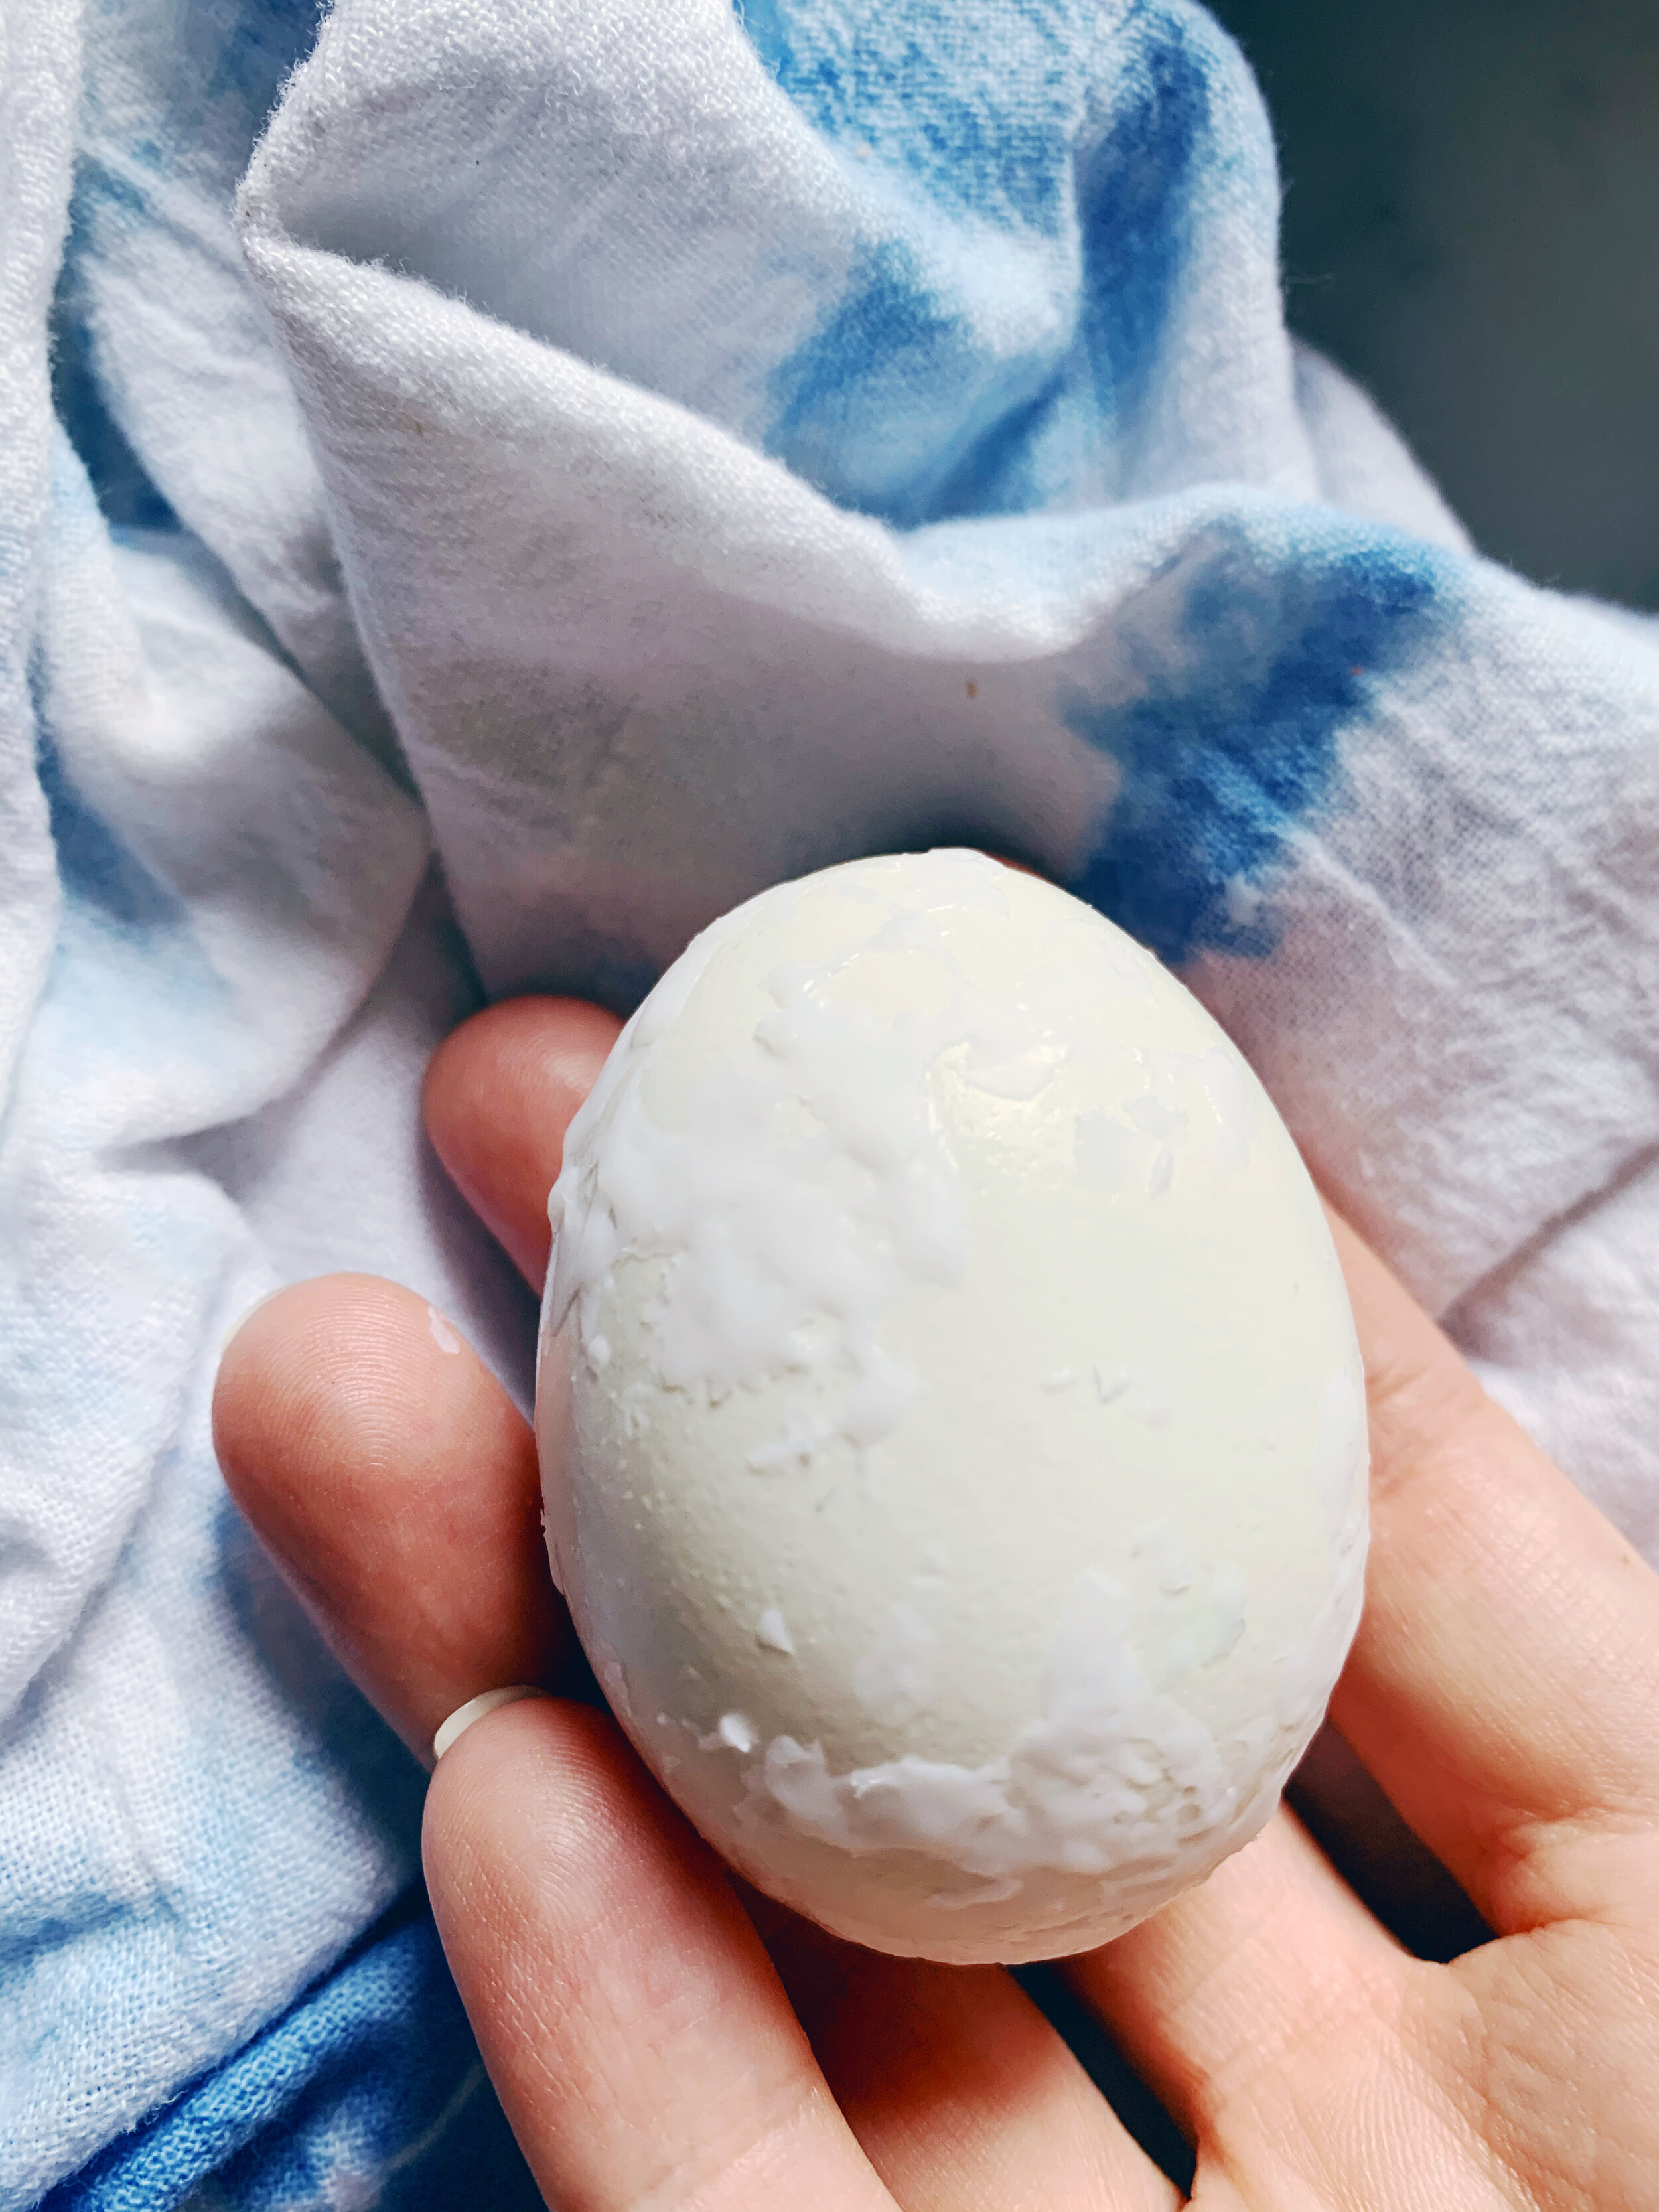
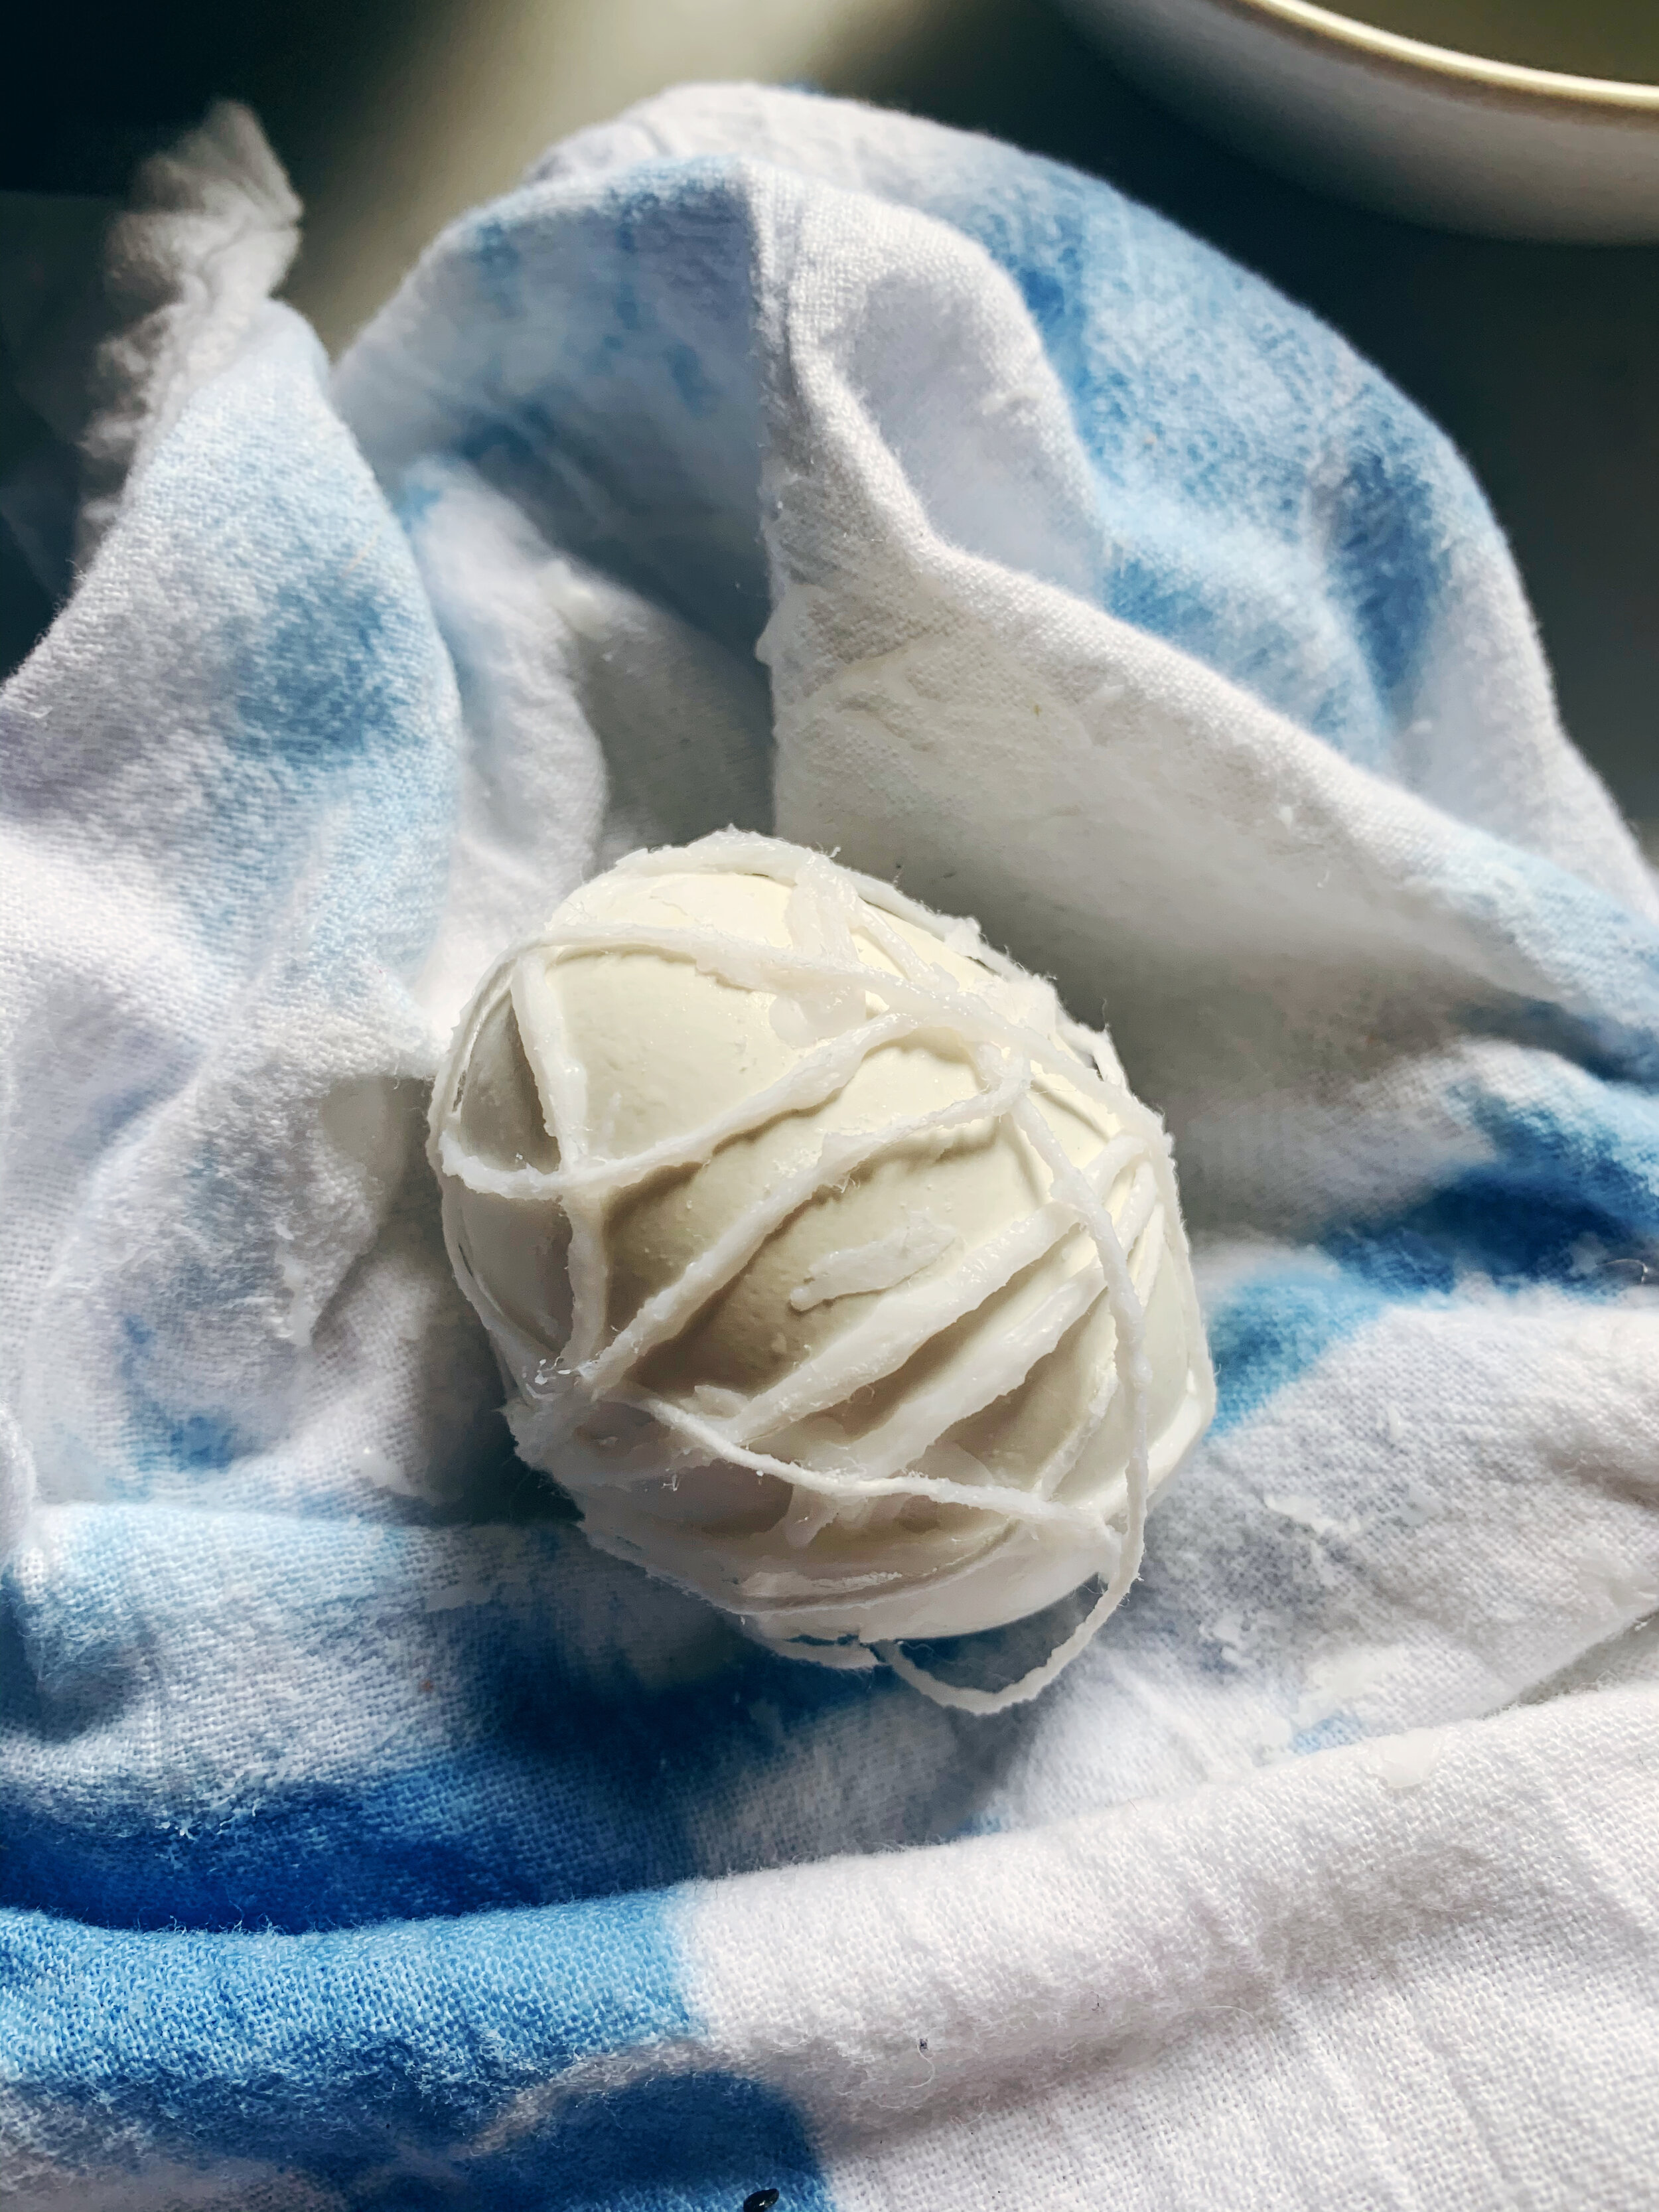
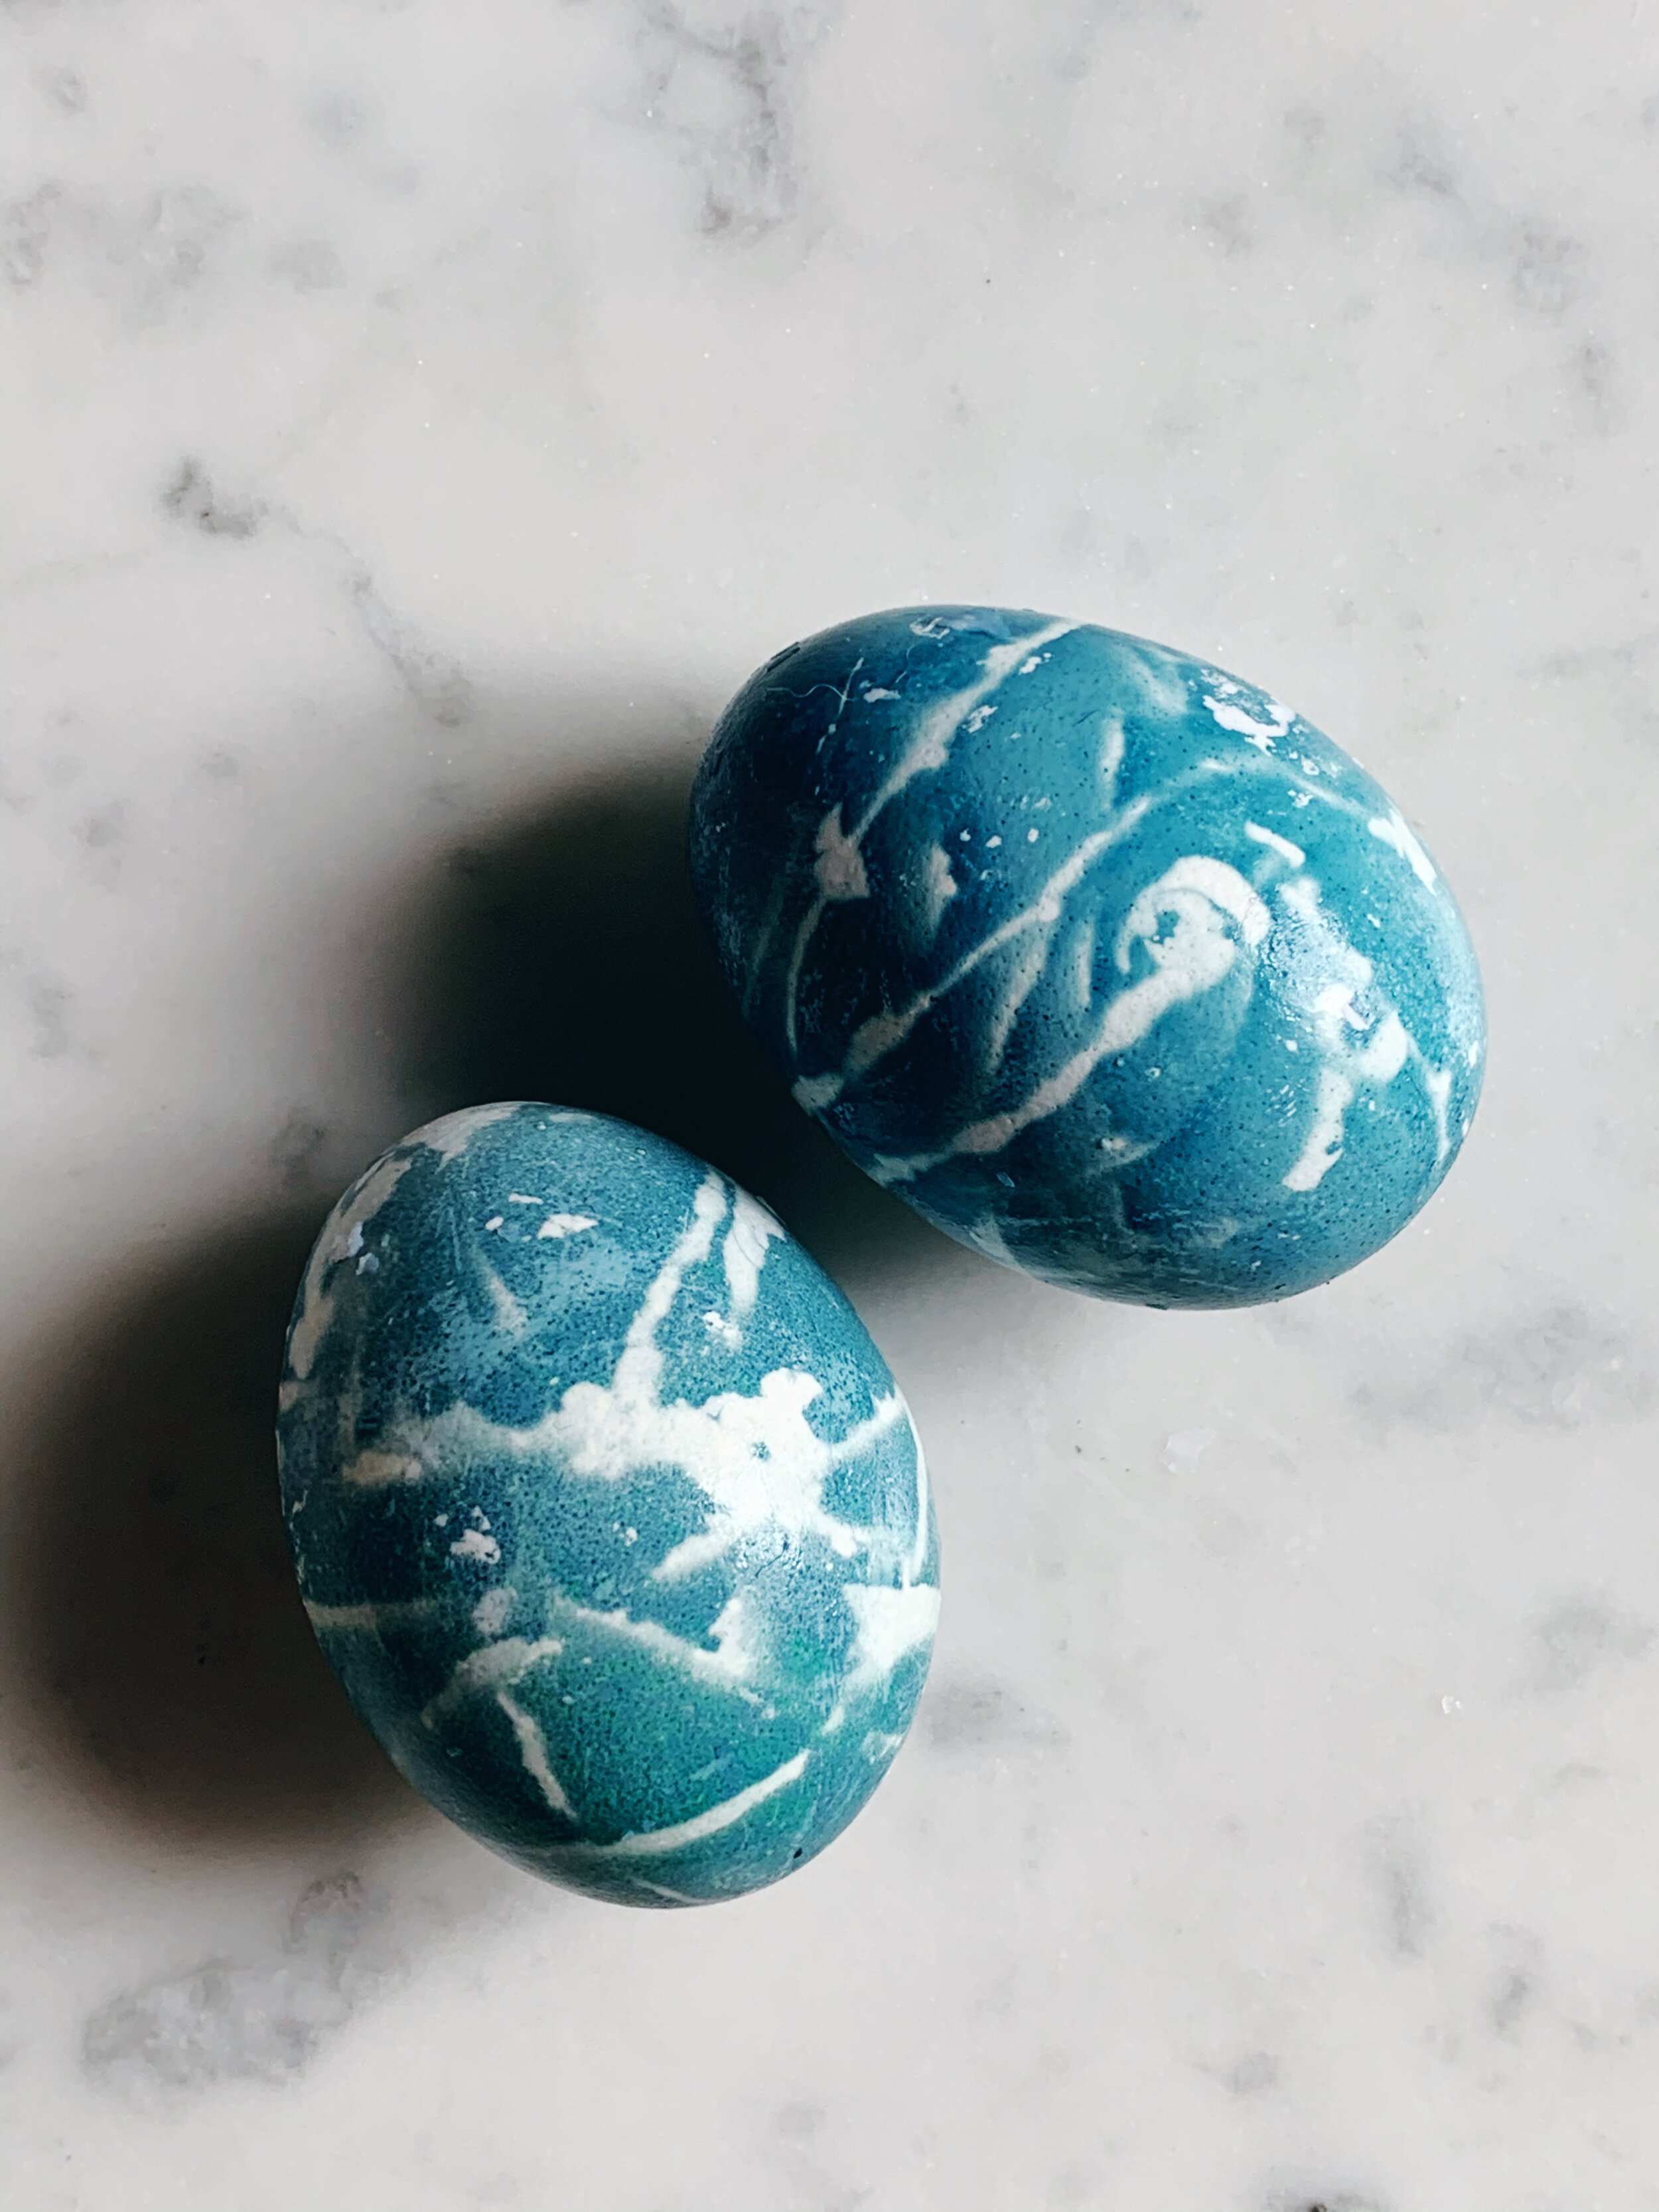
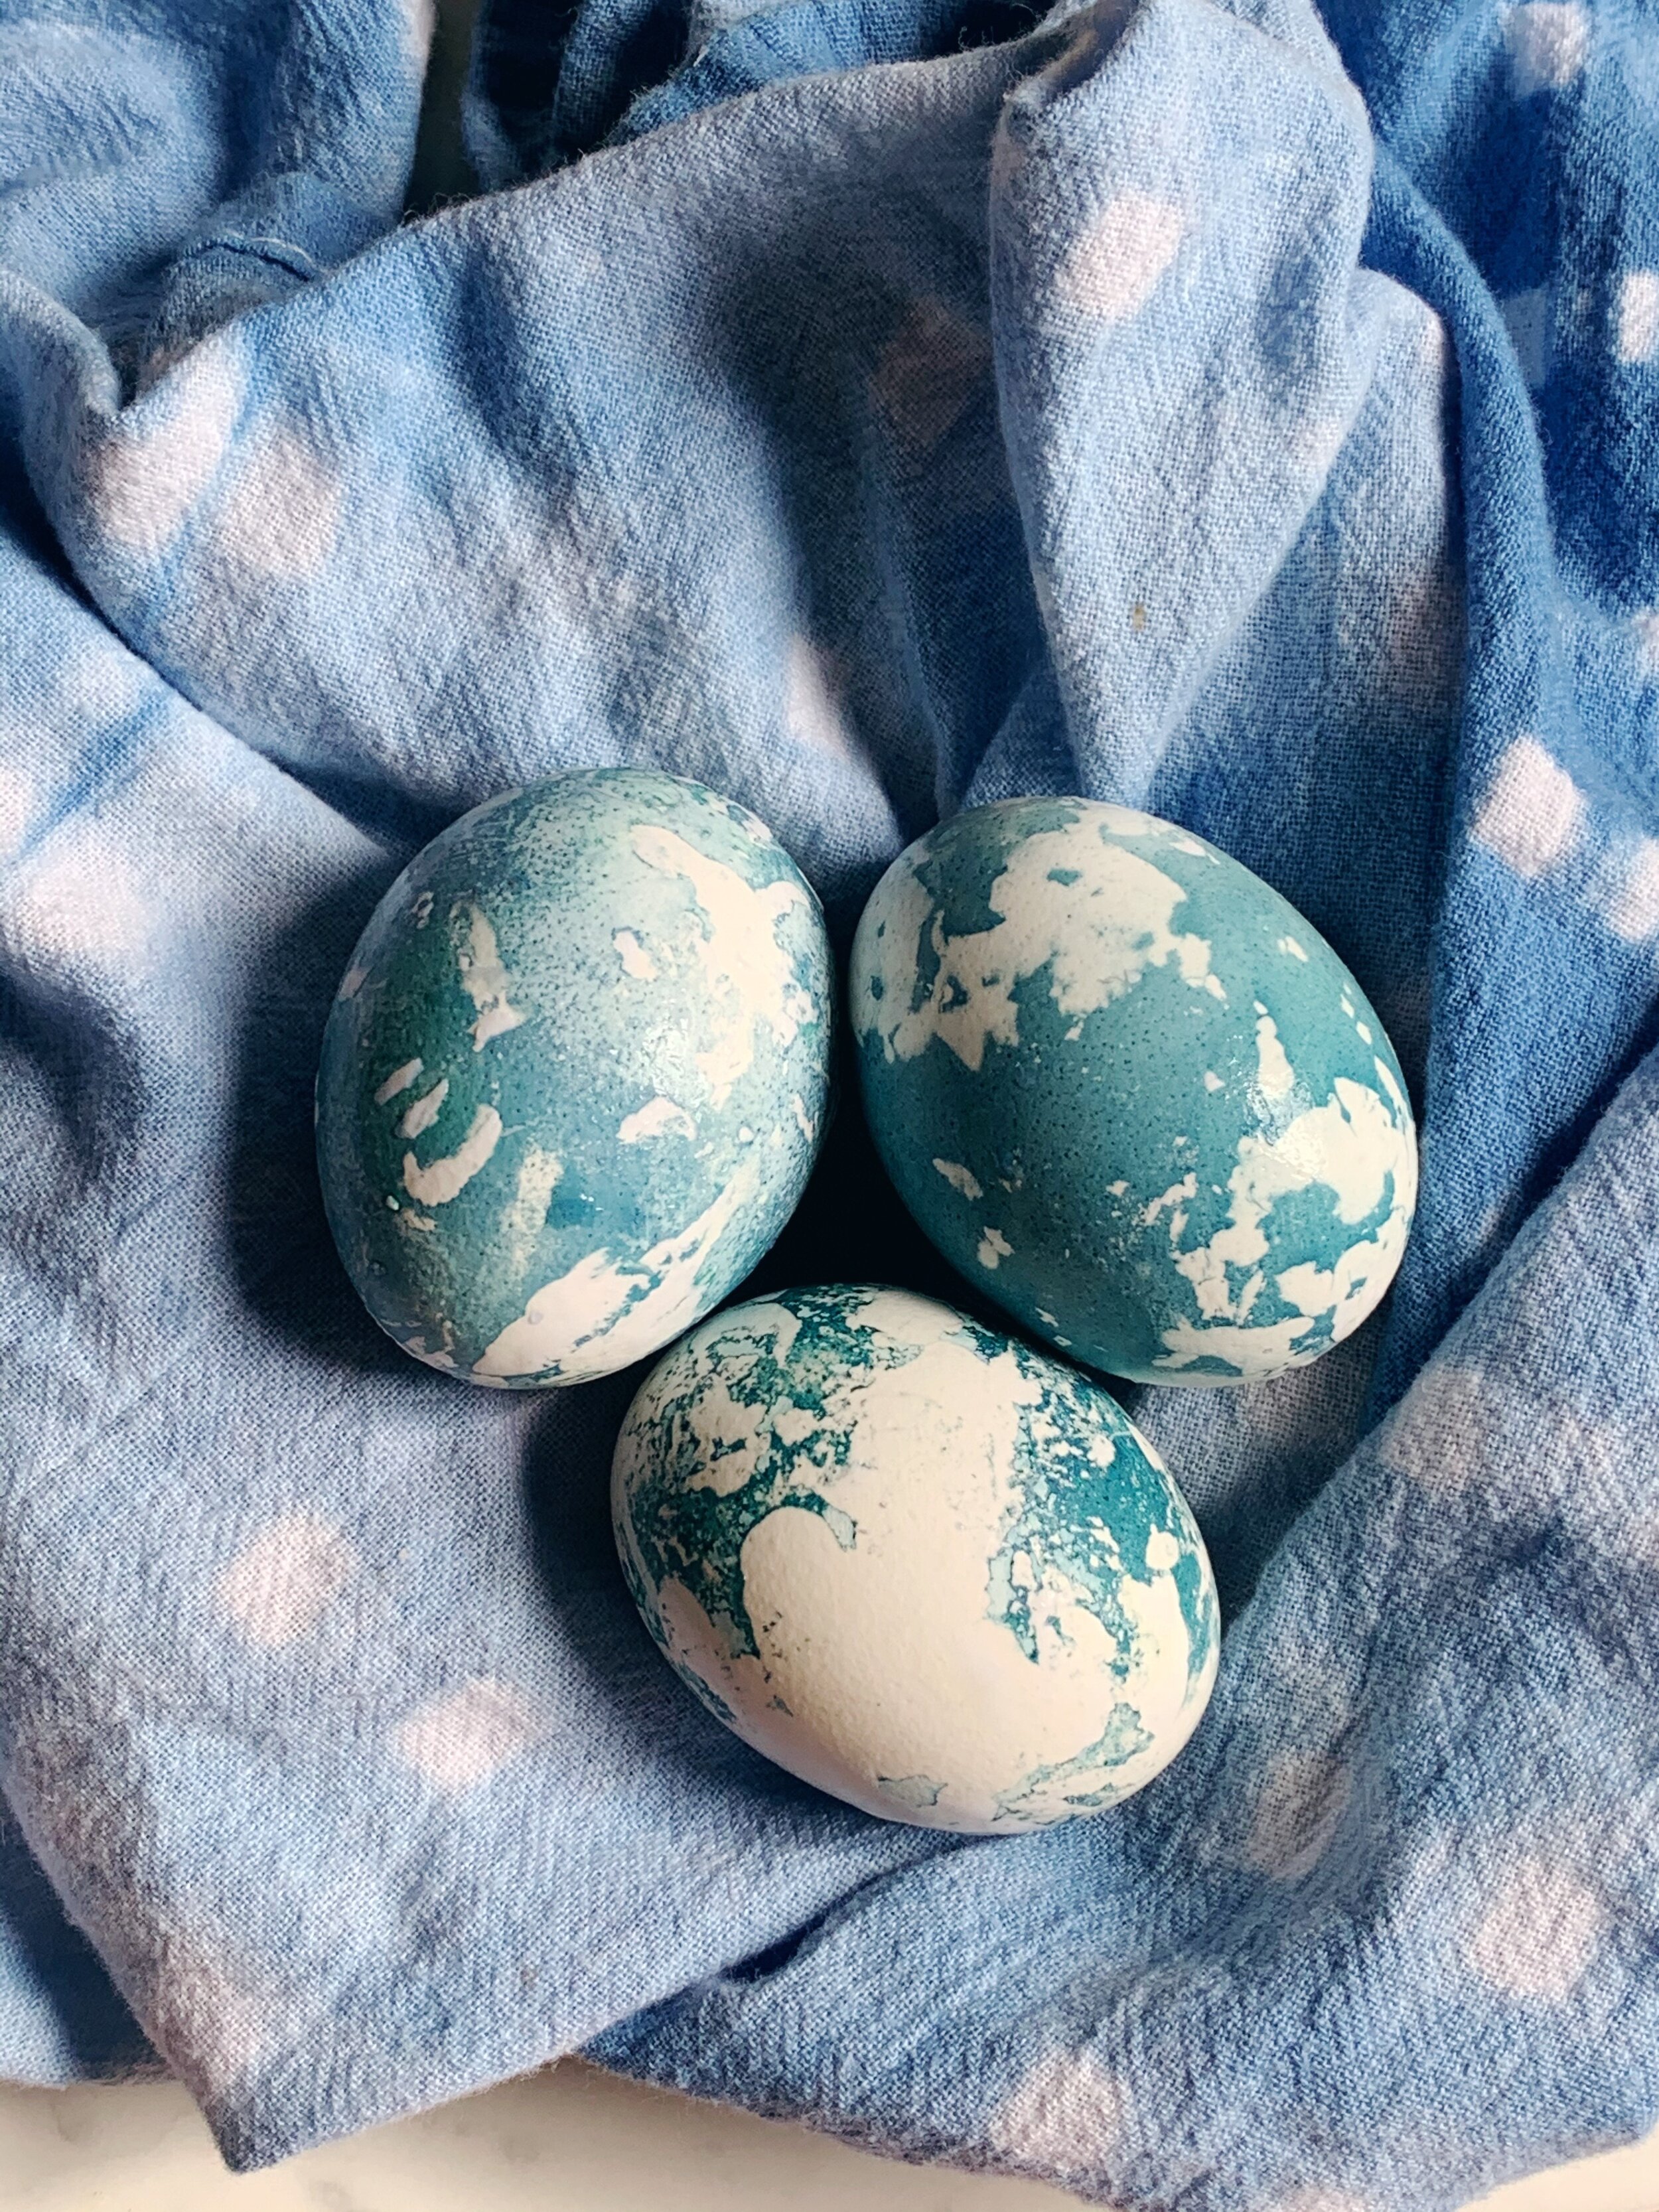
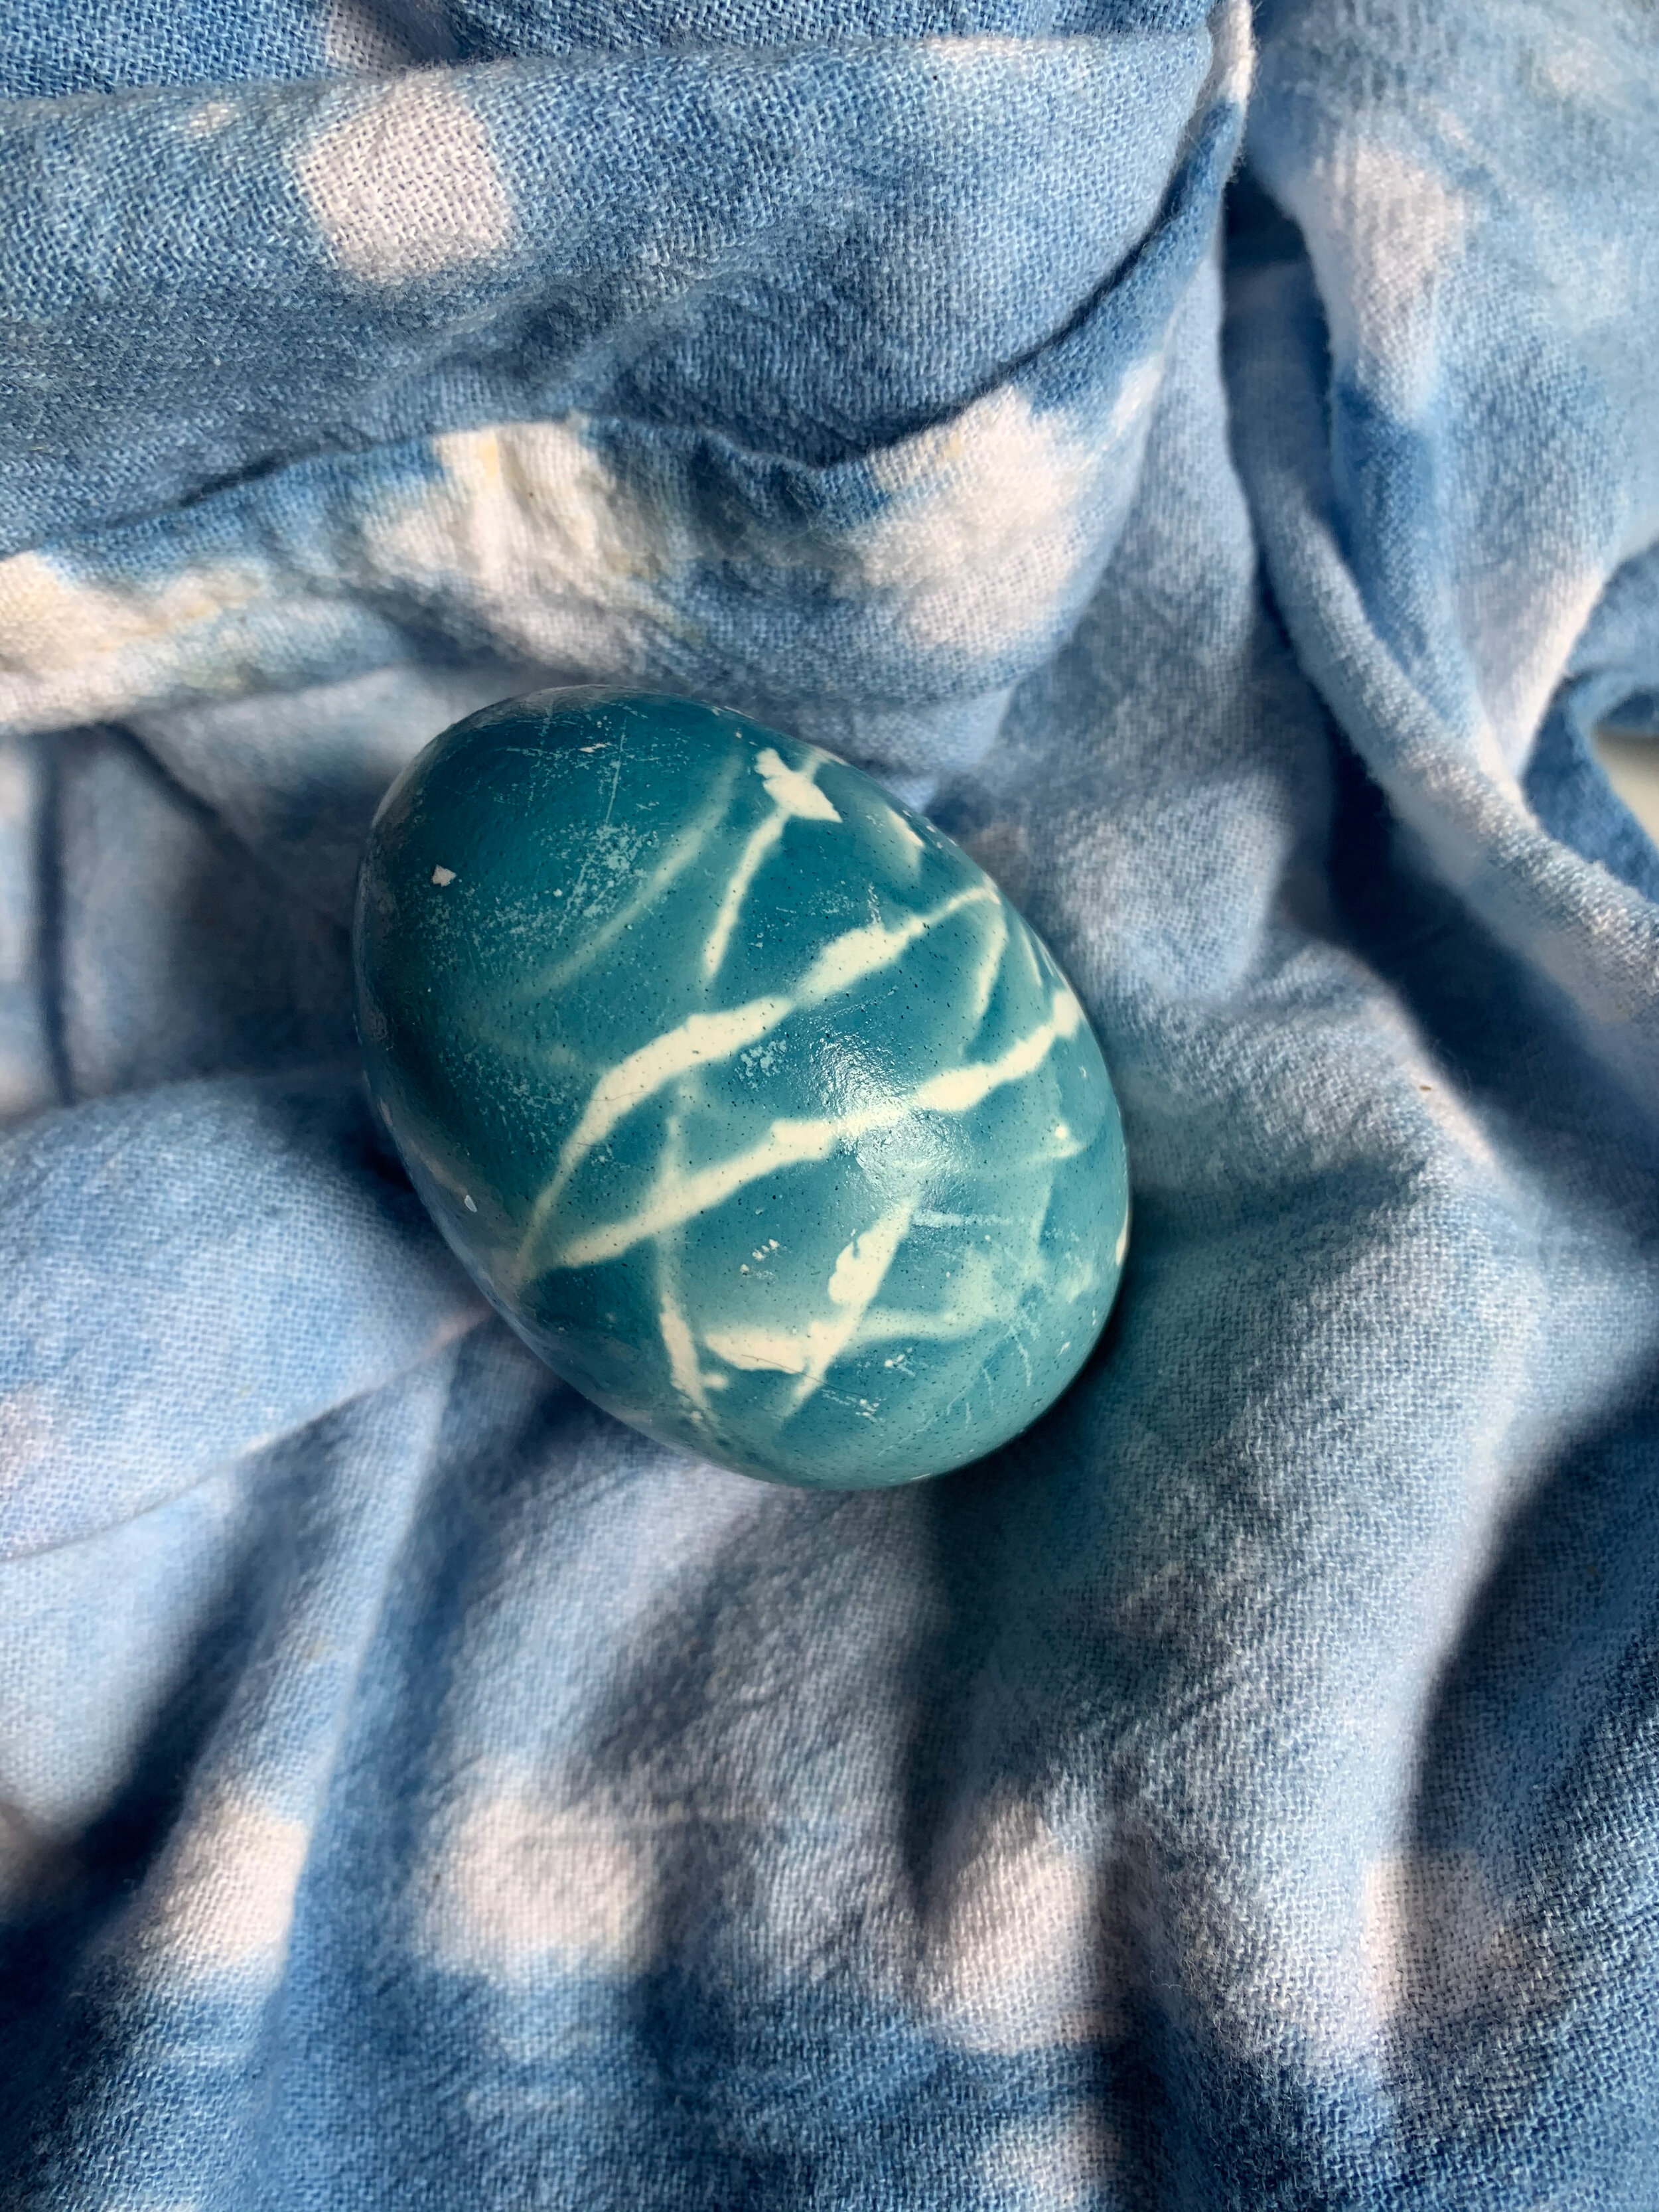
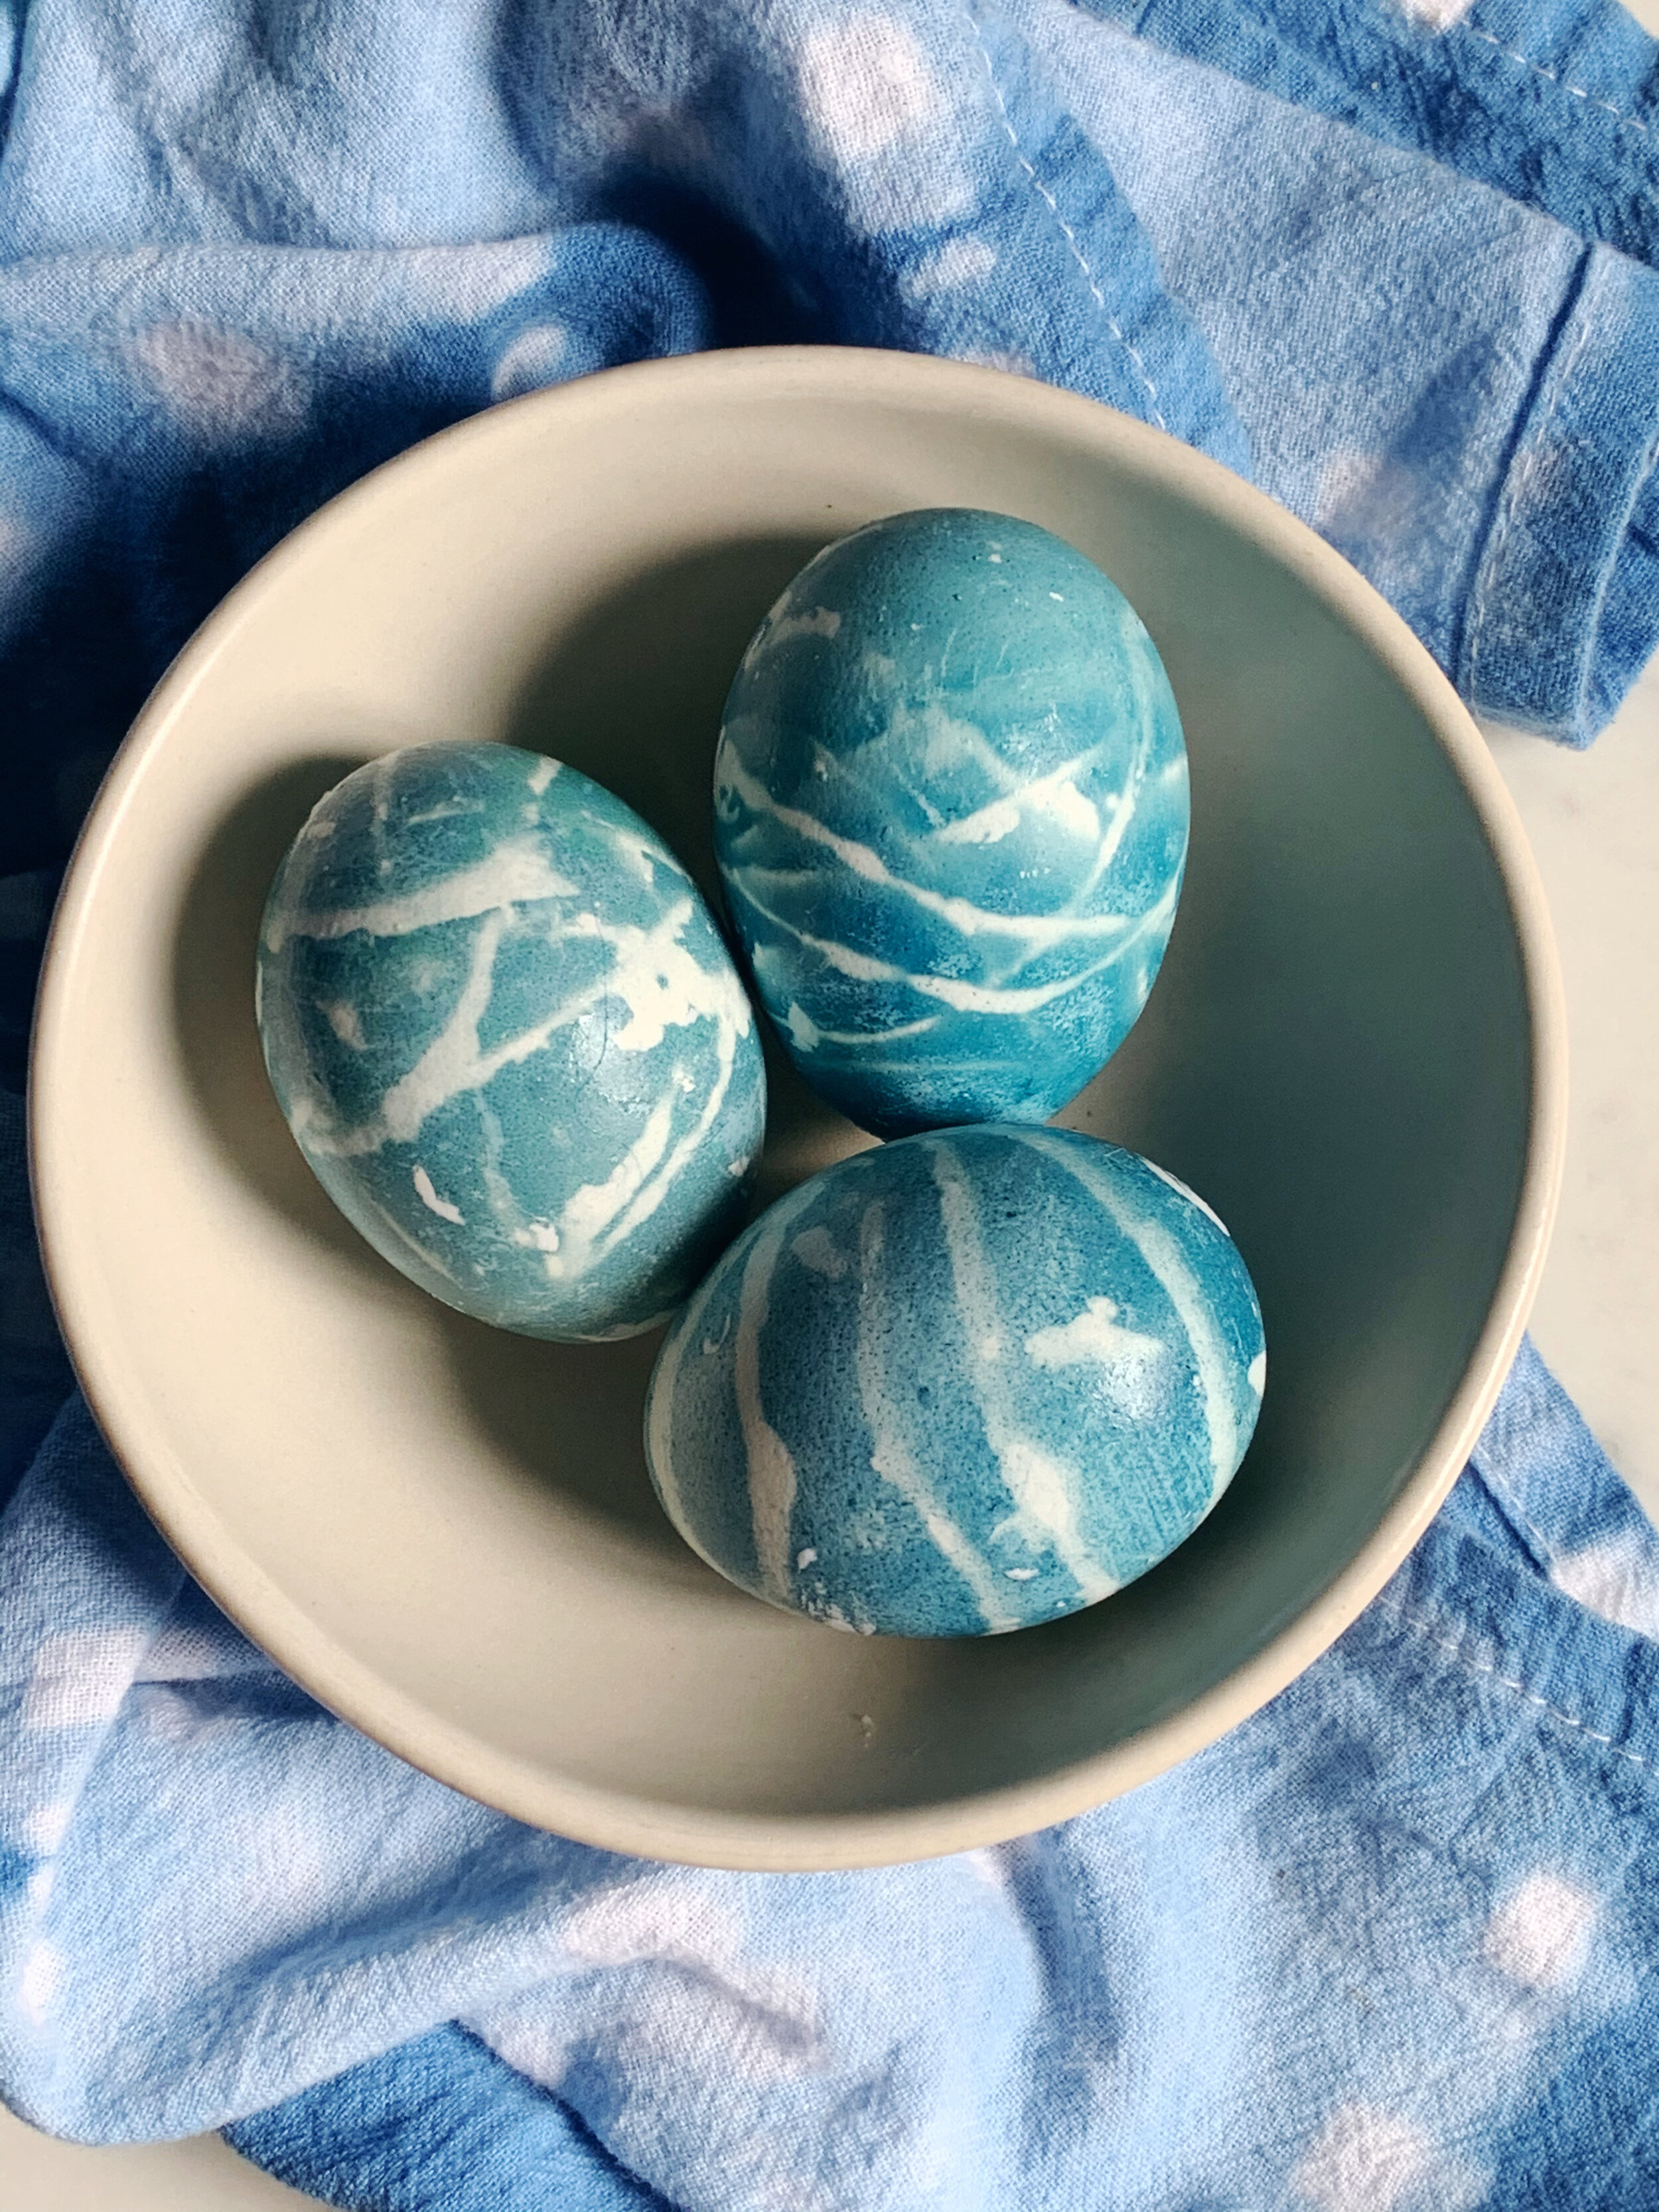
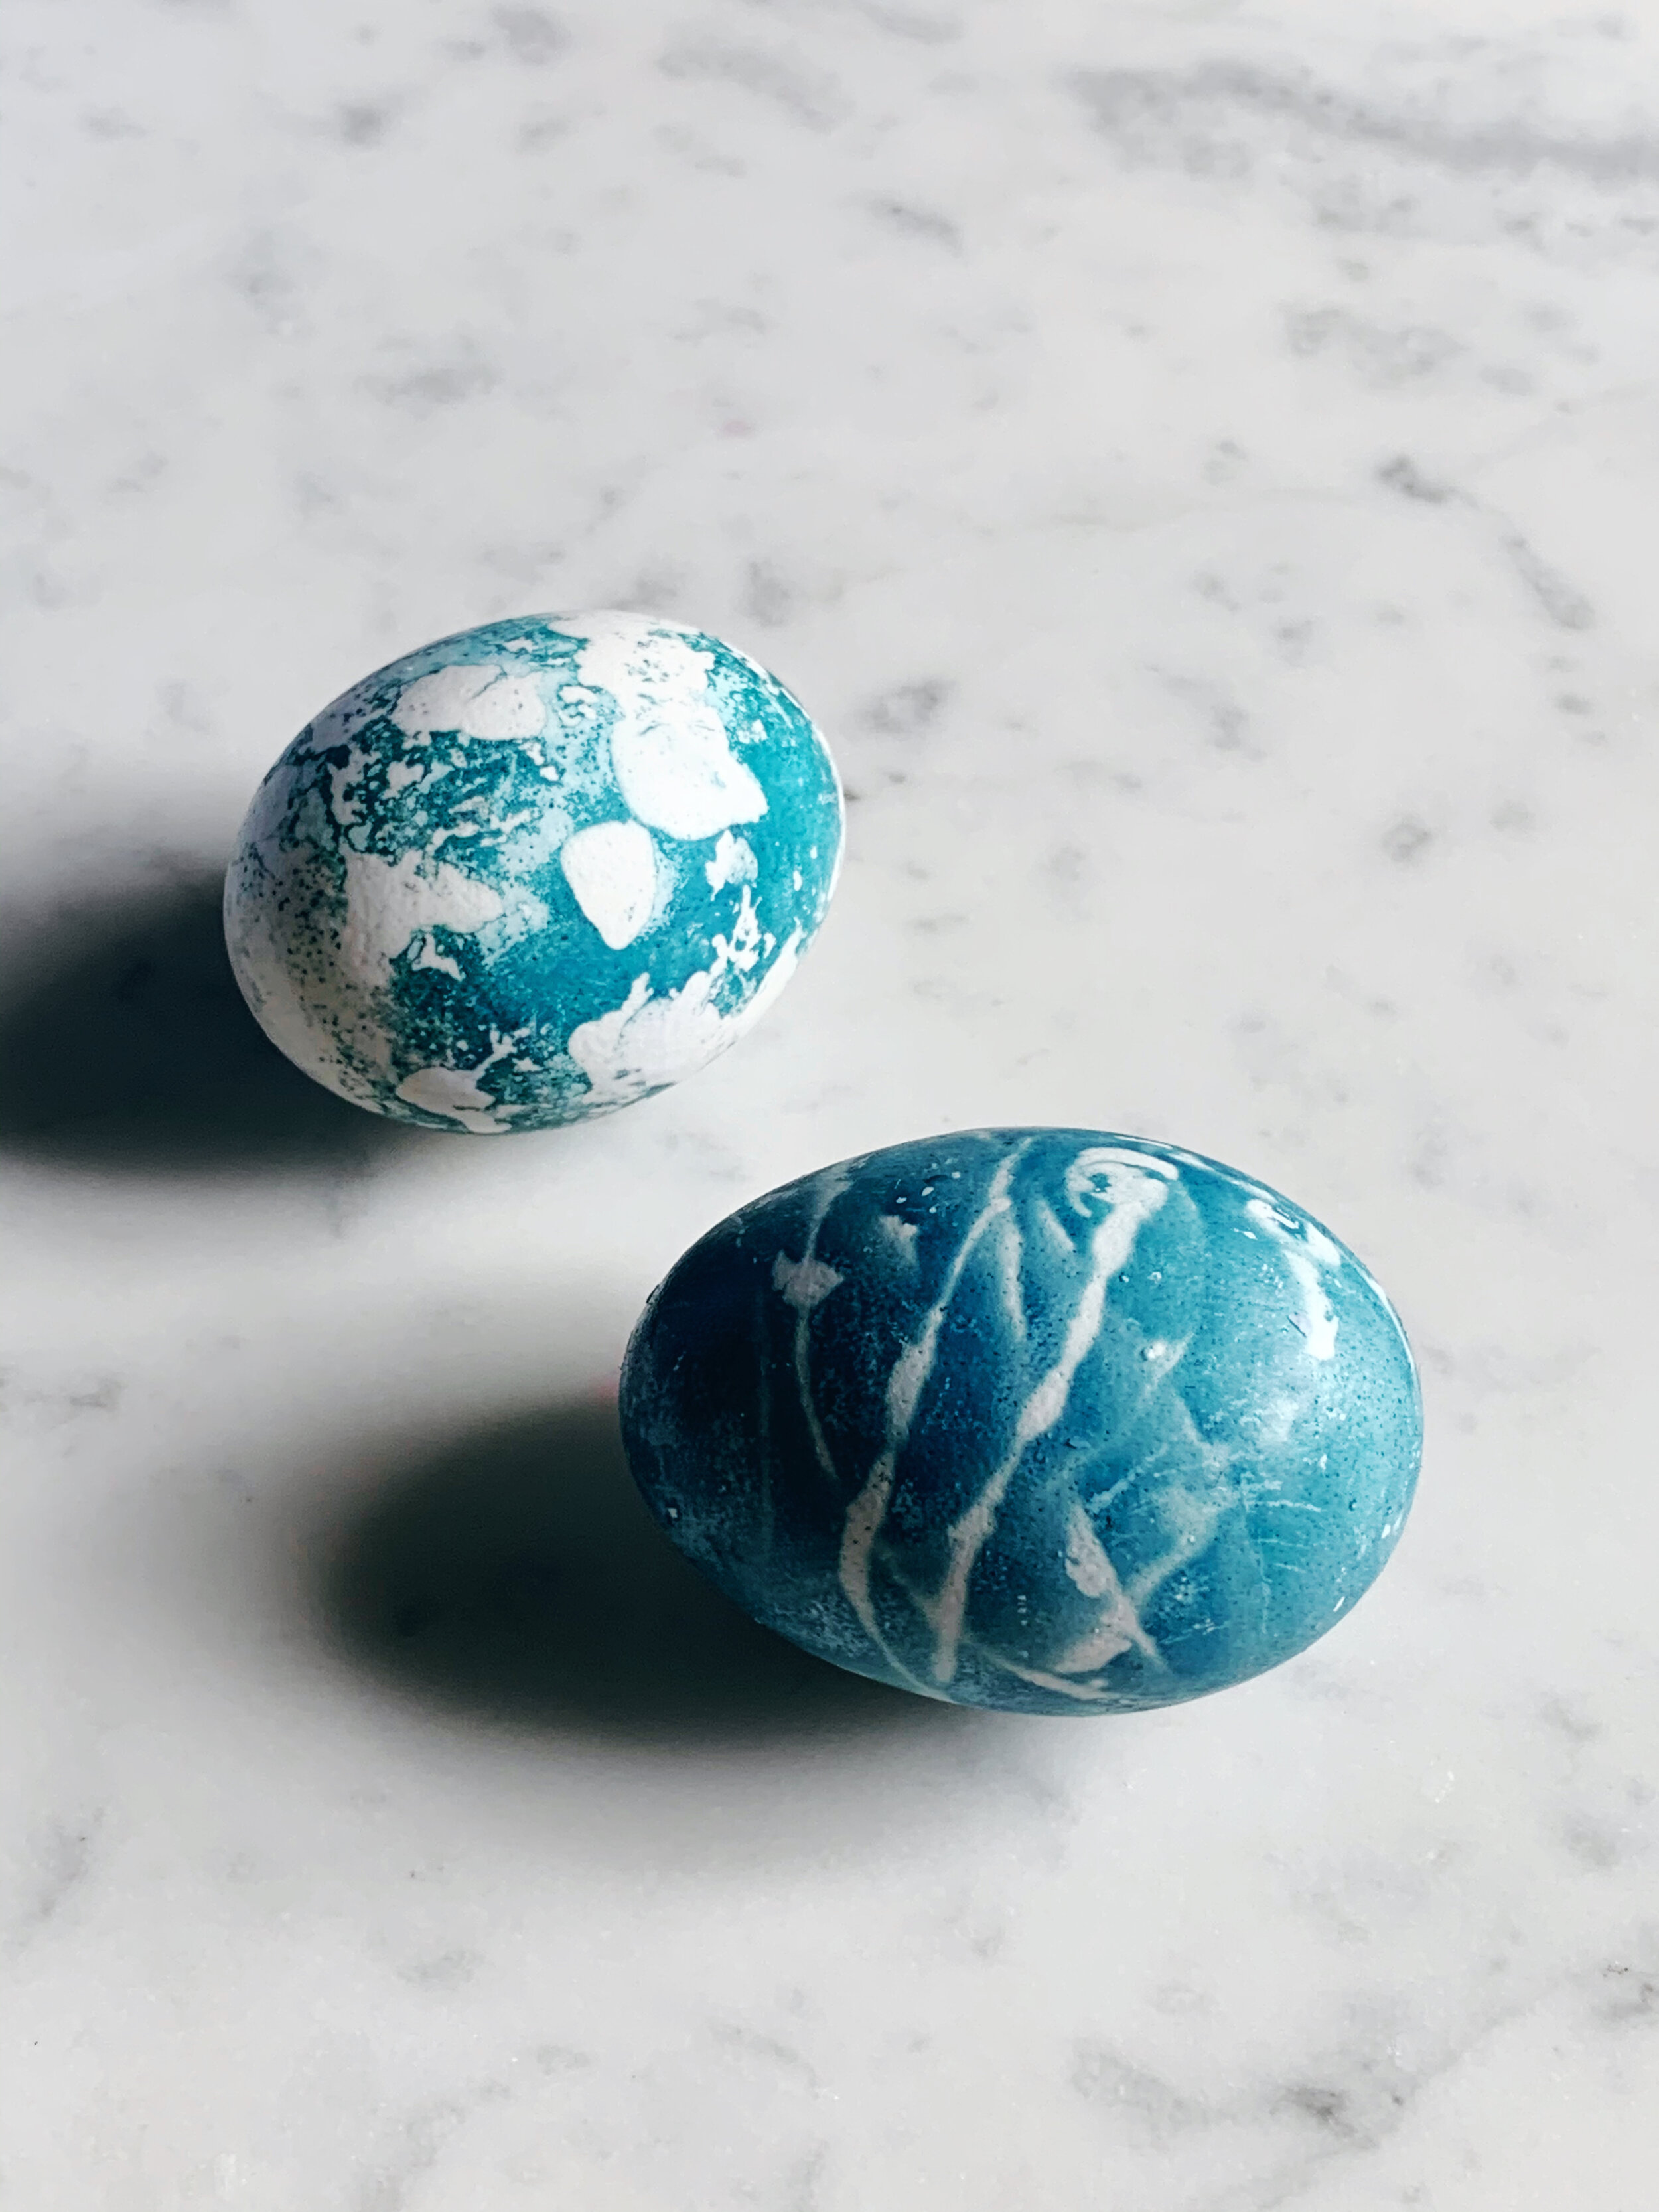
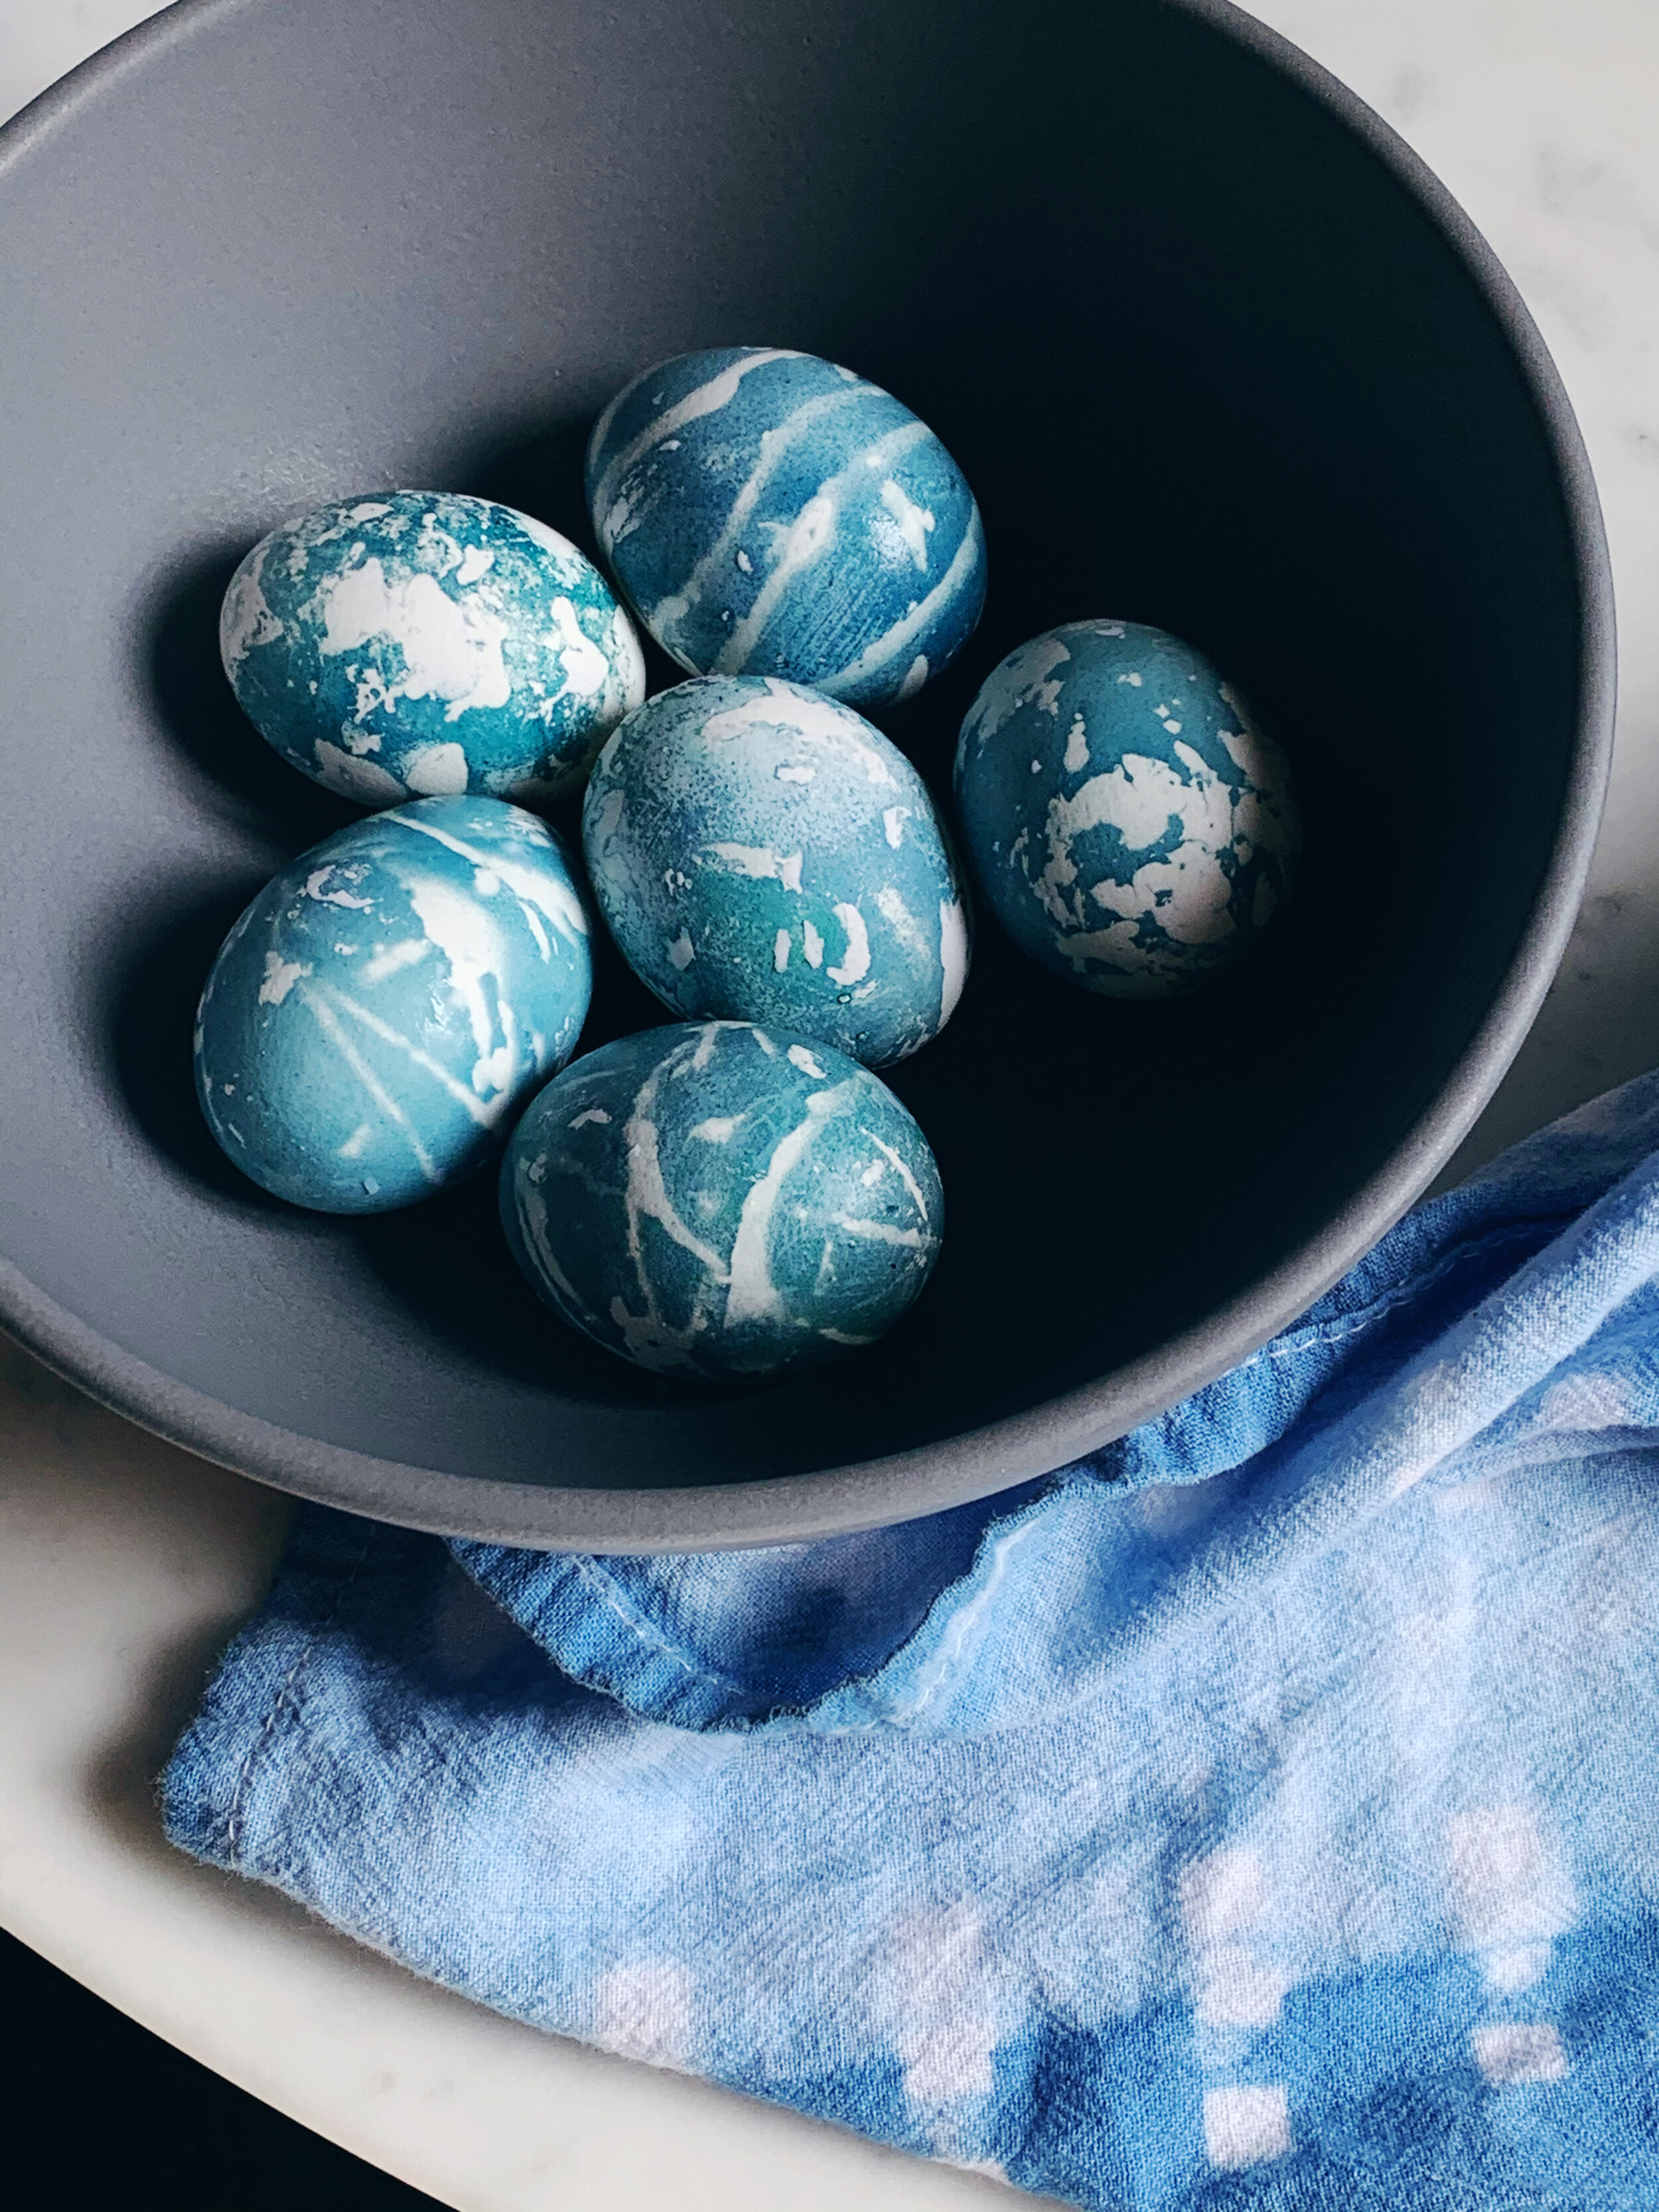
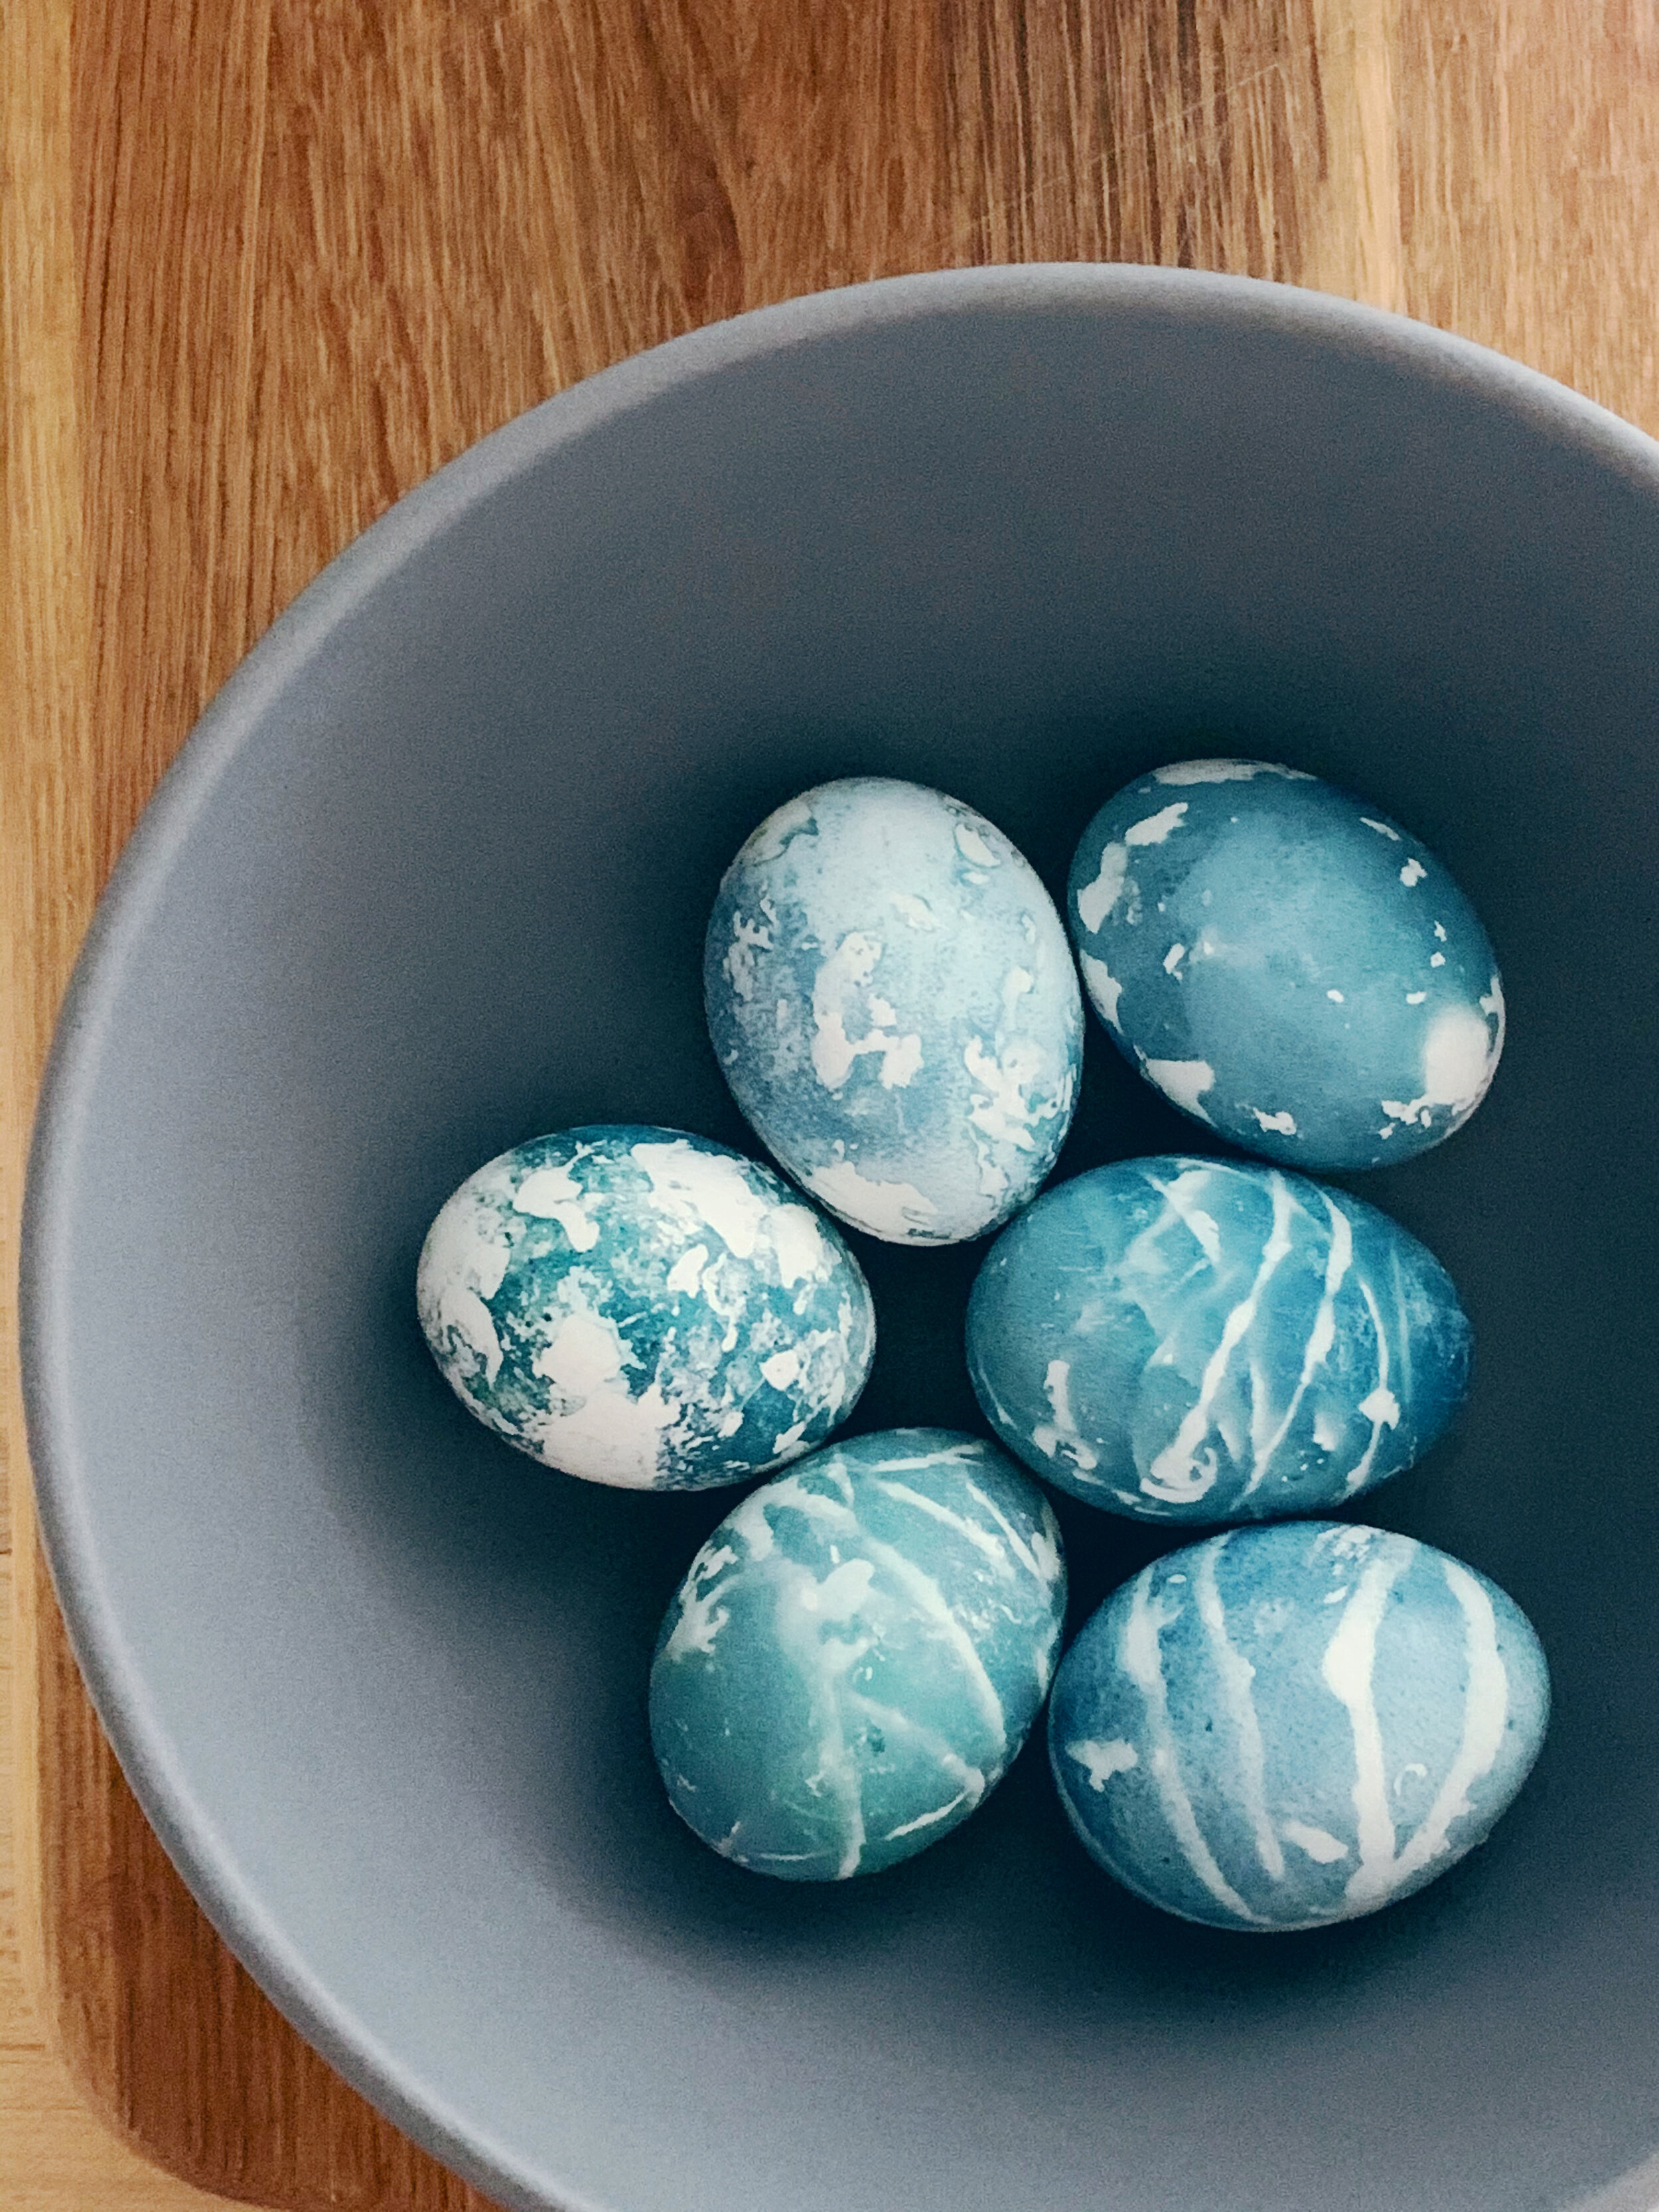
The technique I decided to try to translate involves scrunching a piece of fabric into a ball them wrapping it with twine to create a resist. Shibori is a form of resist dyeing (the patterns are achieved by binding fabric in a way that prevents the dye from reaching certain parts of the material). So I opted to use wax to create a resist on the eggs. I applied some with a scrunched piece of tissue paper or paper towel (both worked equally well), and for a second version, I dipped kitchen twine in the wax and wrapped it around the eggs.
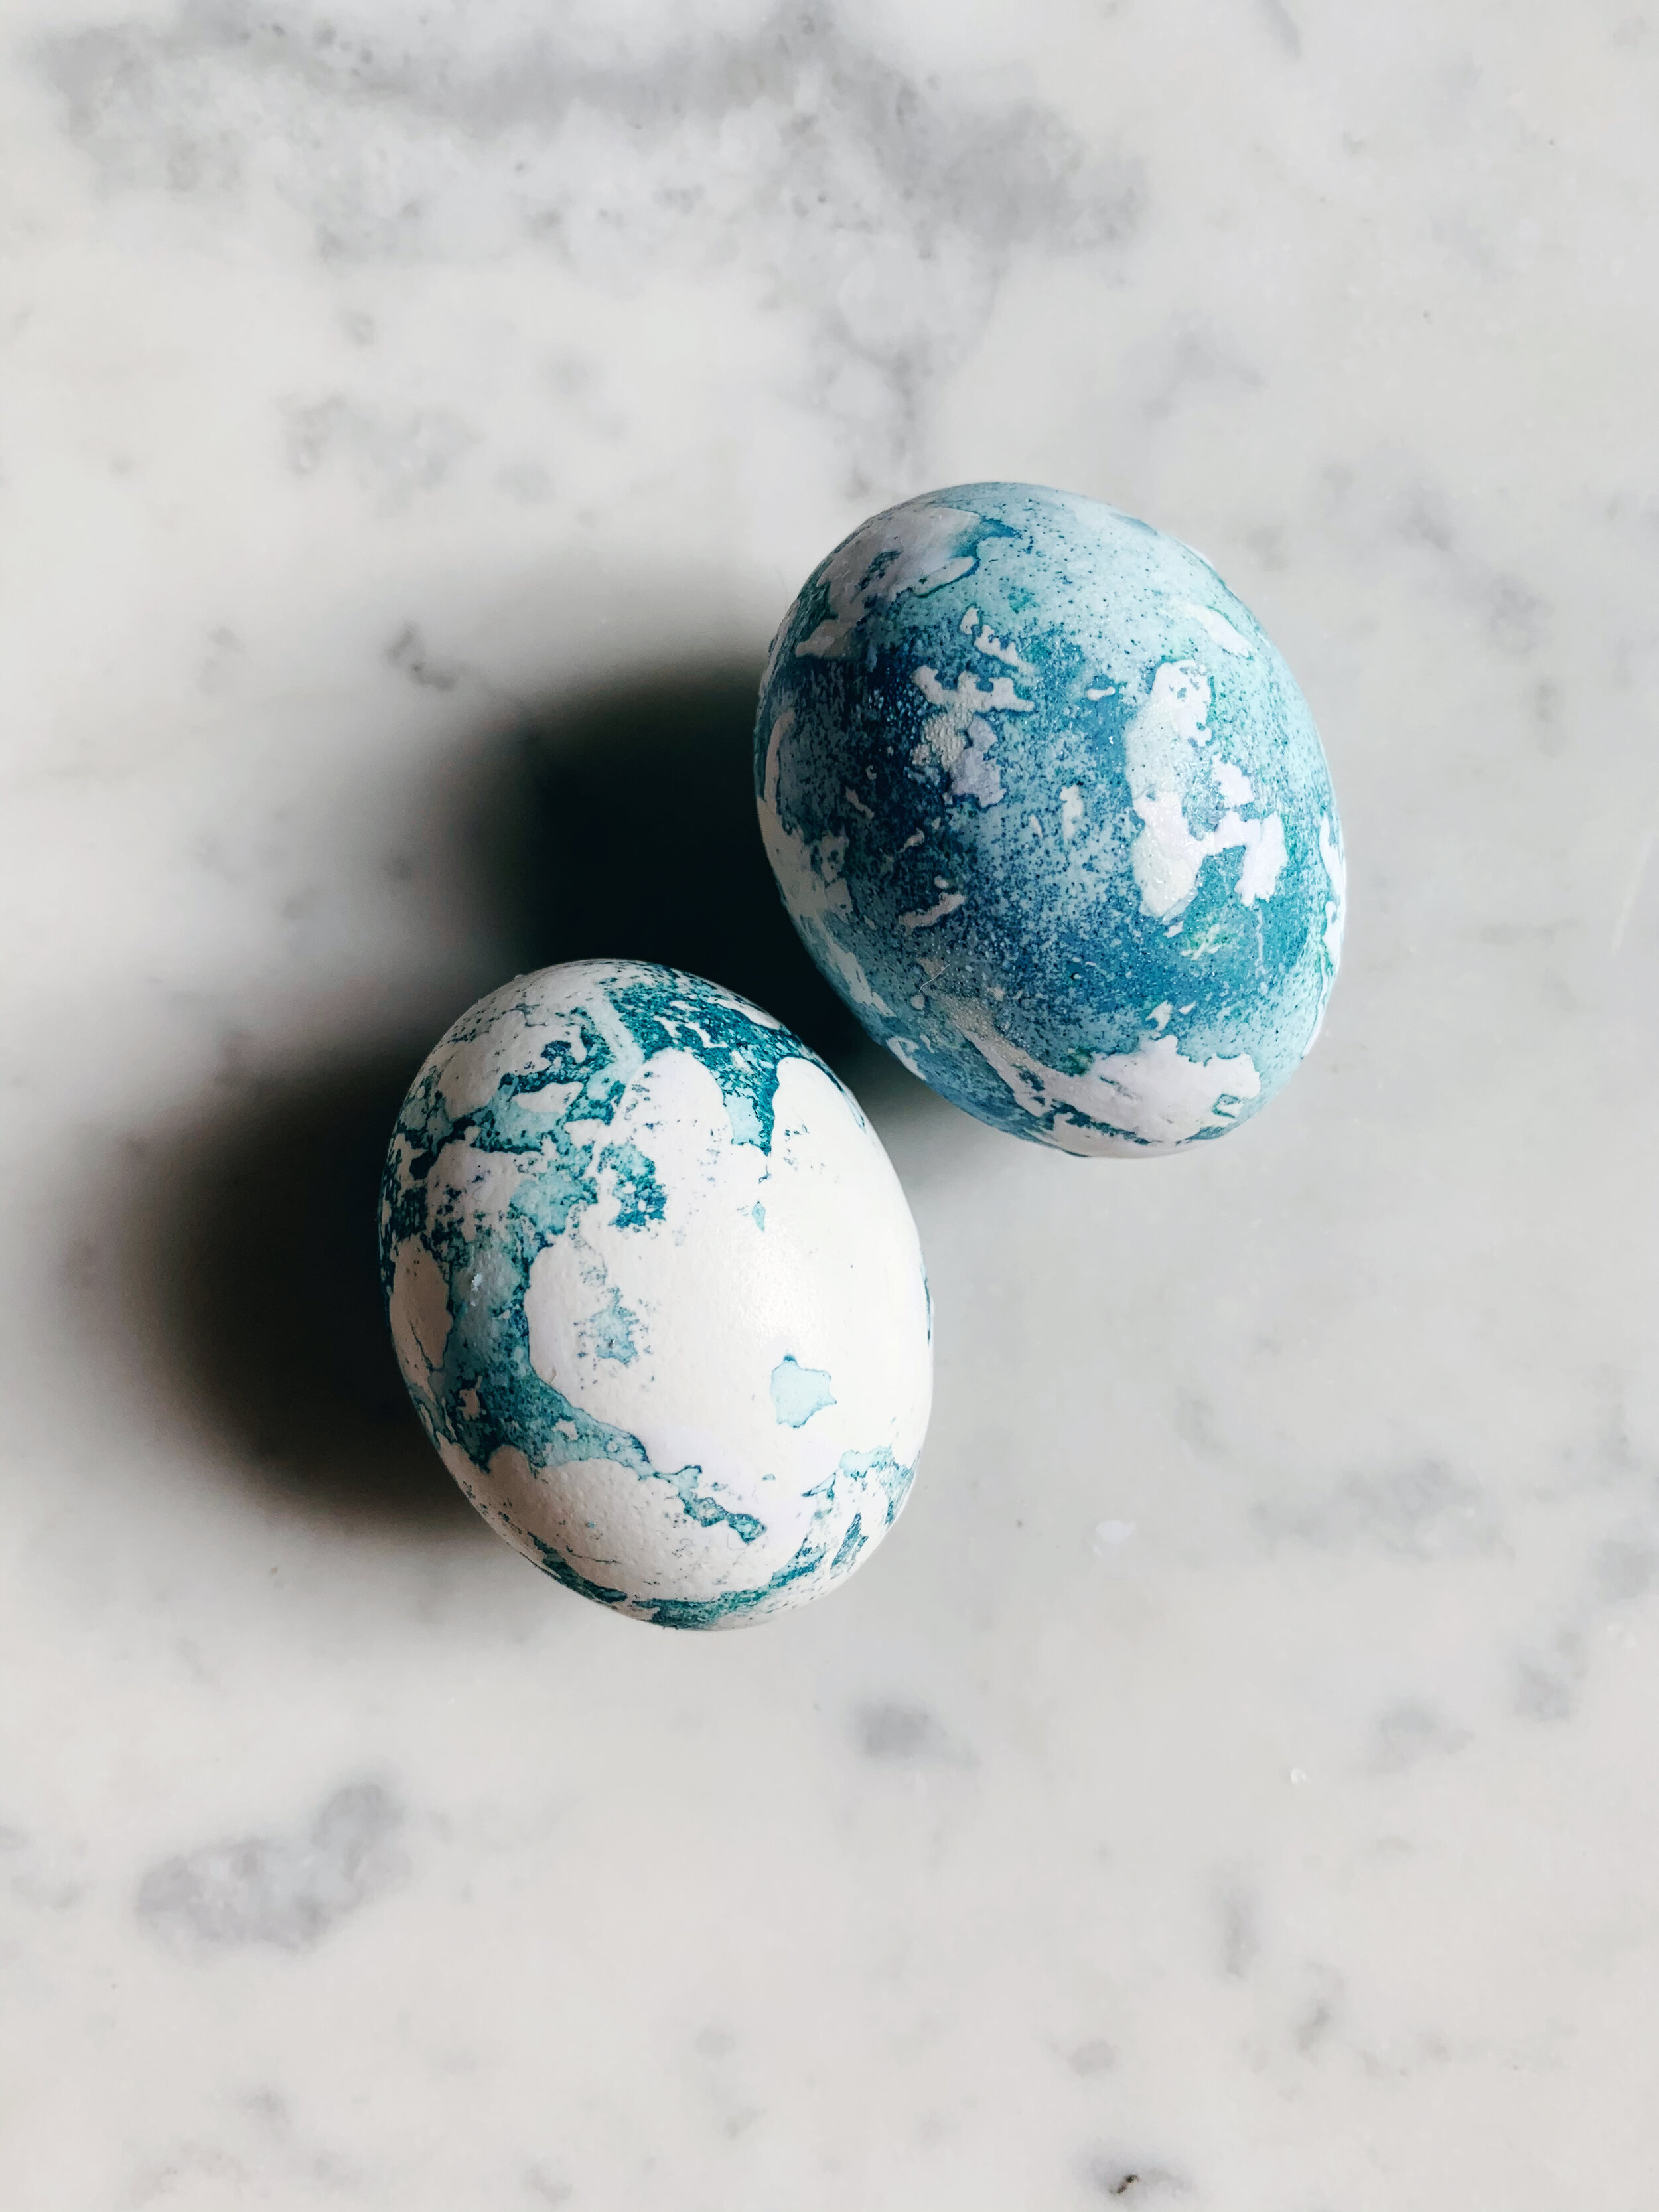
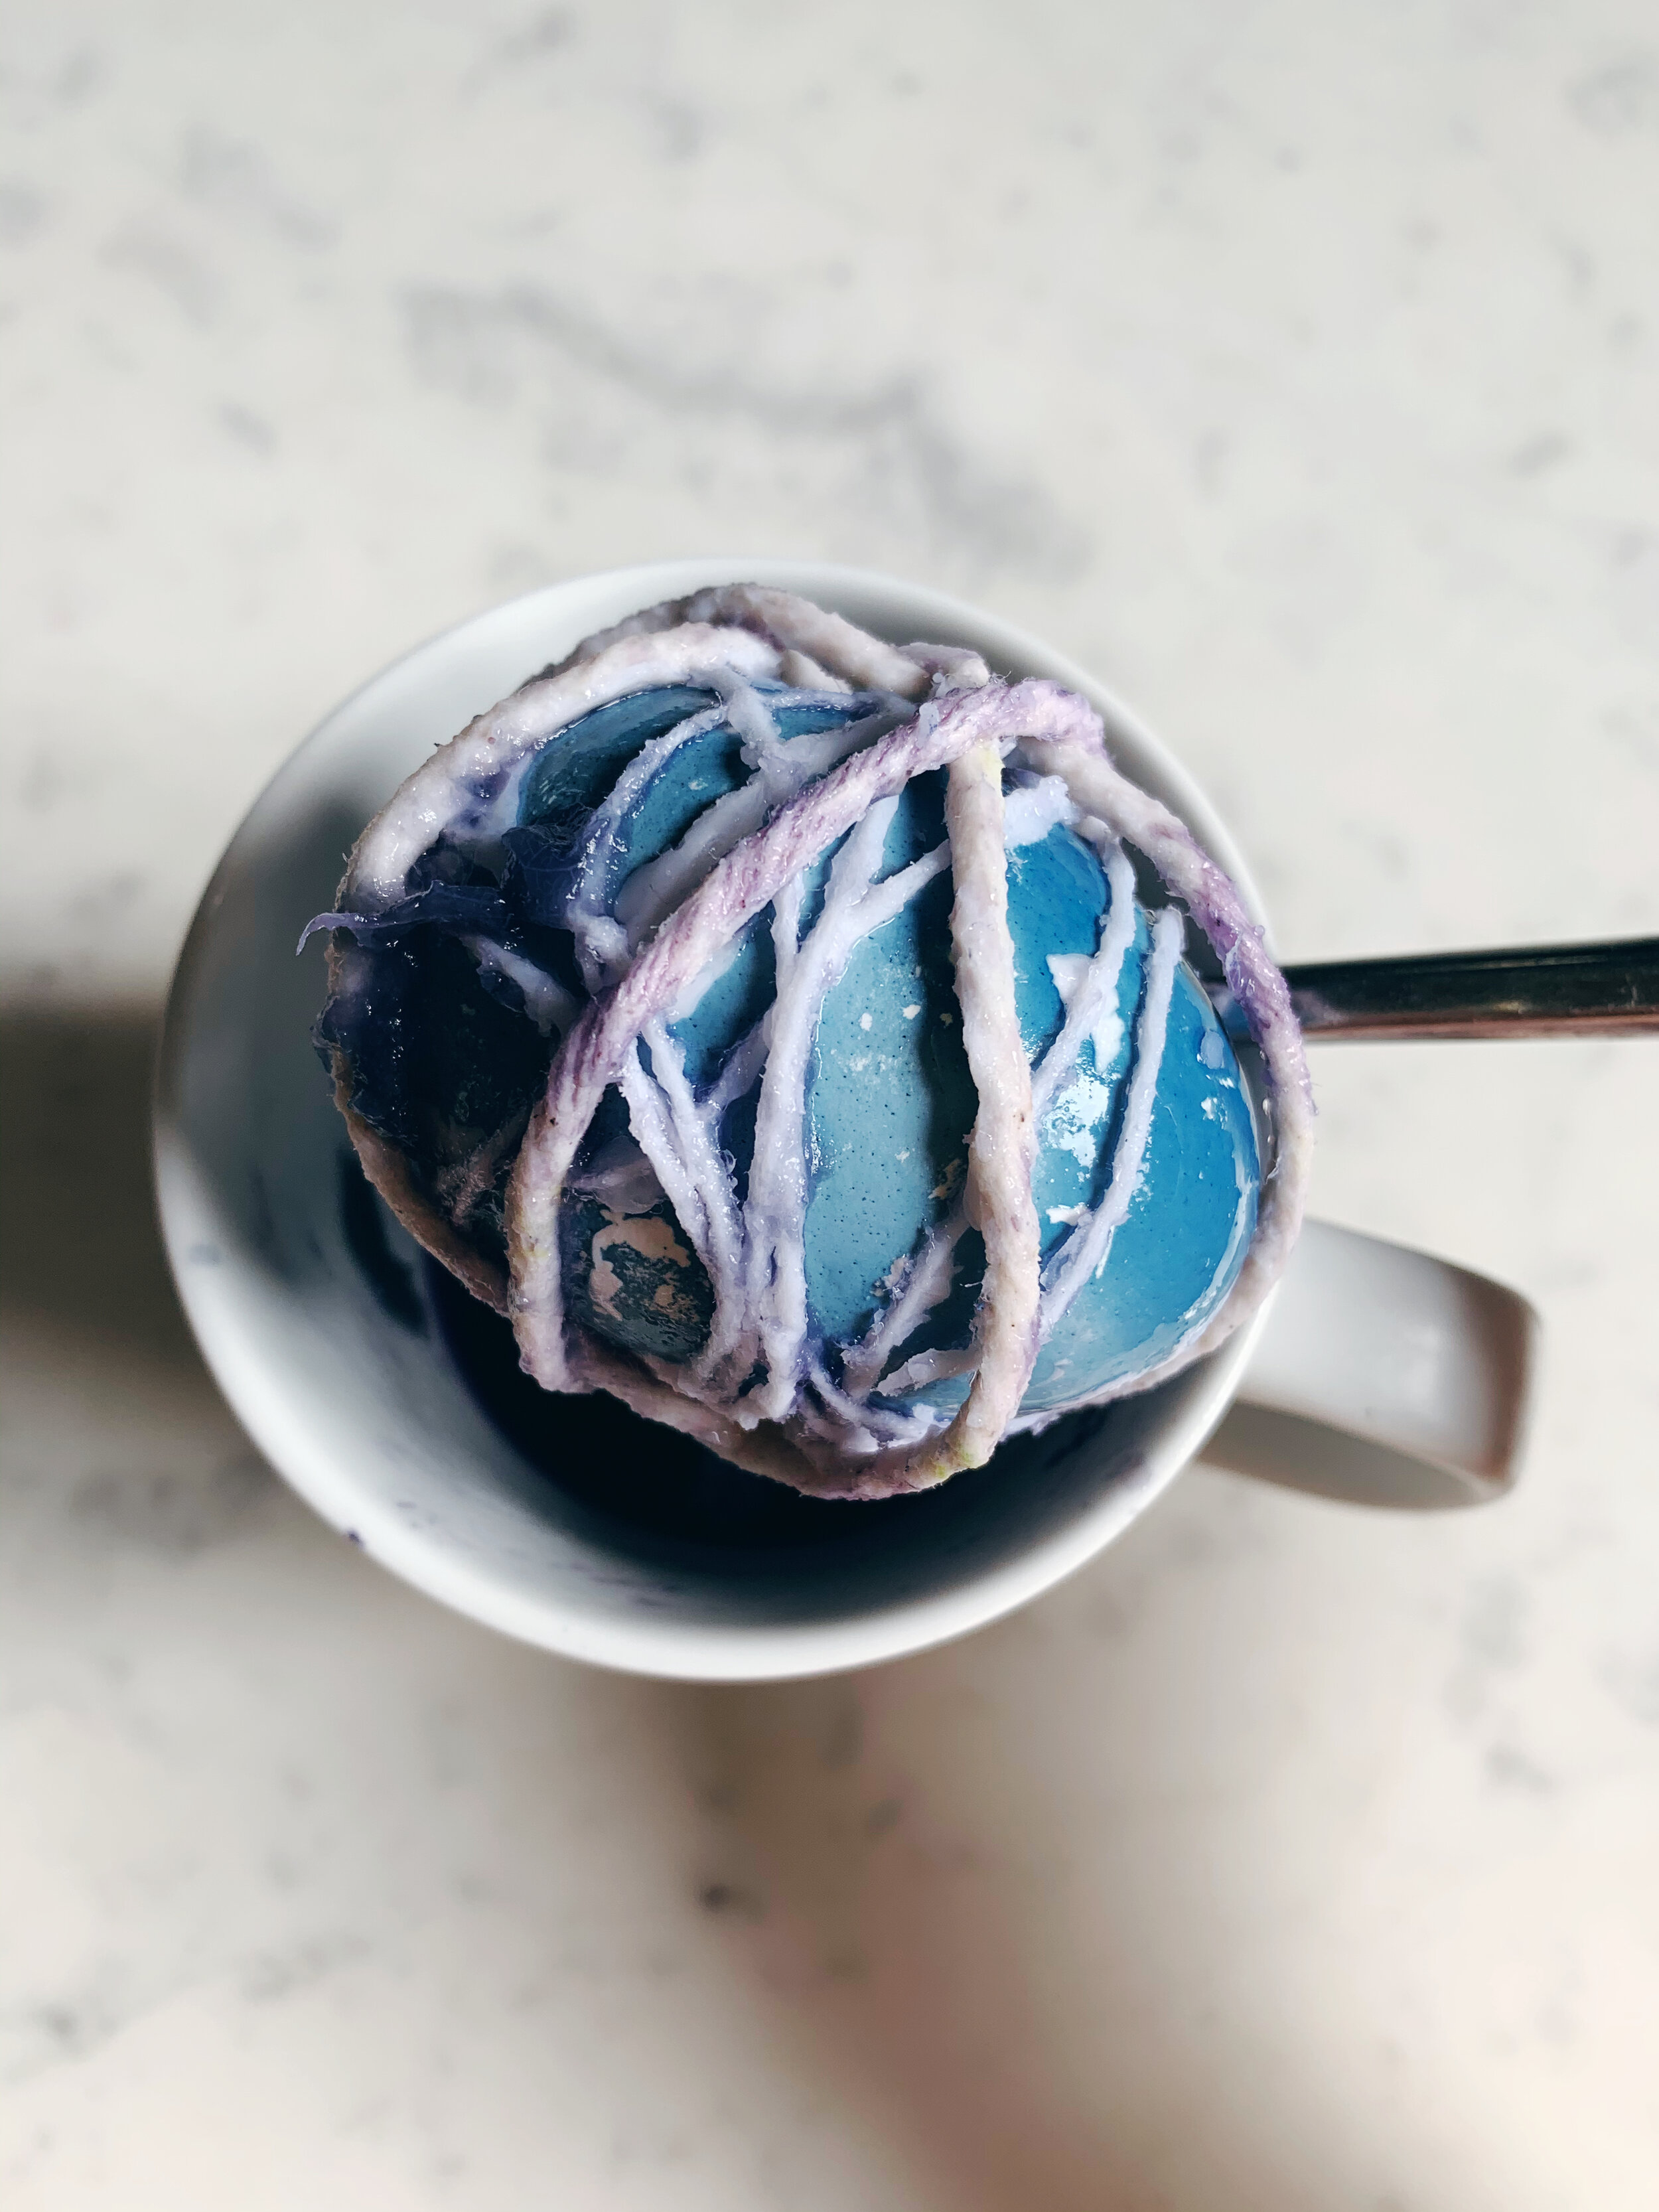
I created the “indigo” colored natural dye by boiling a head of red cabbage then letting it simmer on the stove for at least an hour. I made sure to give it ample time to cool in the fridge before submerging the eggs so I wouldn’t melt the wax. For the lighter ones, I left them submerged (in the refrigerator) for just a few hours. The darker ones soaked overnight.
Supplies:
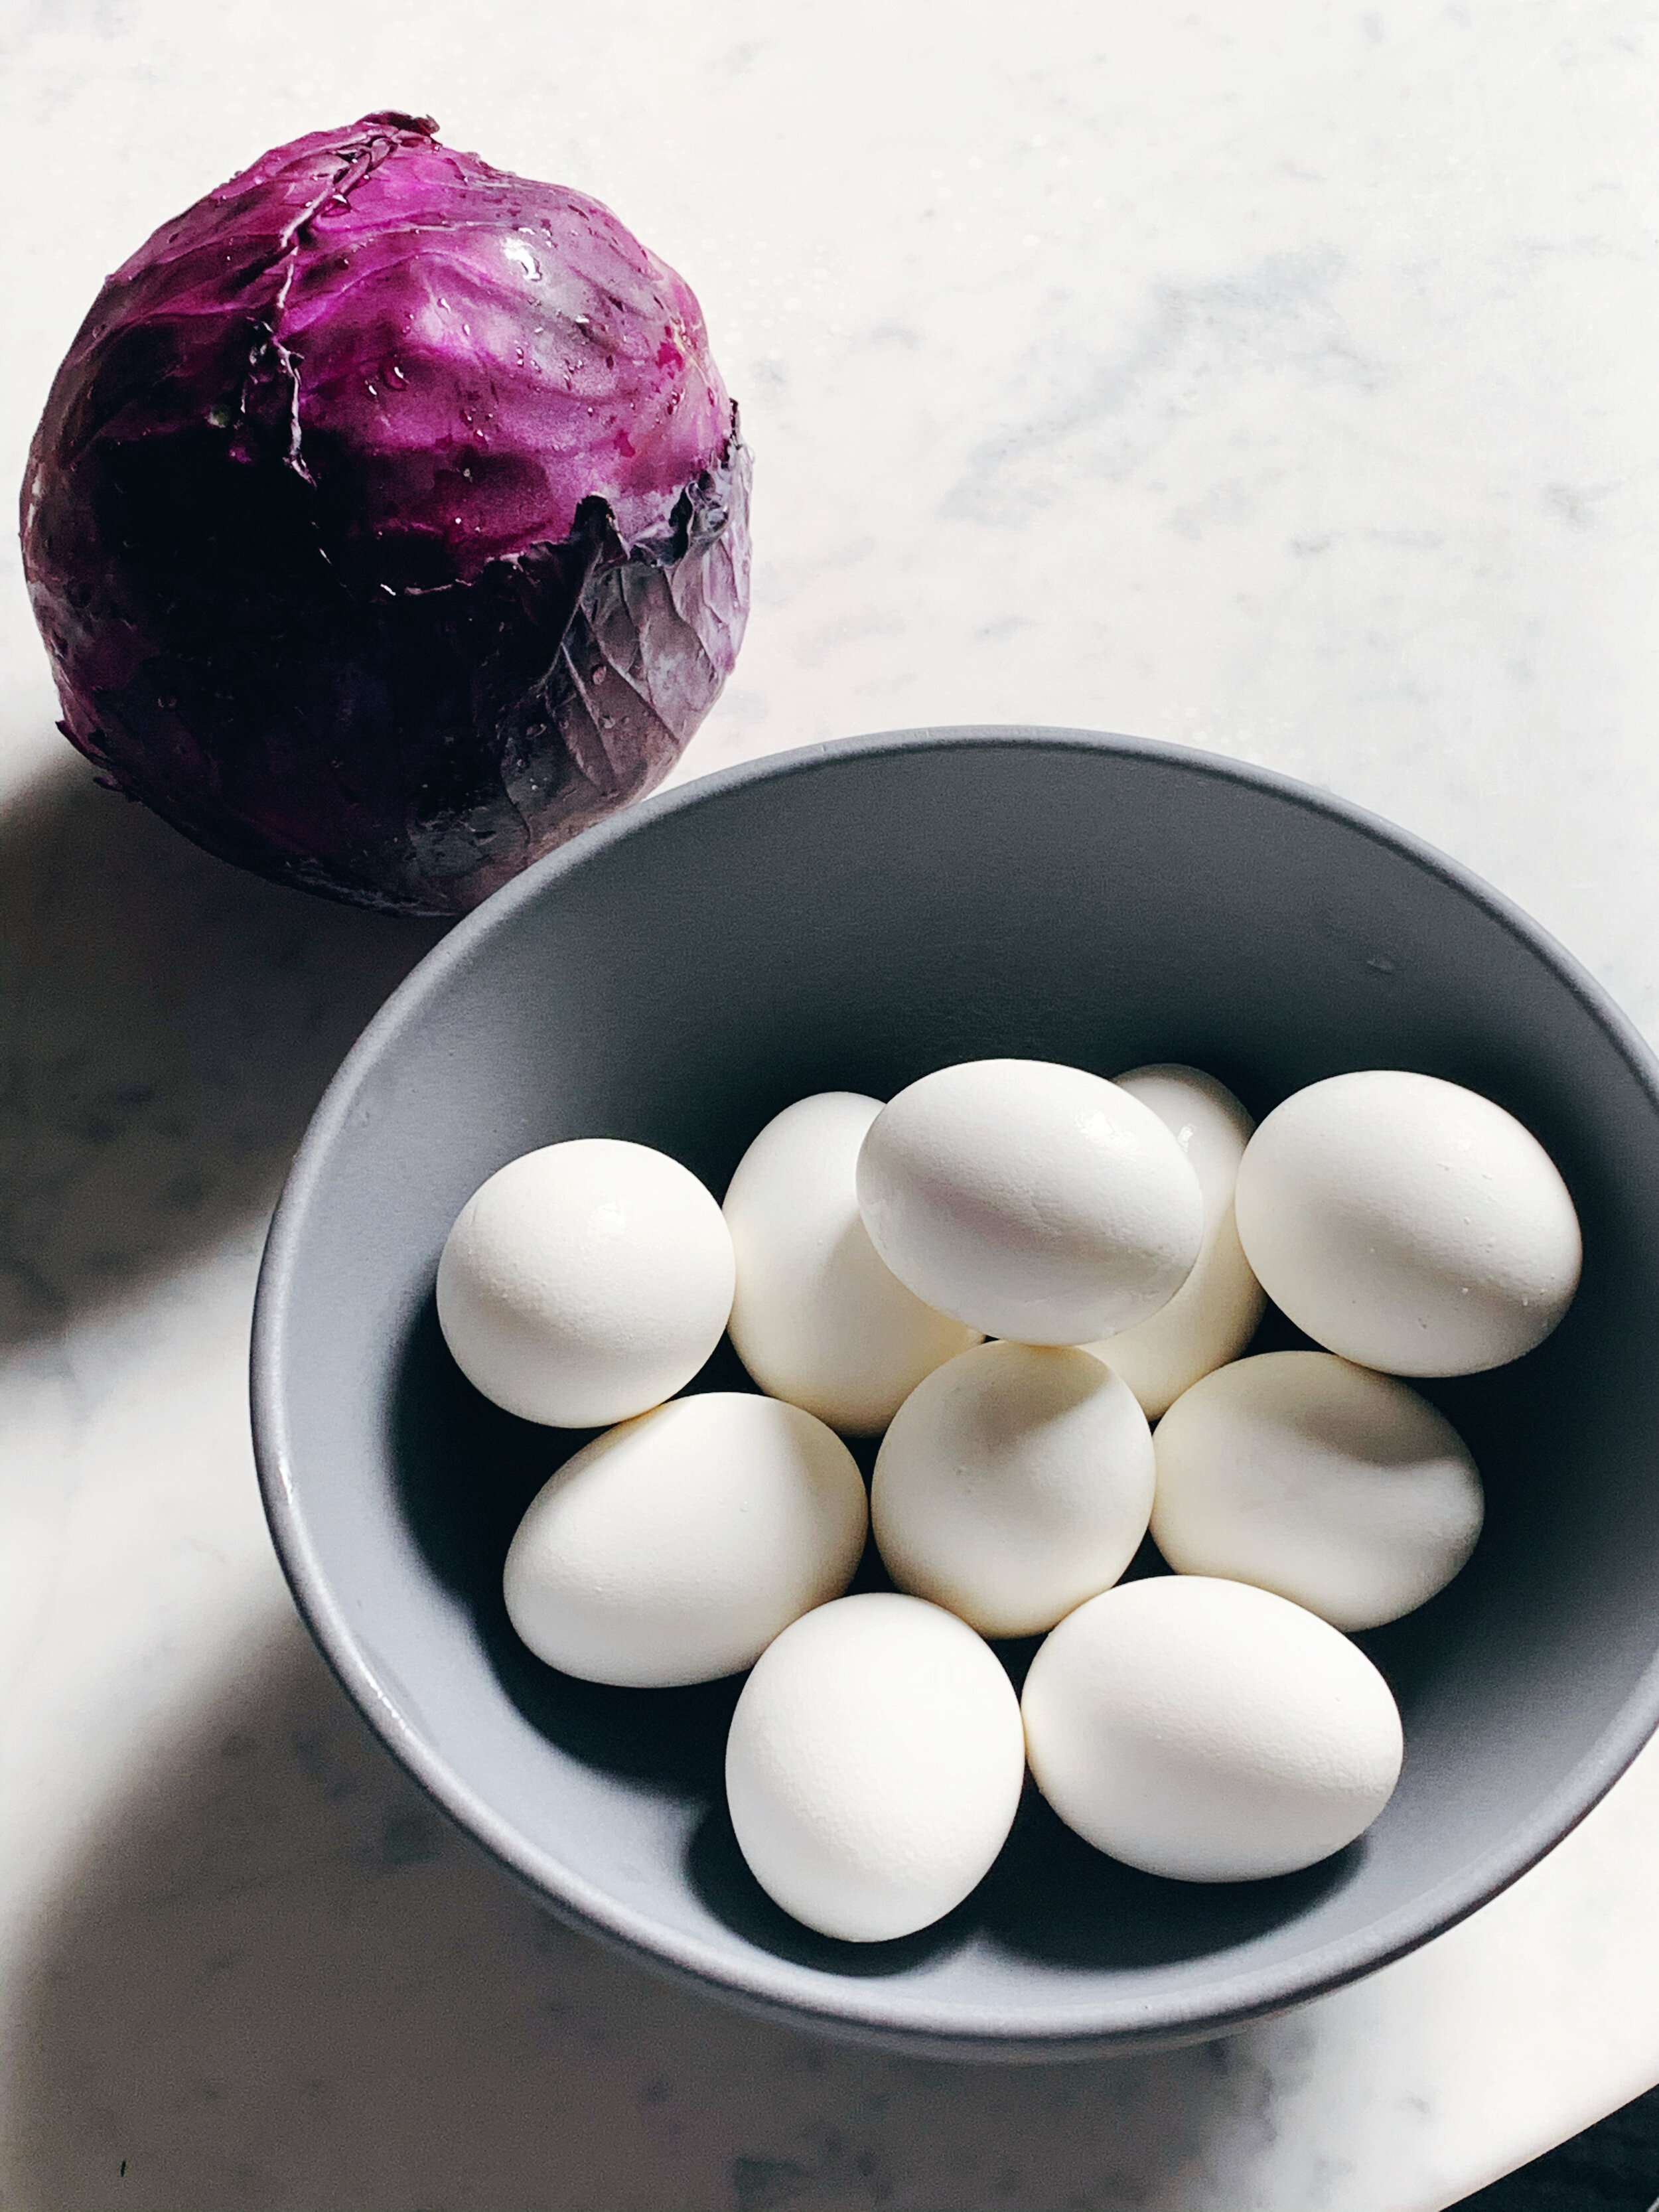
White eggs
Red Cabbage
White Vinegar
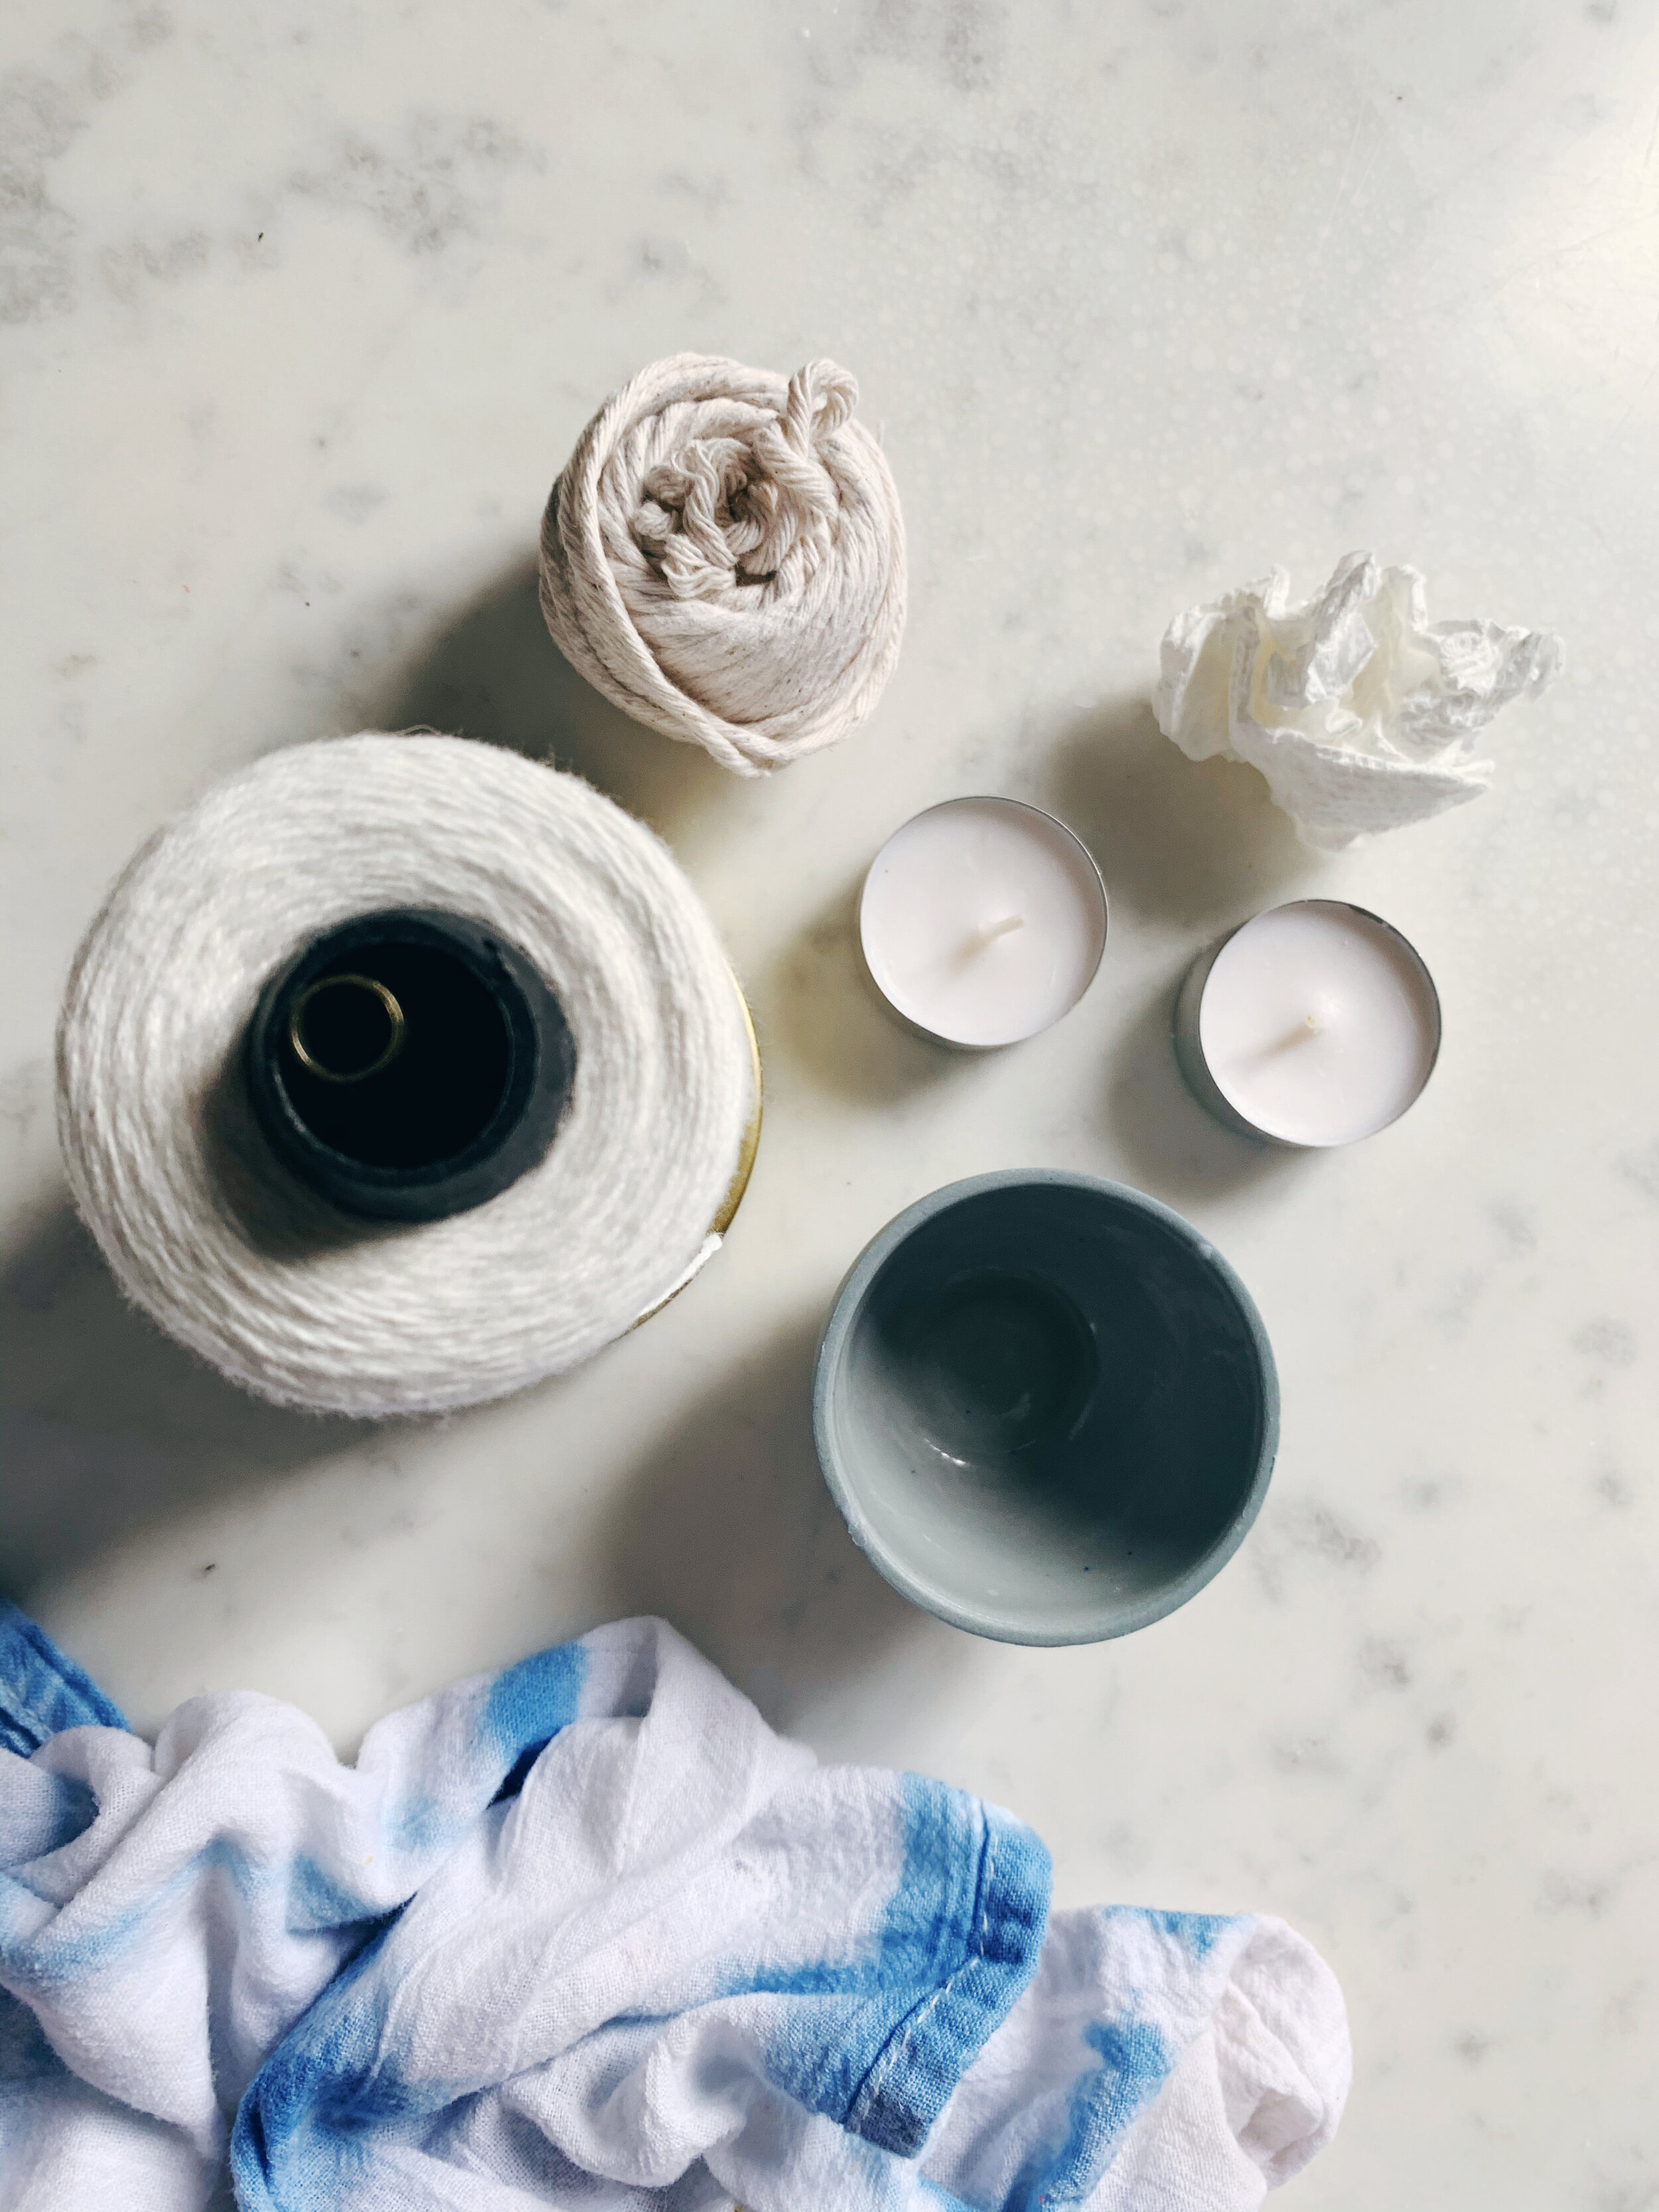
A tea light or other wax you can melt
Kitchen Twine
Tissue paper or a Paper Towel
DIY:
To make the dye
Boil your eggs and place in the fridge to chill
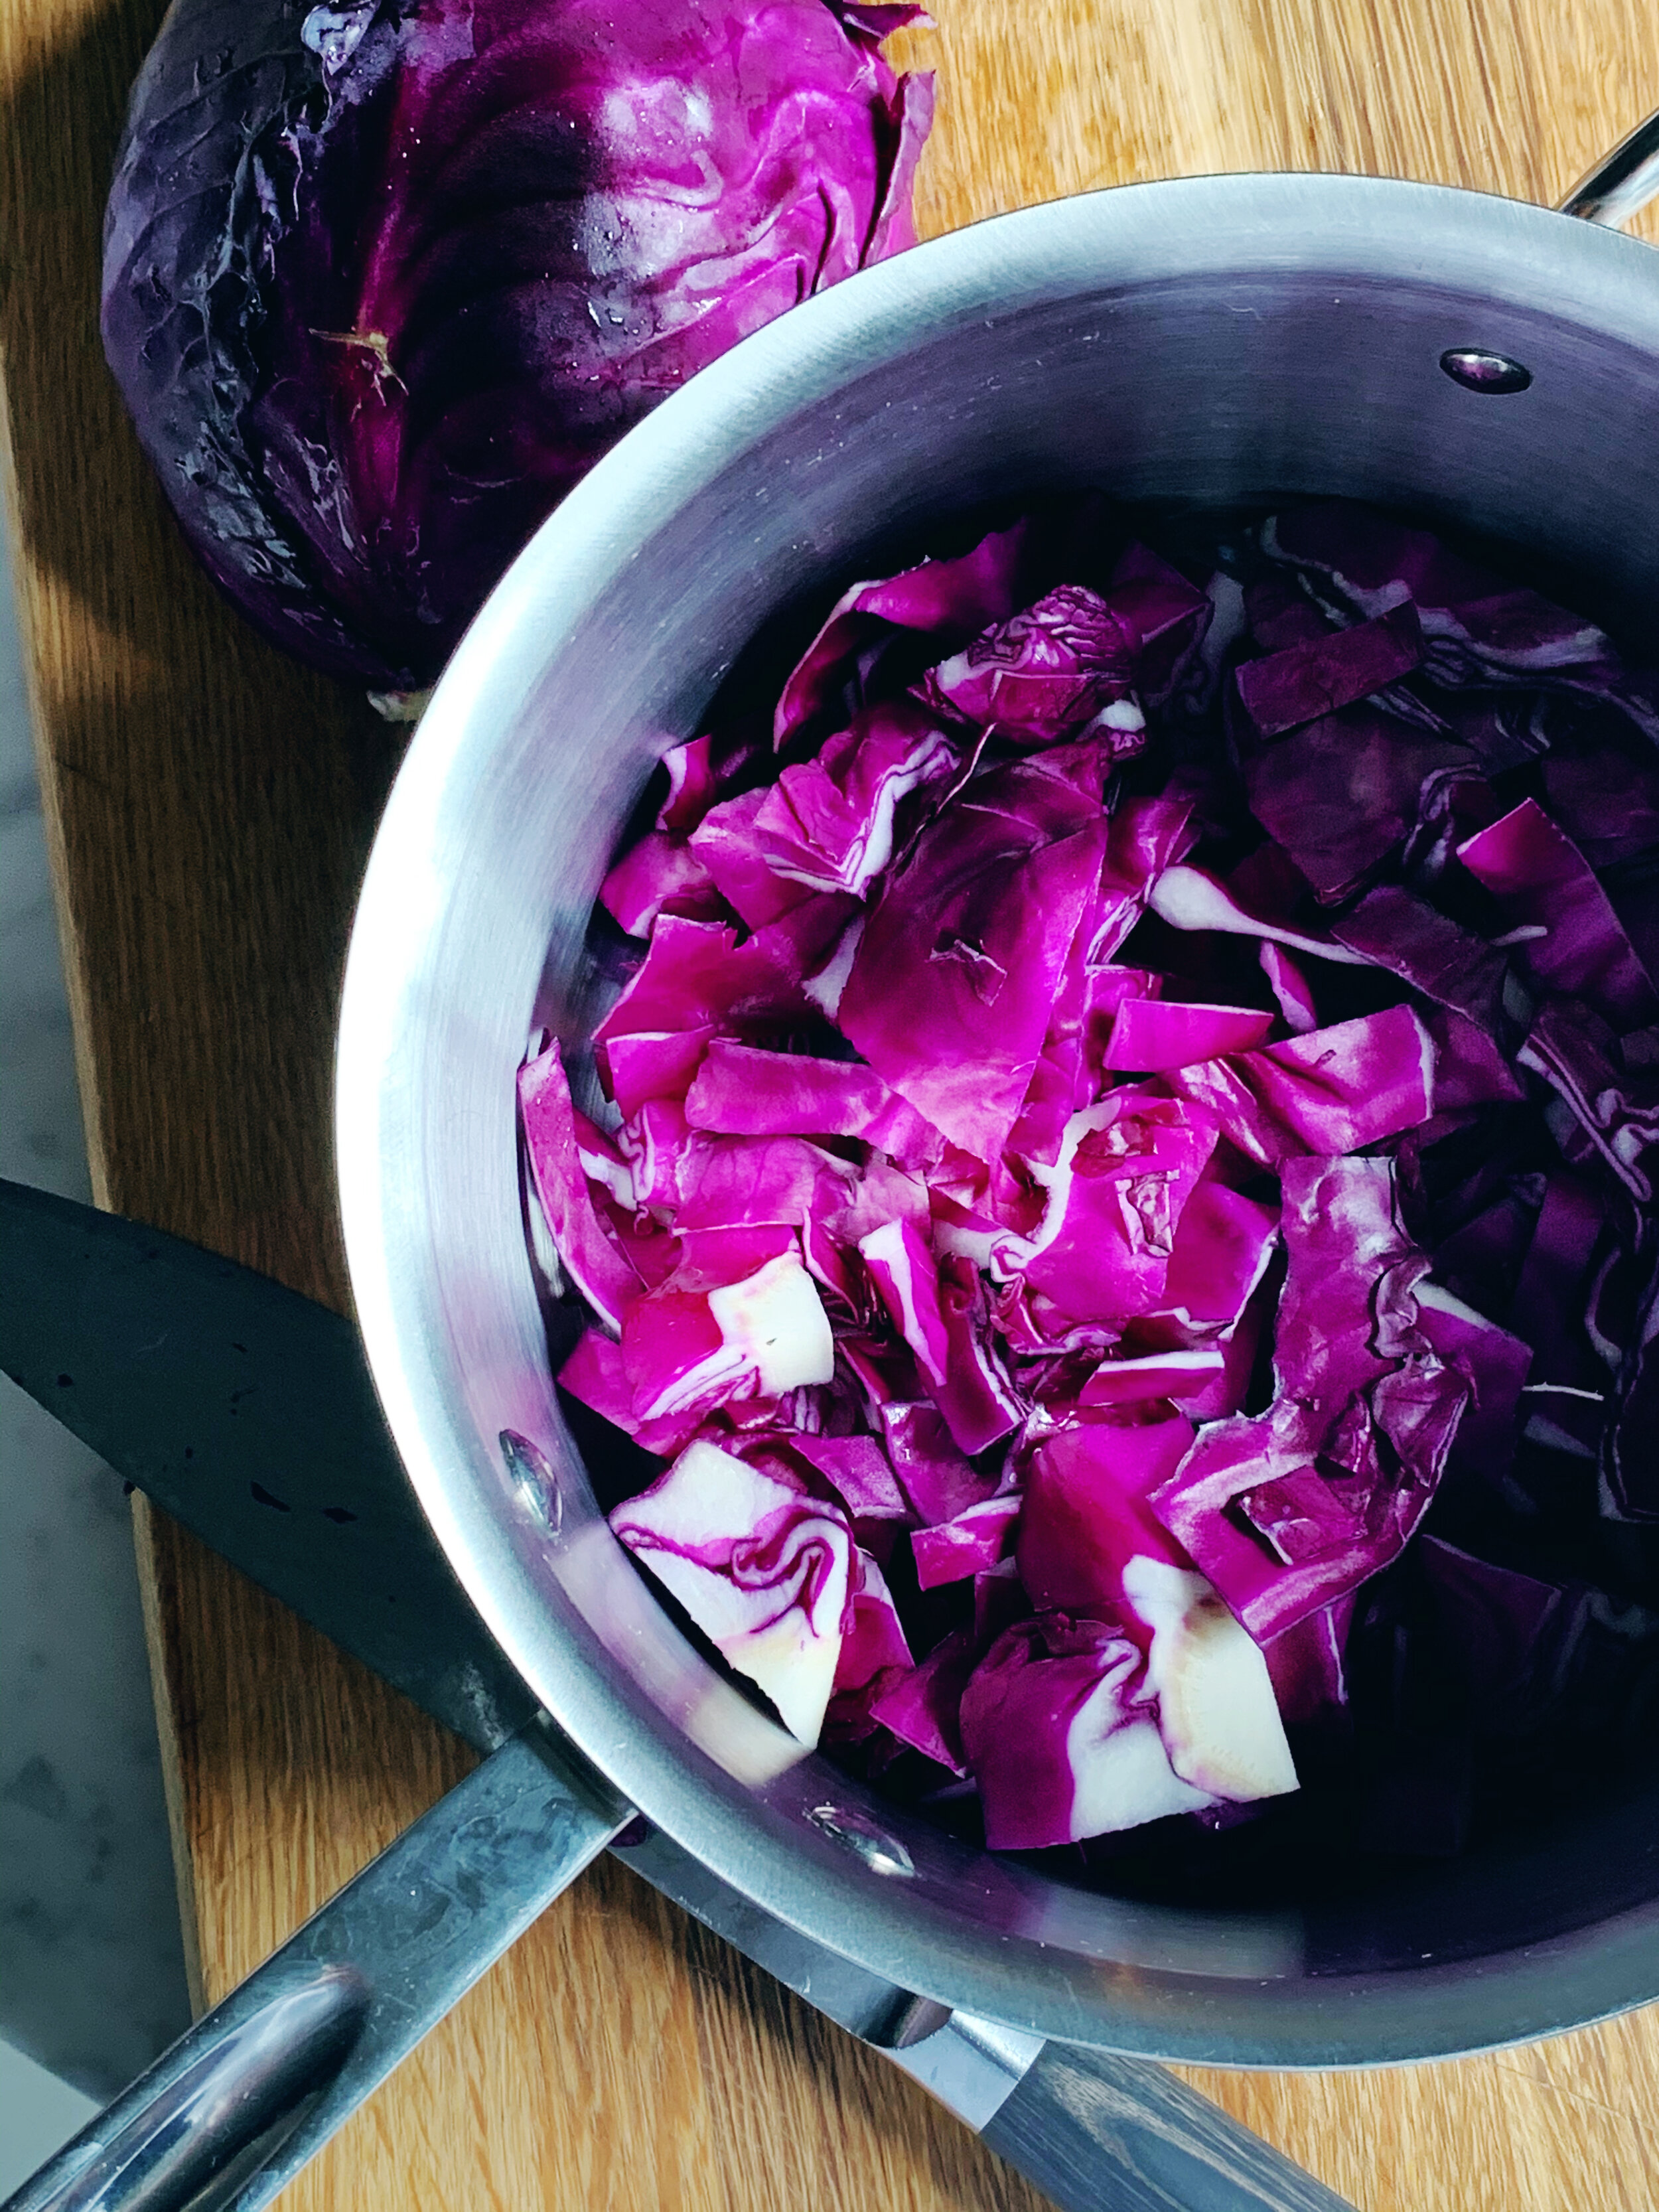
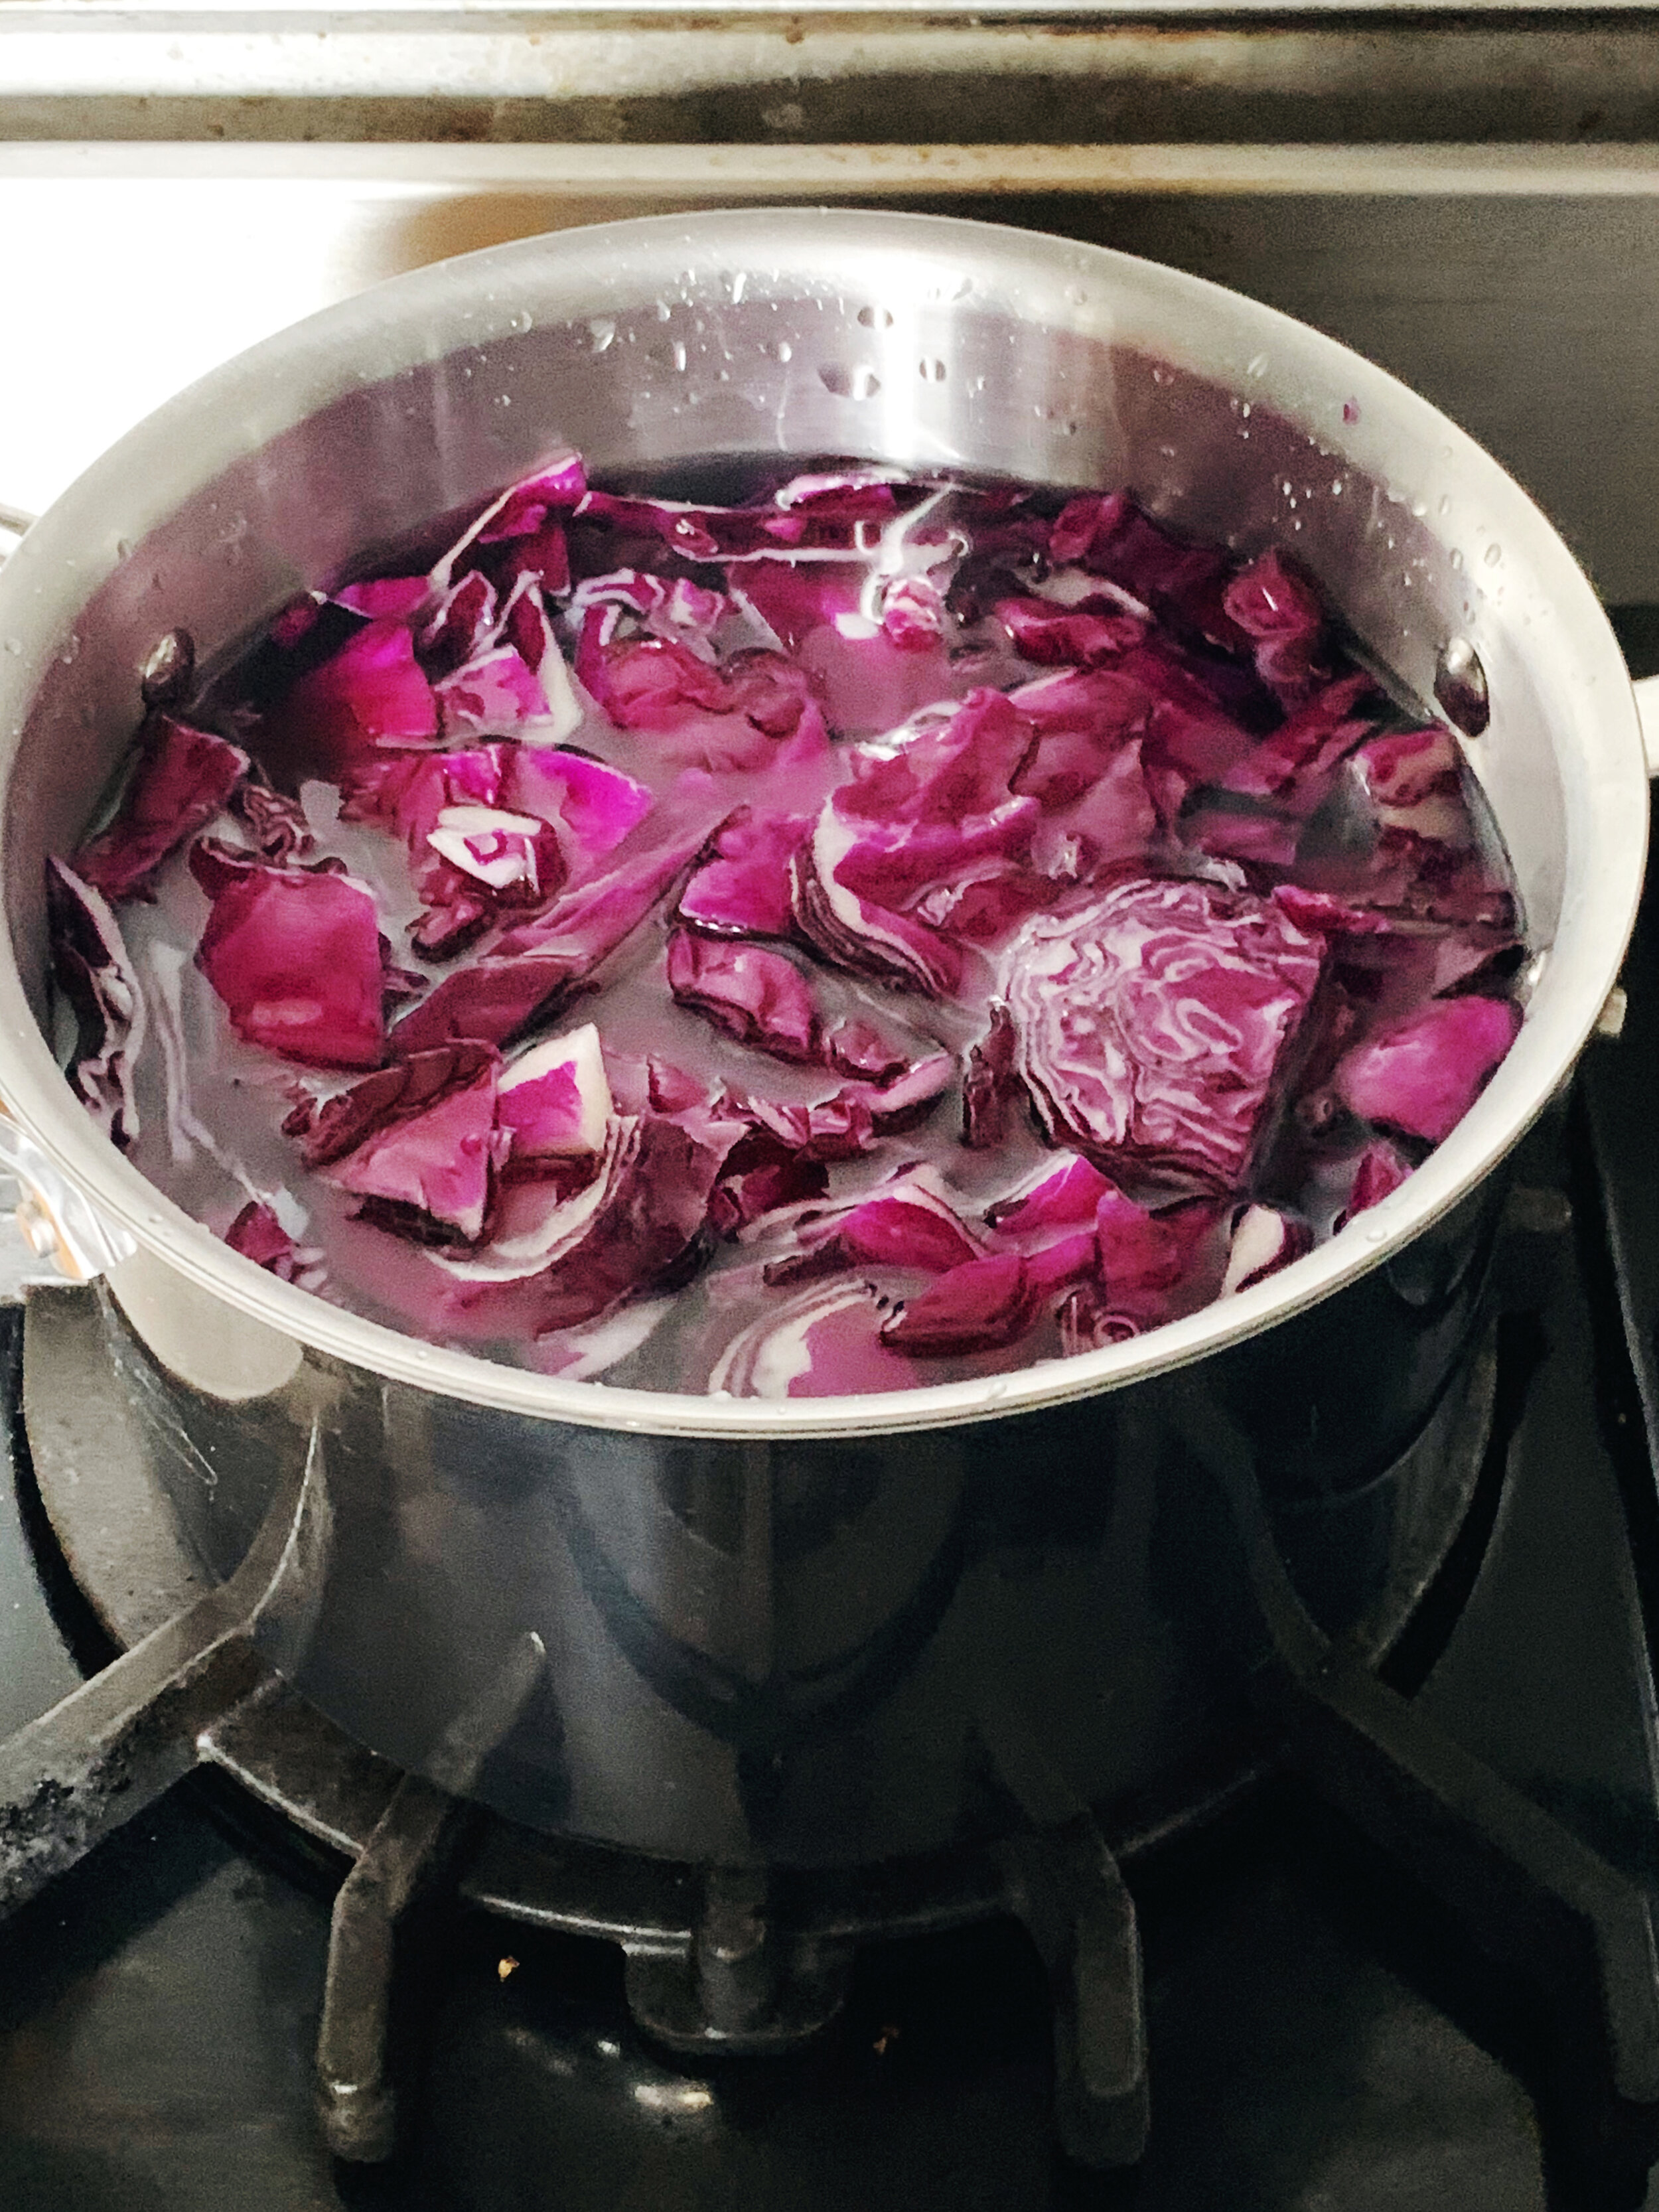
Slice your cabbage and submerge in a pot of water on the stove
Bring to a boil and simmer on the stove, covered for at least one hour, I added more water halfway through as some had boiled off
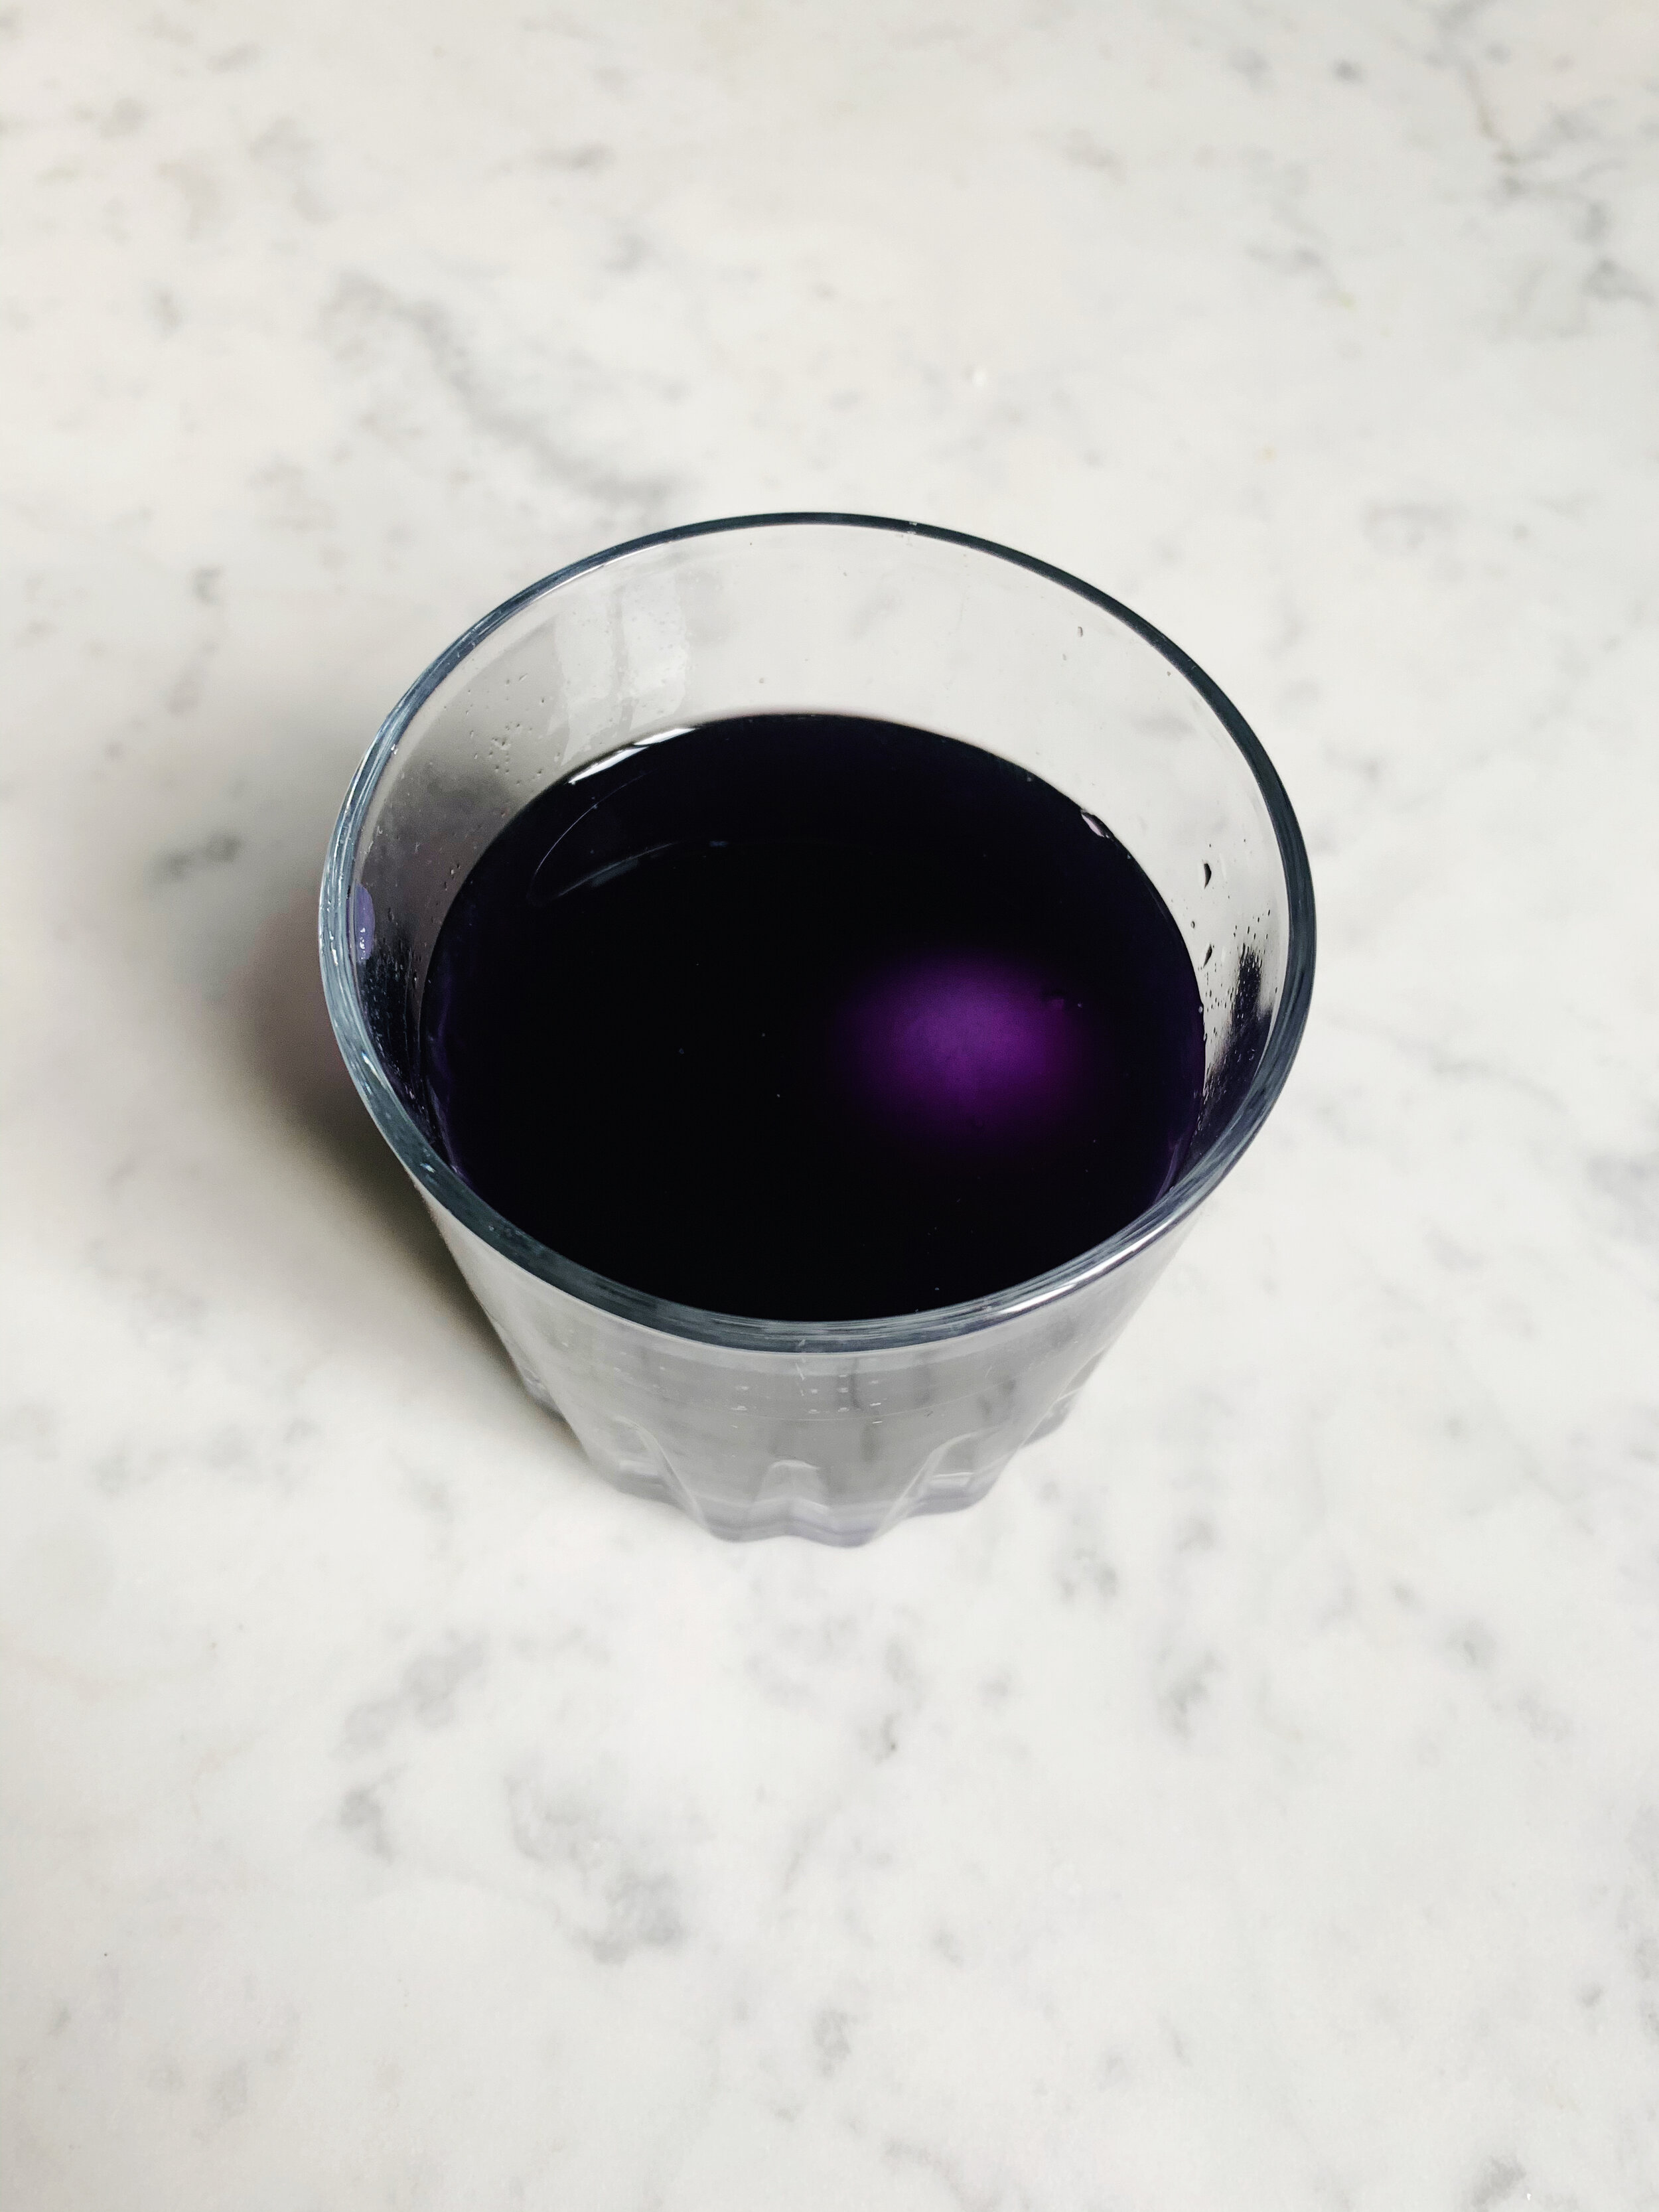
Strain cabbage water into a container and refrigerate, it should look purple
Add a few tablespoons of vinegar to your dye
If you want solid blue eggs, feel free to skip ahead to the last section
To melt the wax
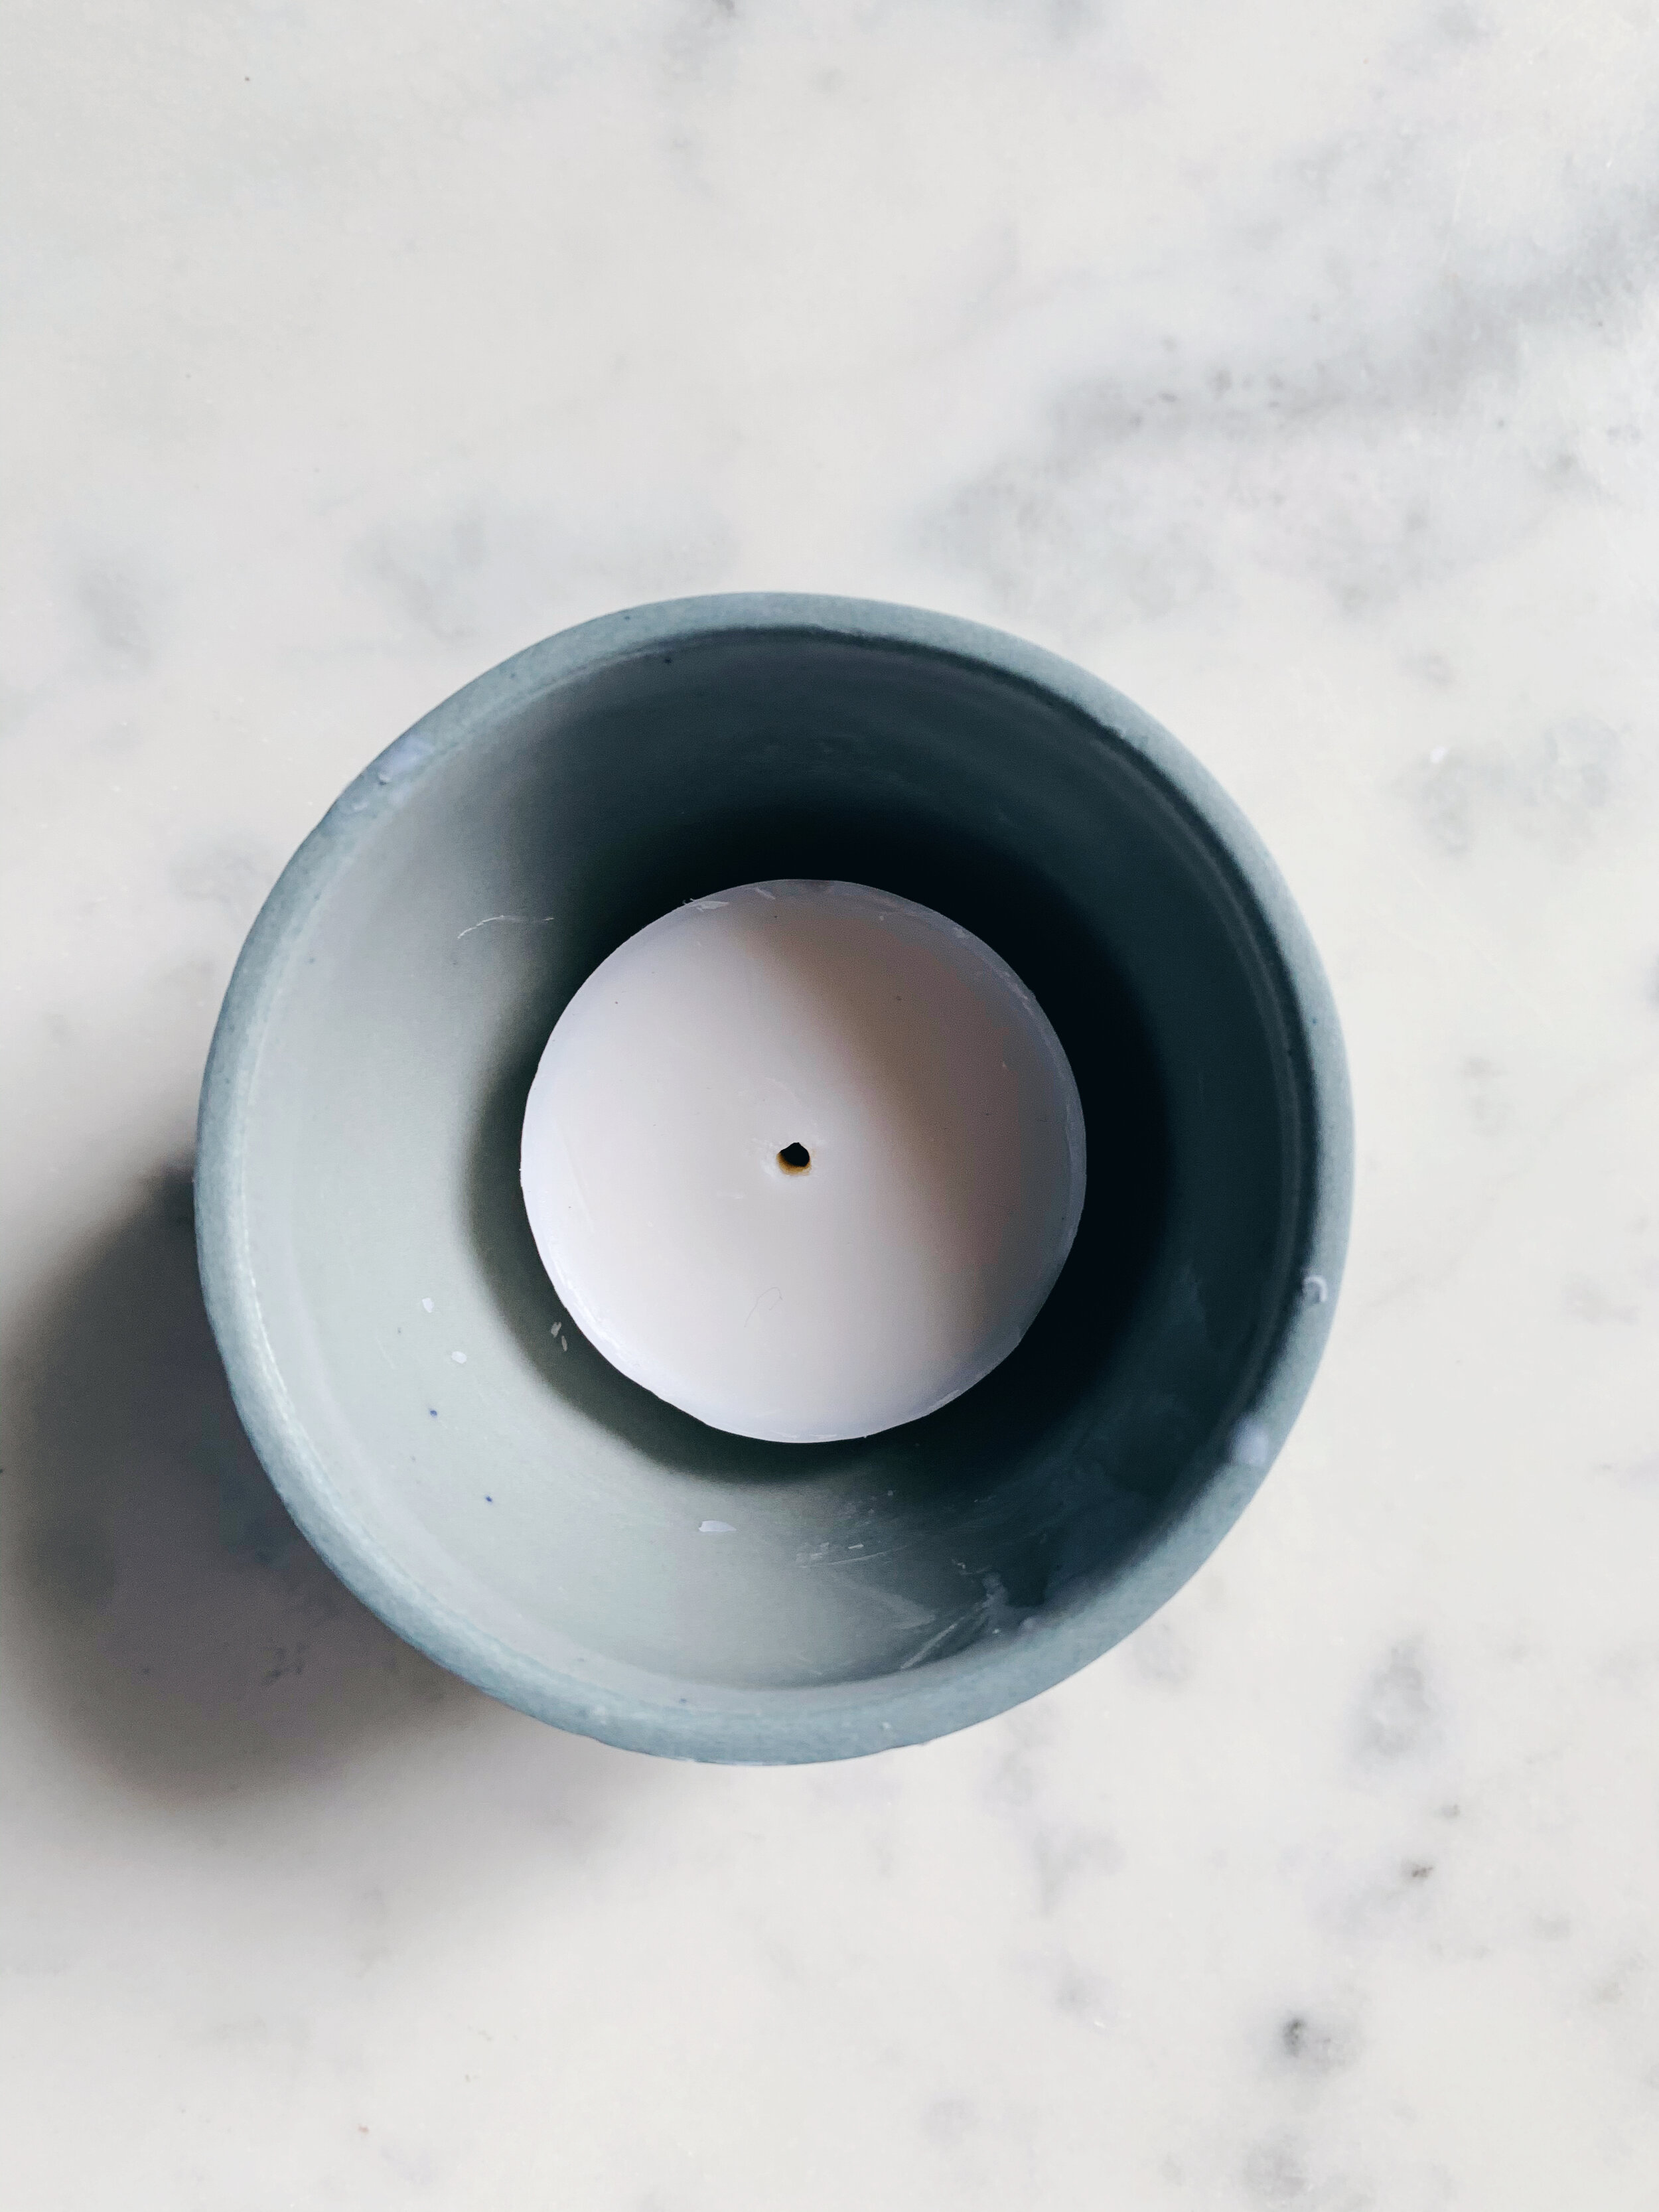
remove tea light from the container, pull wick from the bottom being sure to remove the metal disk
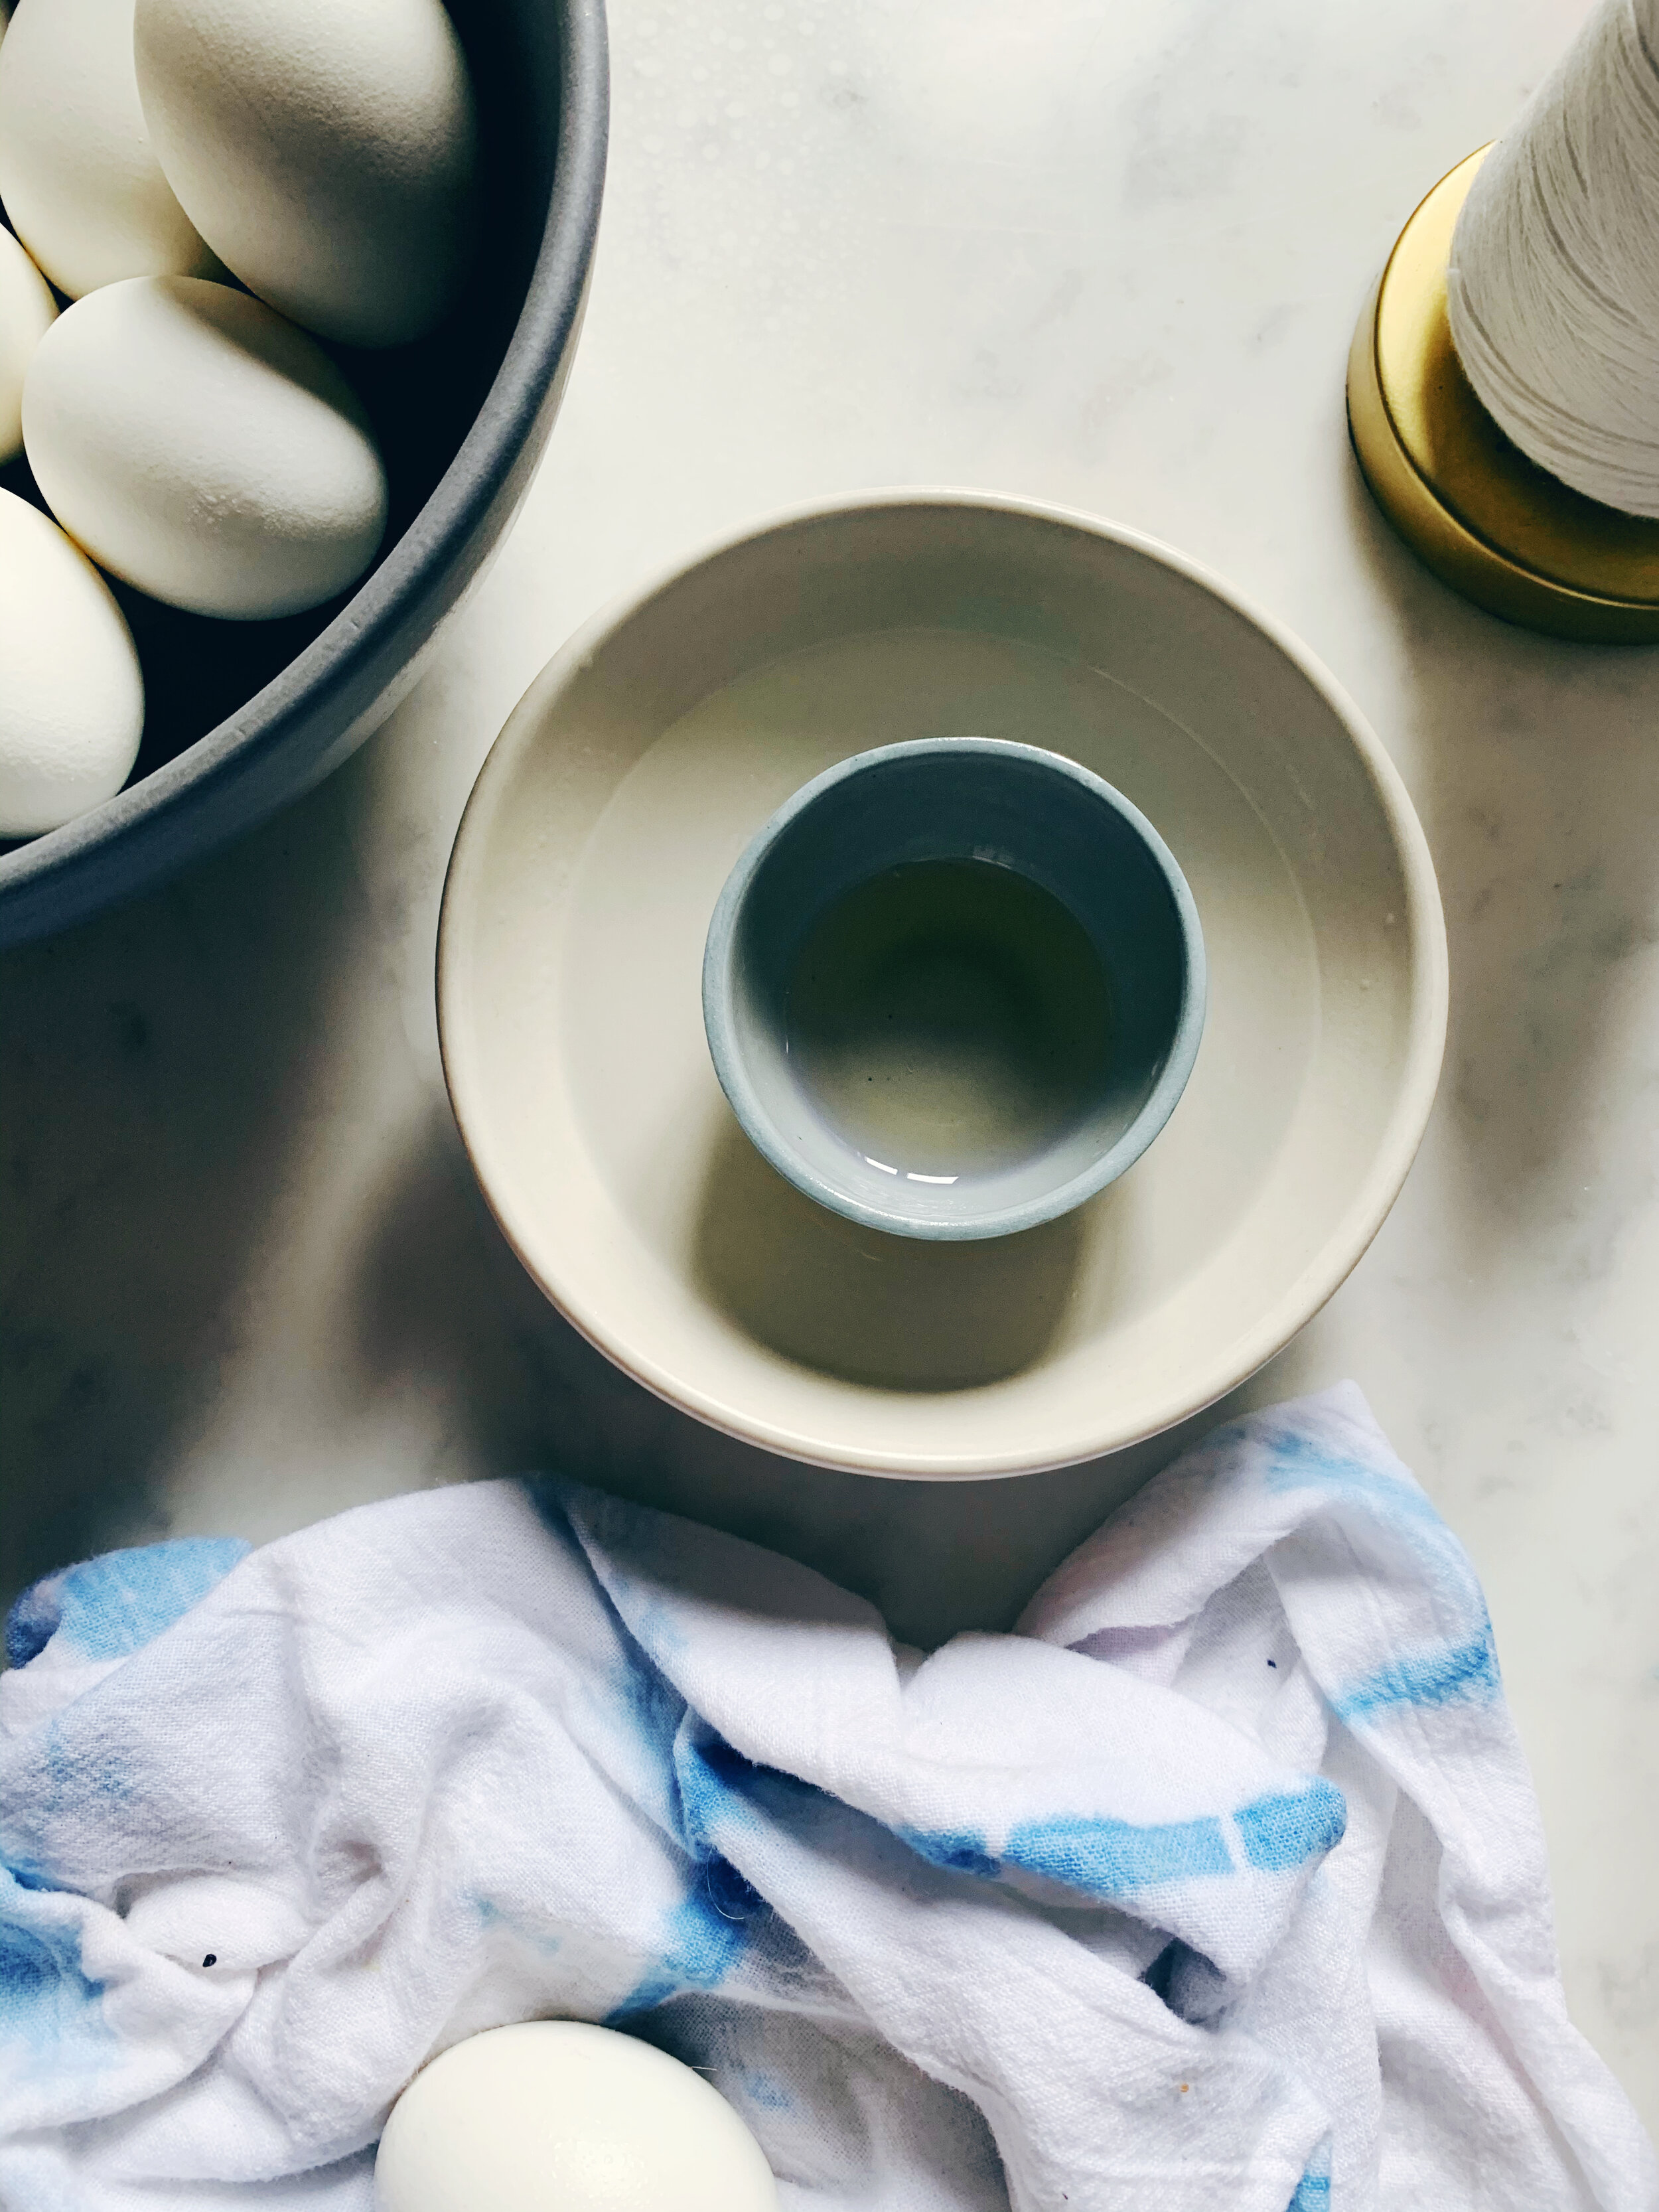
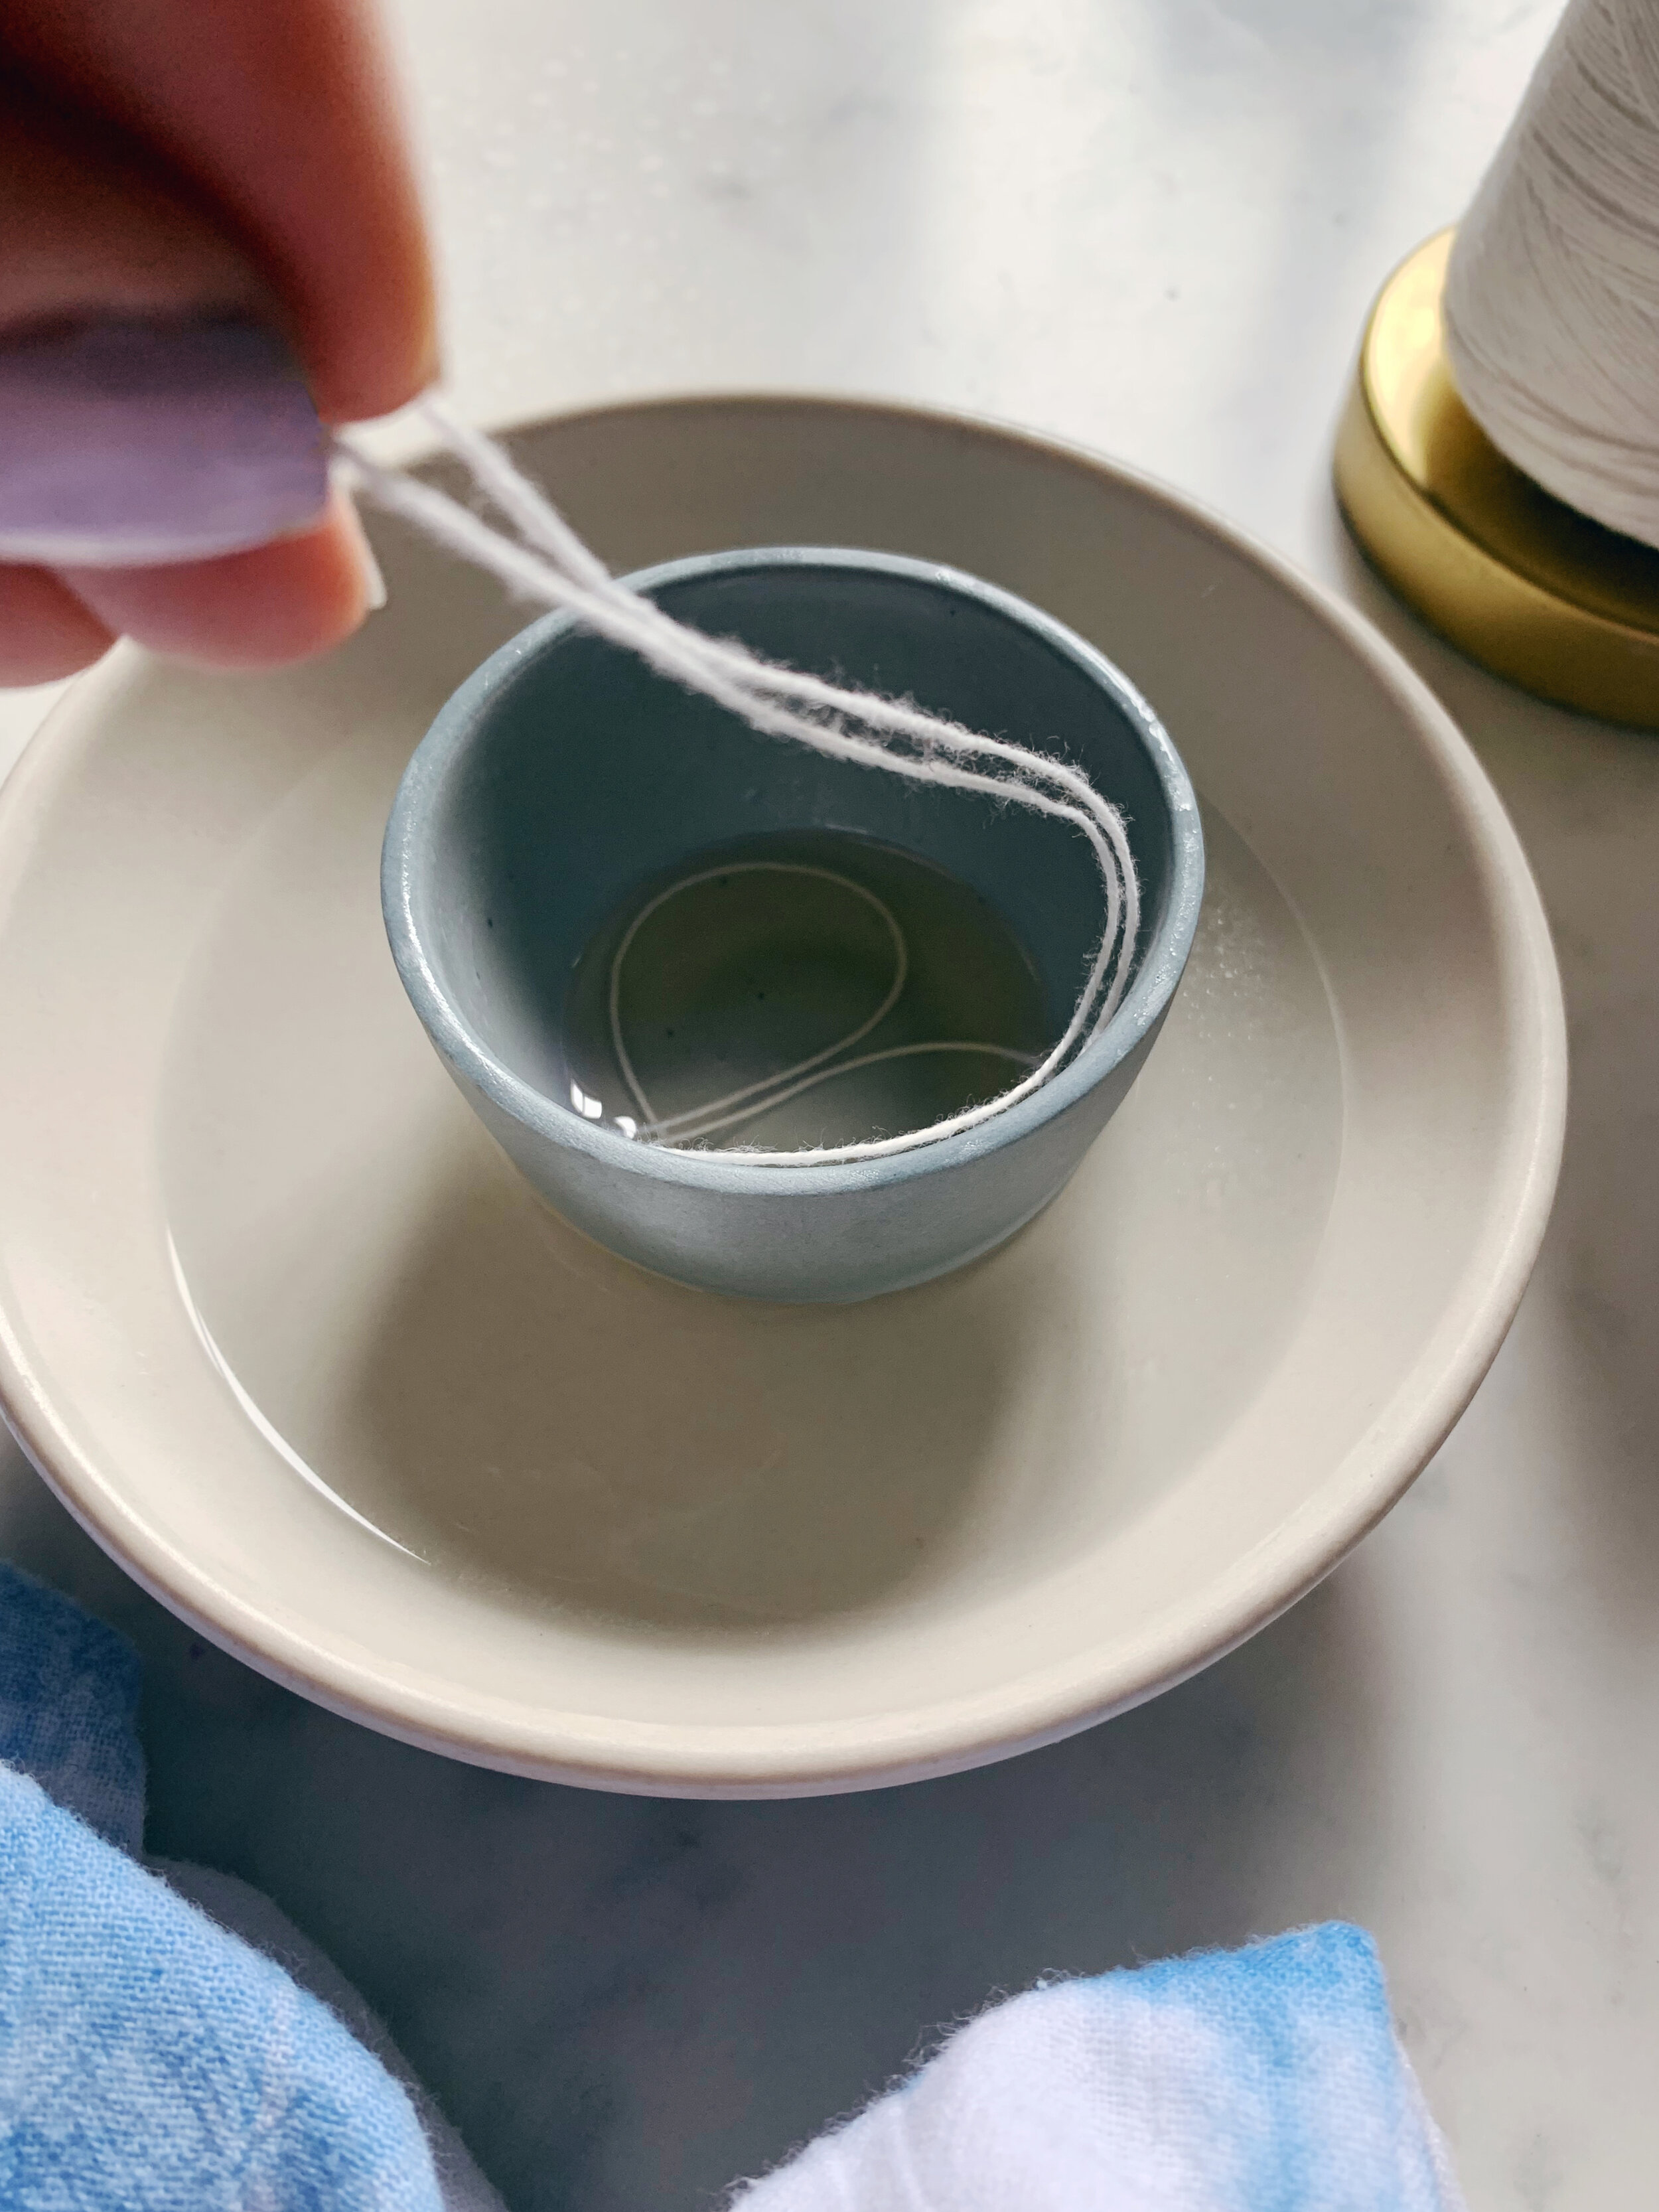
melt wax in a small dish in the microwave working in 30-second increments and checking it frequently; it should take about a minute
pour some hot water into a larger bowl then set the dish inside, this will keep your wax liquid for longer (I don’t recommend doing this around small children)
For technique one
make sure eggs are cool and dry
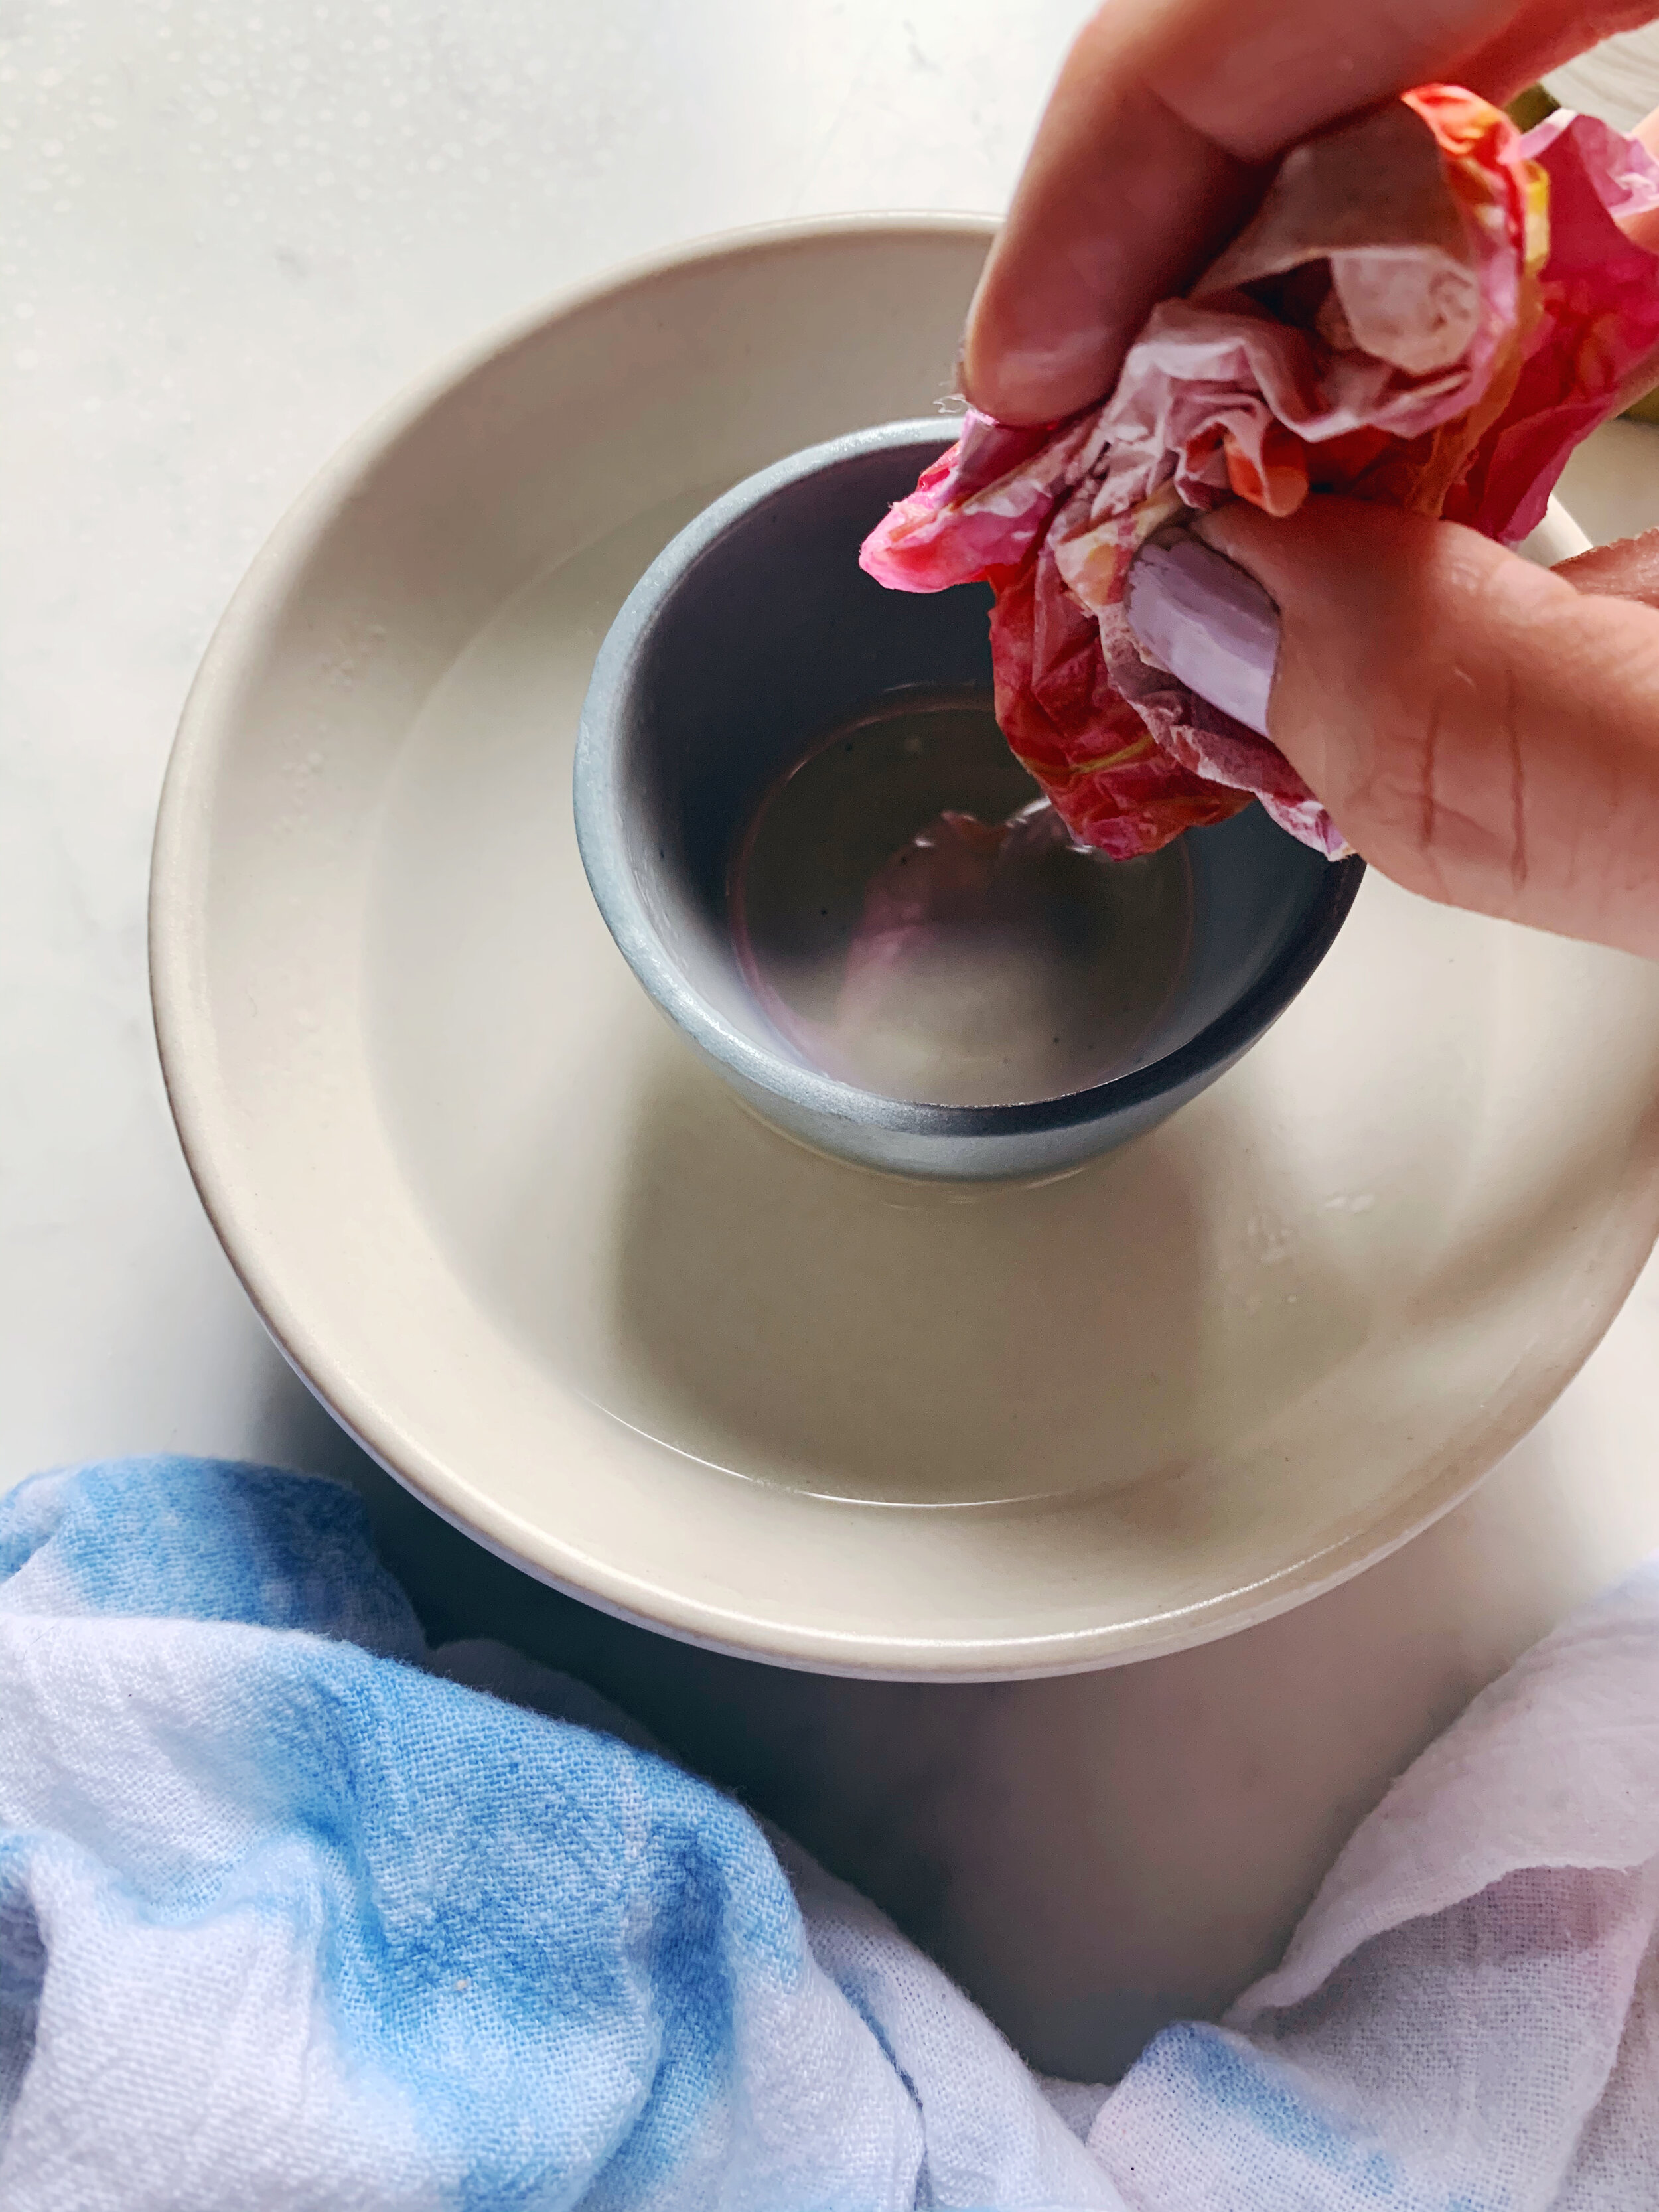
scrunch your paper and dip into the wax
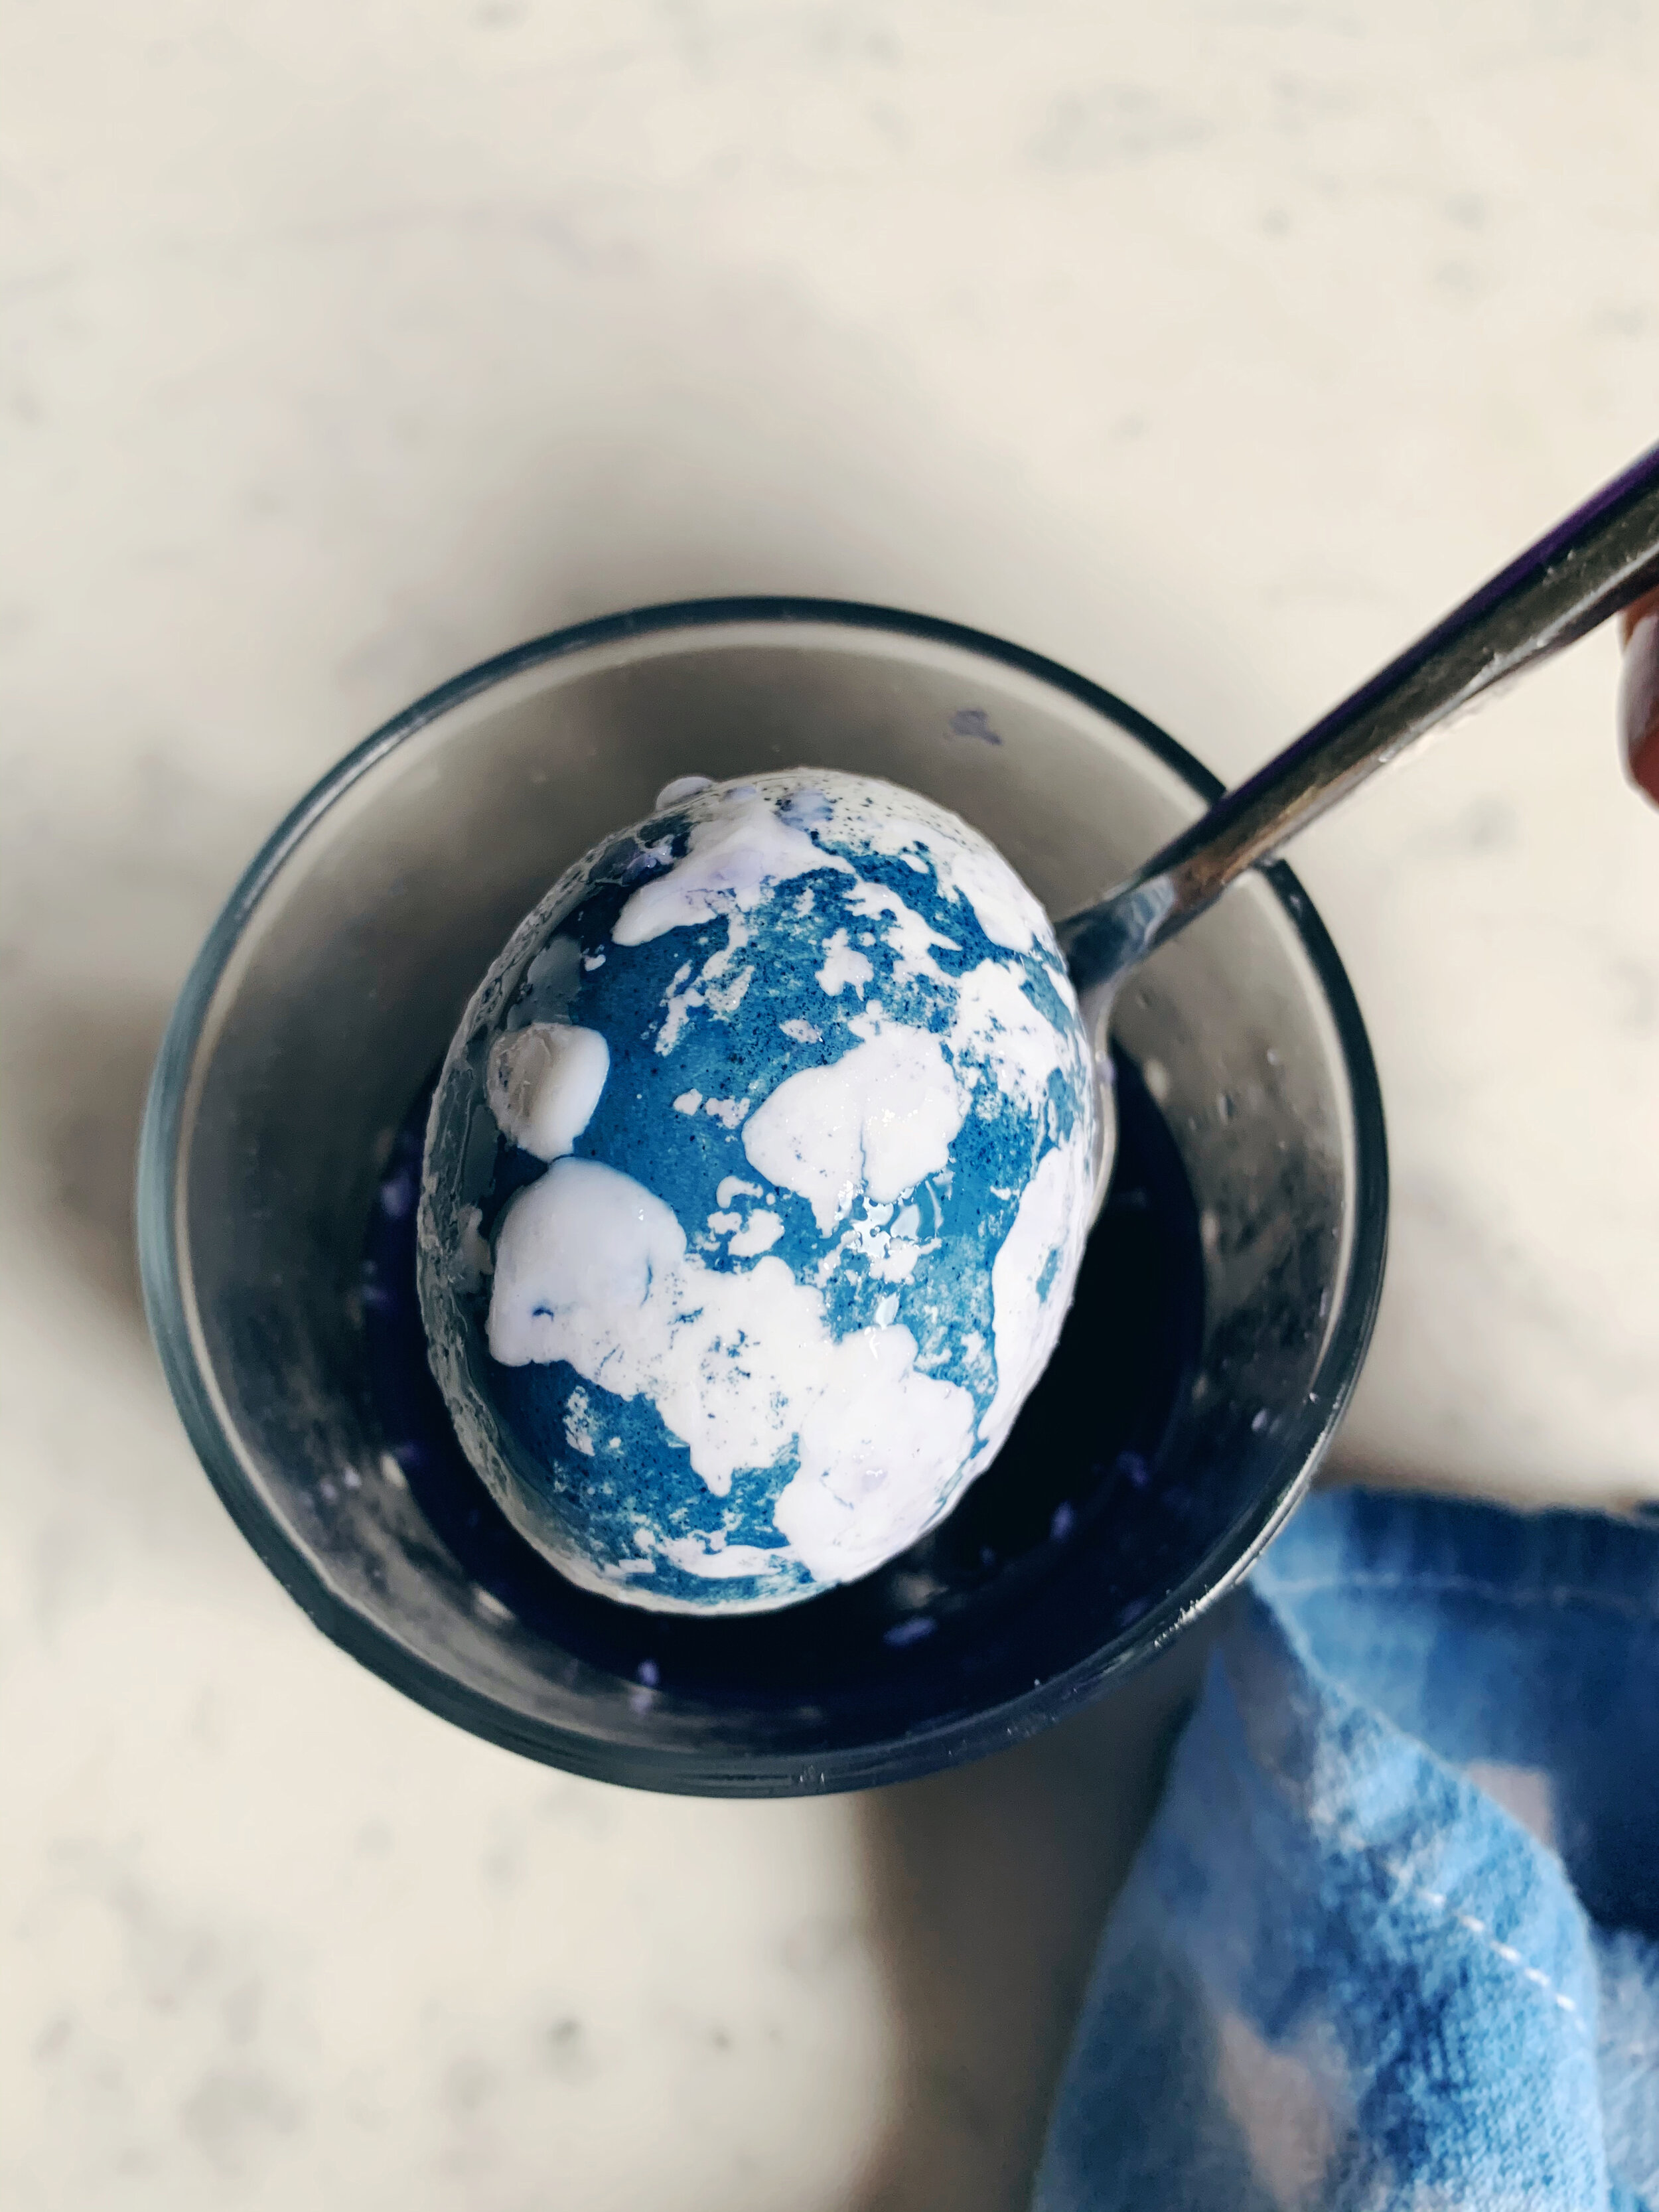
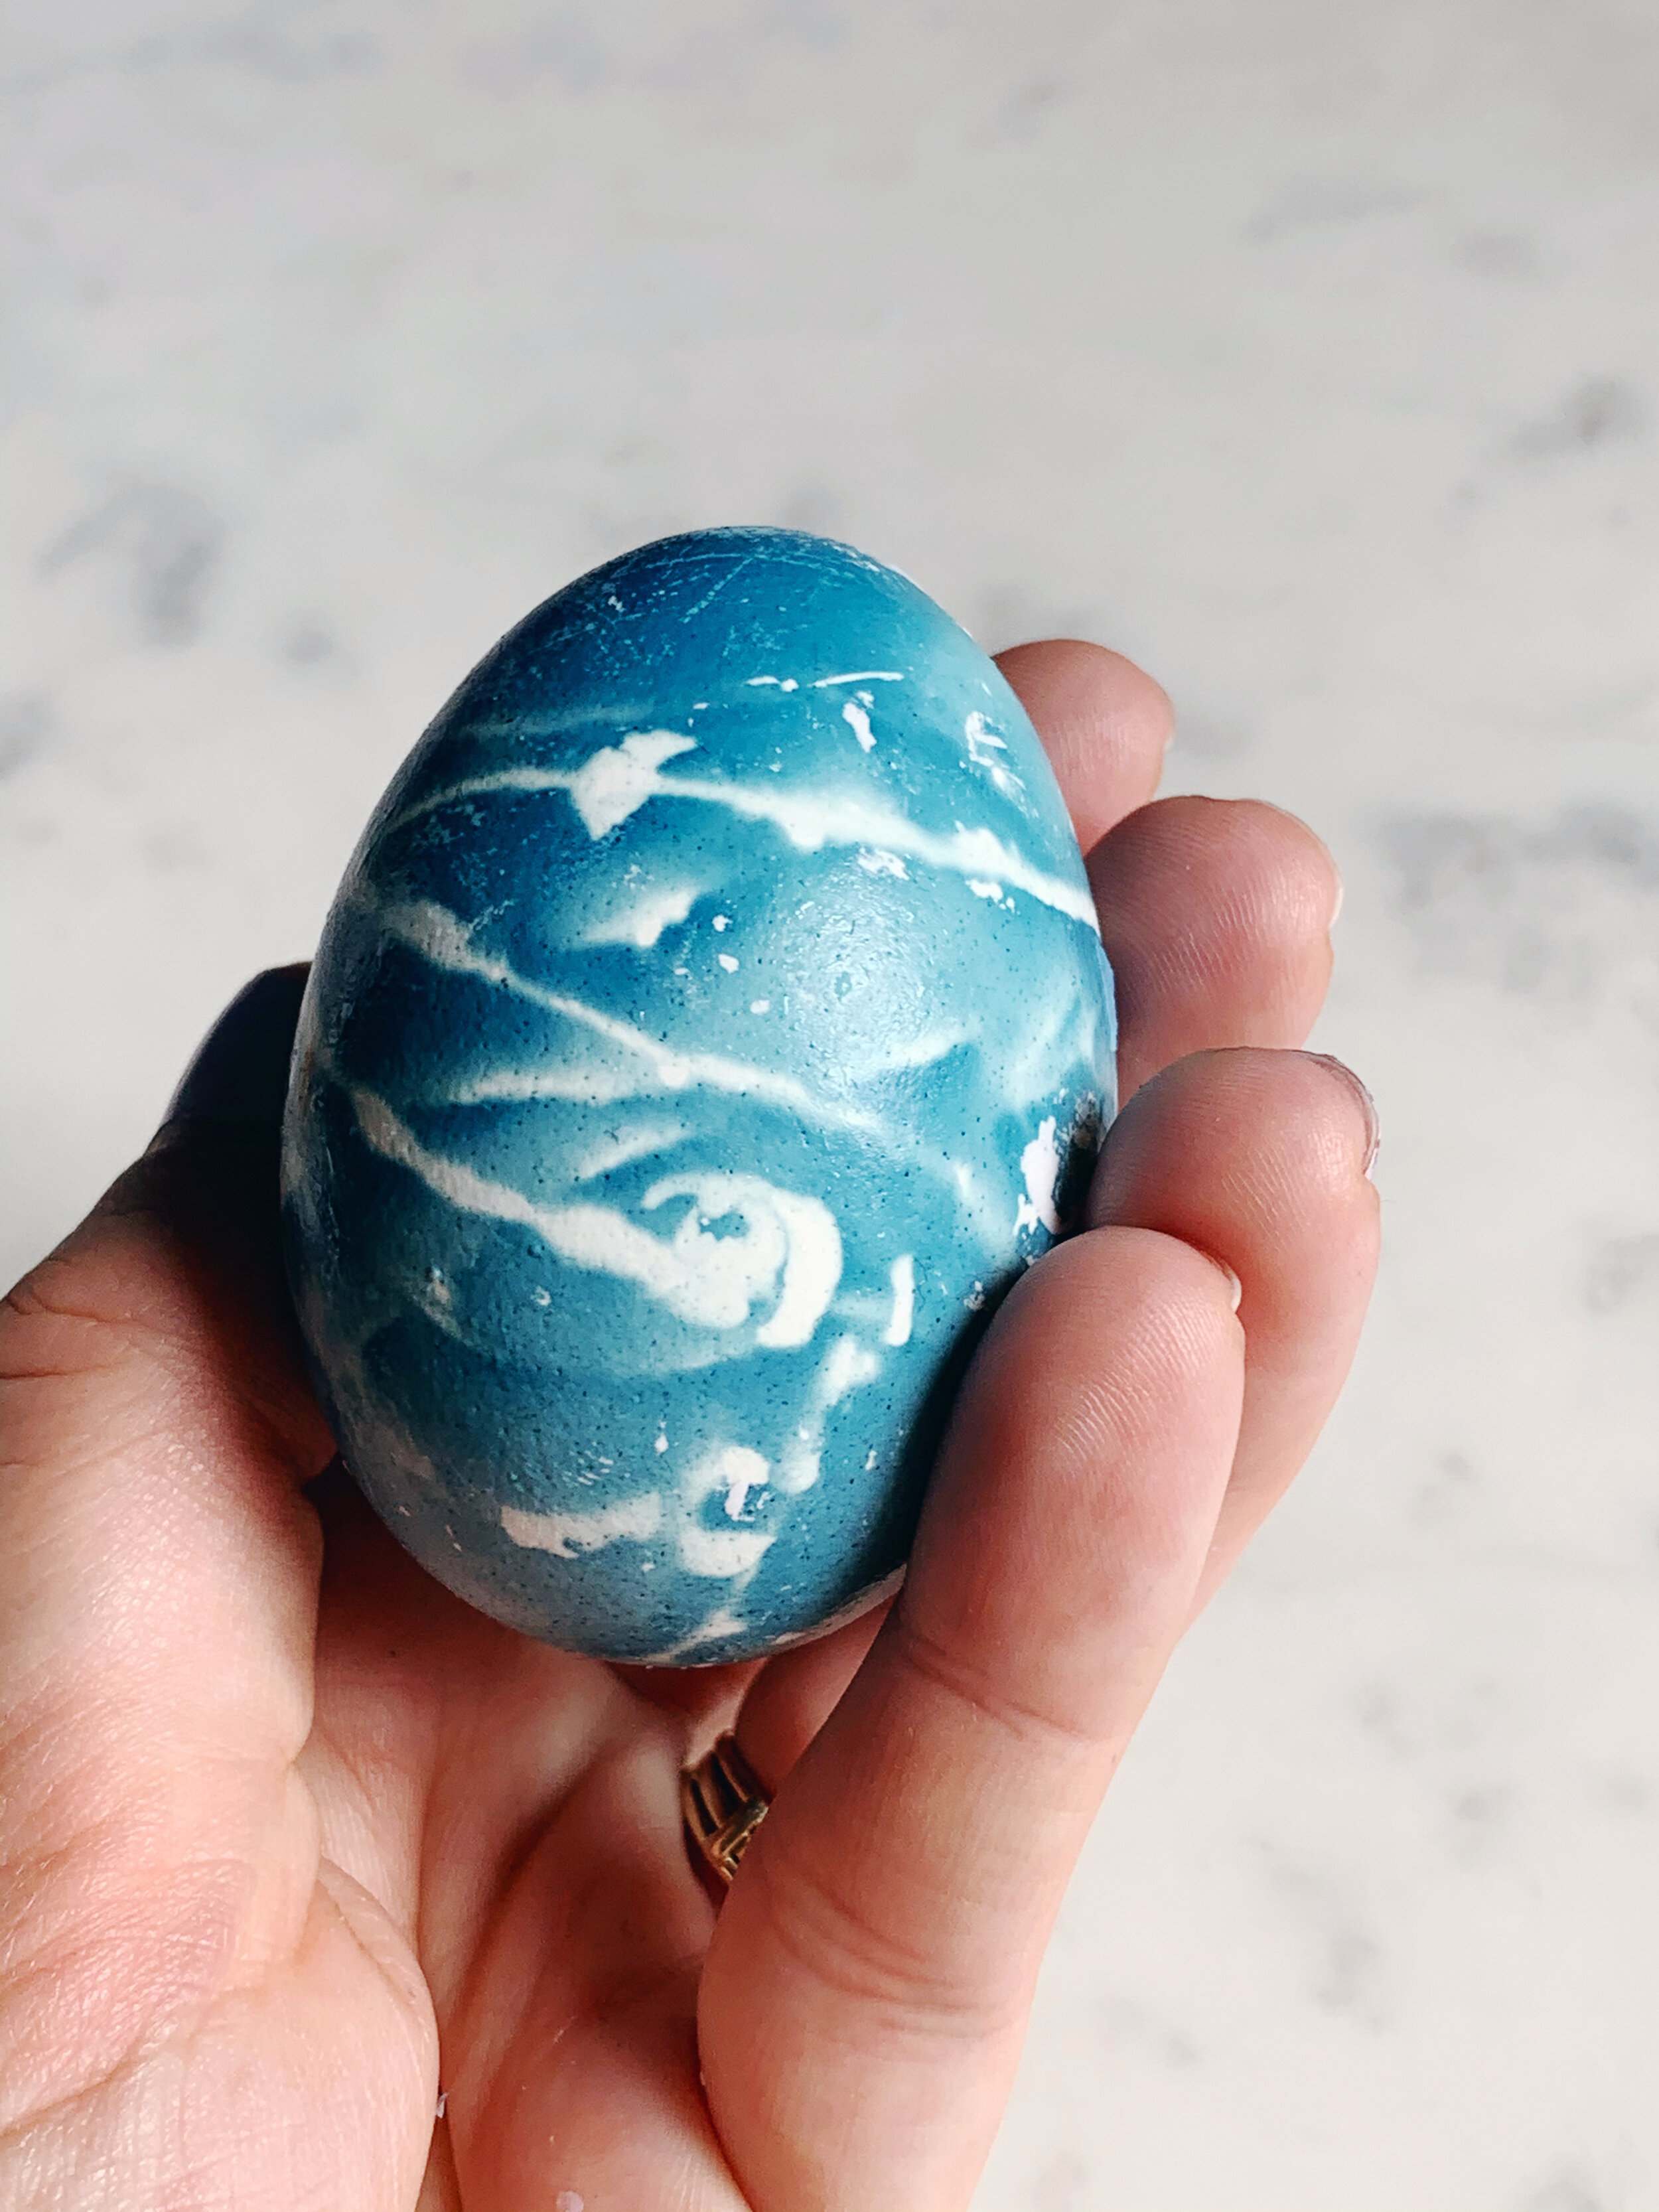
dab the wax onto the egg to create a pattern, keep in mind the parts covered in wax will be white while the rest will be blue
For technique two
make sure eggs are cool and dry
cut a length of twine long enough to wrap around your egg several times
dip the twine in wax covering the majority of the length
working quickly, wrap the string randomly around your egg
once you have wrapped all the wax-covered portion, you can hold the egg and dip the remaining twine then wrap or trim the excess



To dye the eggs
submerge eggs in dye (I used small drinking glasses for this) and place in the fridge
for a lighter shade leave in for a couple of hours (you can check it starting at 30 minutes)
for a deeper shade leave submerged overnight
Once you have finished the eggs, you should be able to flake the wax off pretty easily. If it’s a bit more stubborn, quickly running it under warm water will melt it way. Rubbing the eggs to remove the wax may also remove some of the color.
Thanks for checking out our DIY Shibori egg tutorial using homemade easter egg dye, if you have any questions let us know in the comments below and if you have a DIY project you would like to share with us, drop us a line.
*This post contains affiliate links and I will be compensated if you make a purchase after clicking on my links, click here for our full policy and disclosures.


