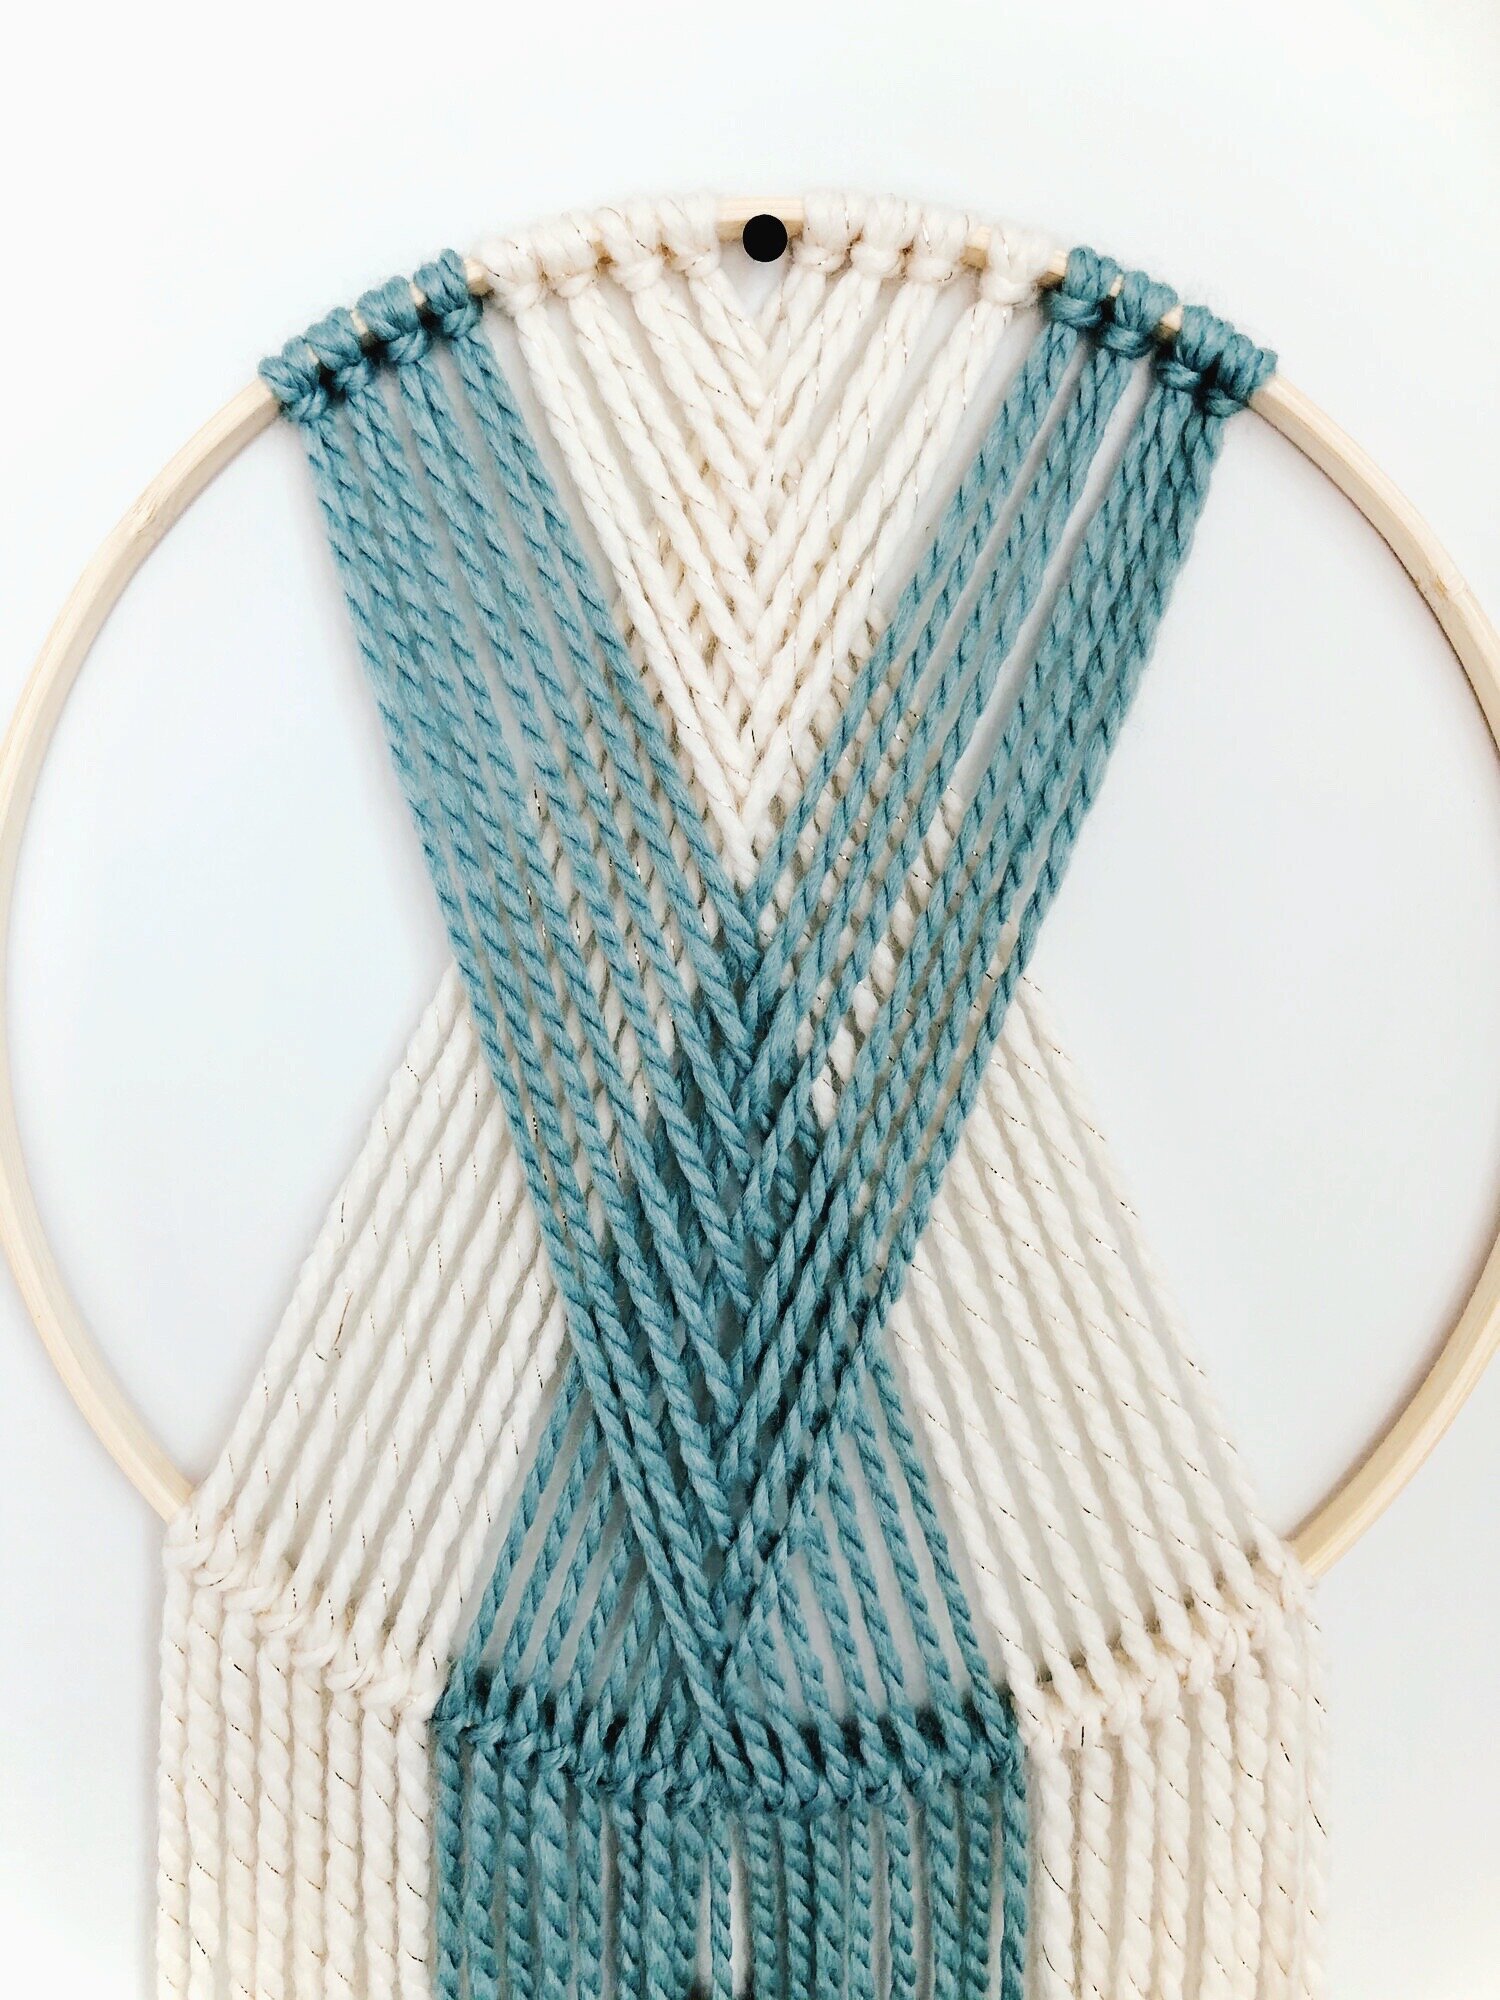
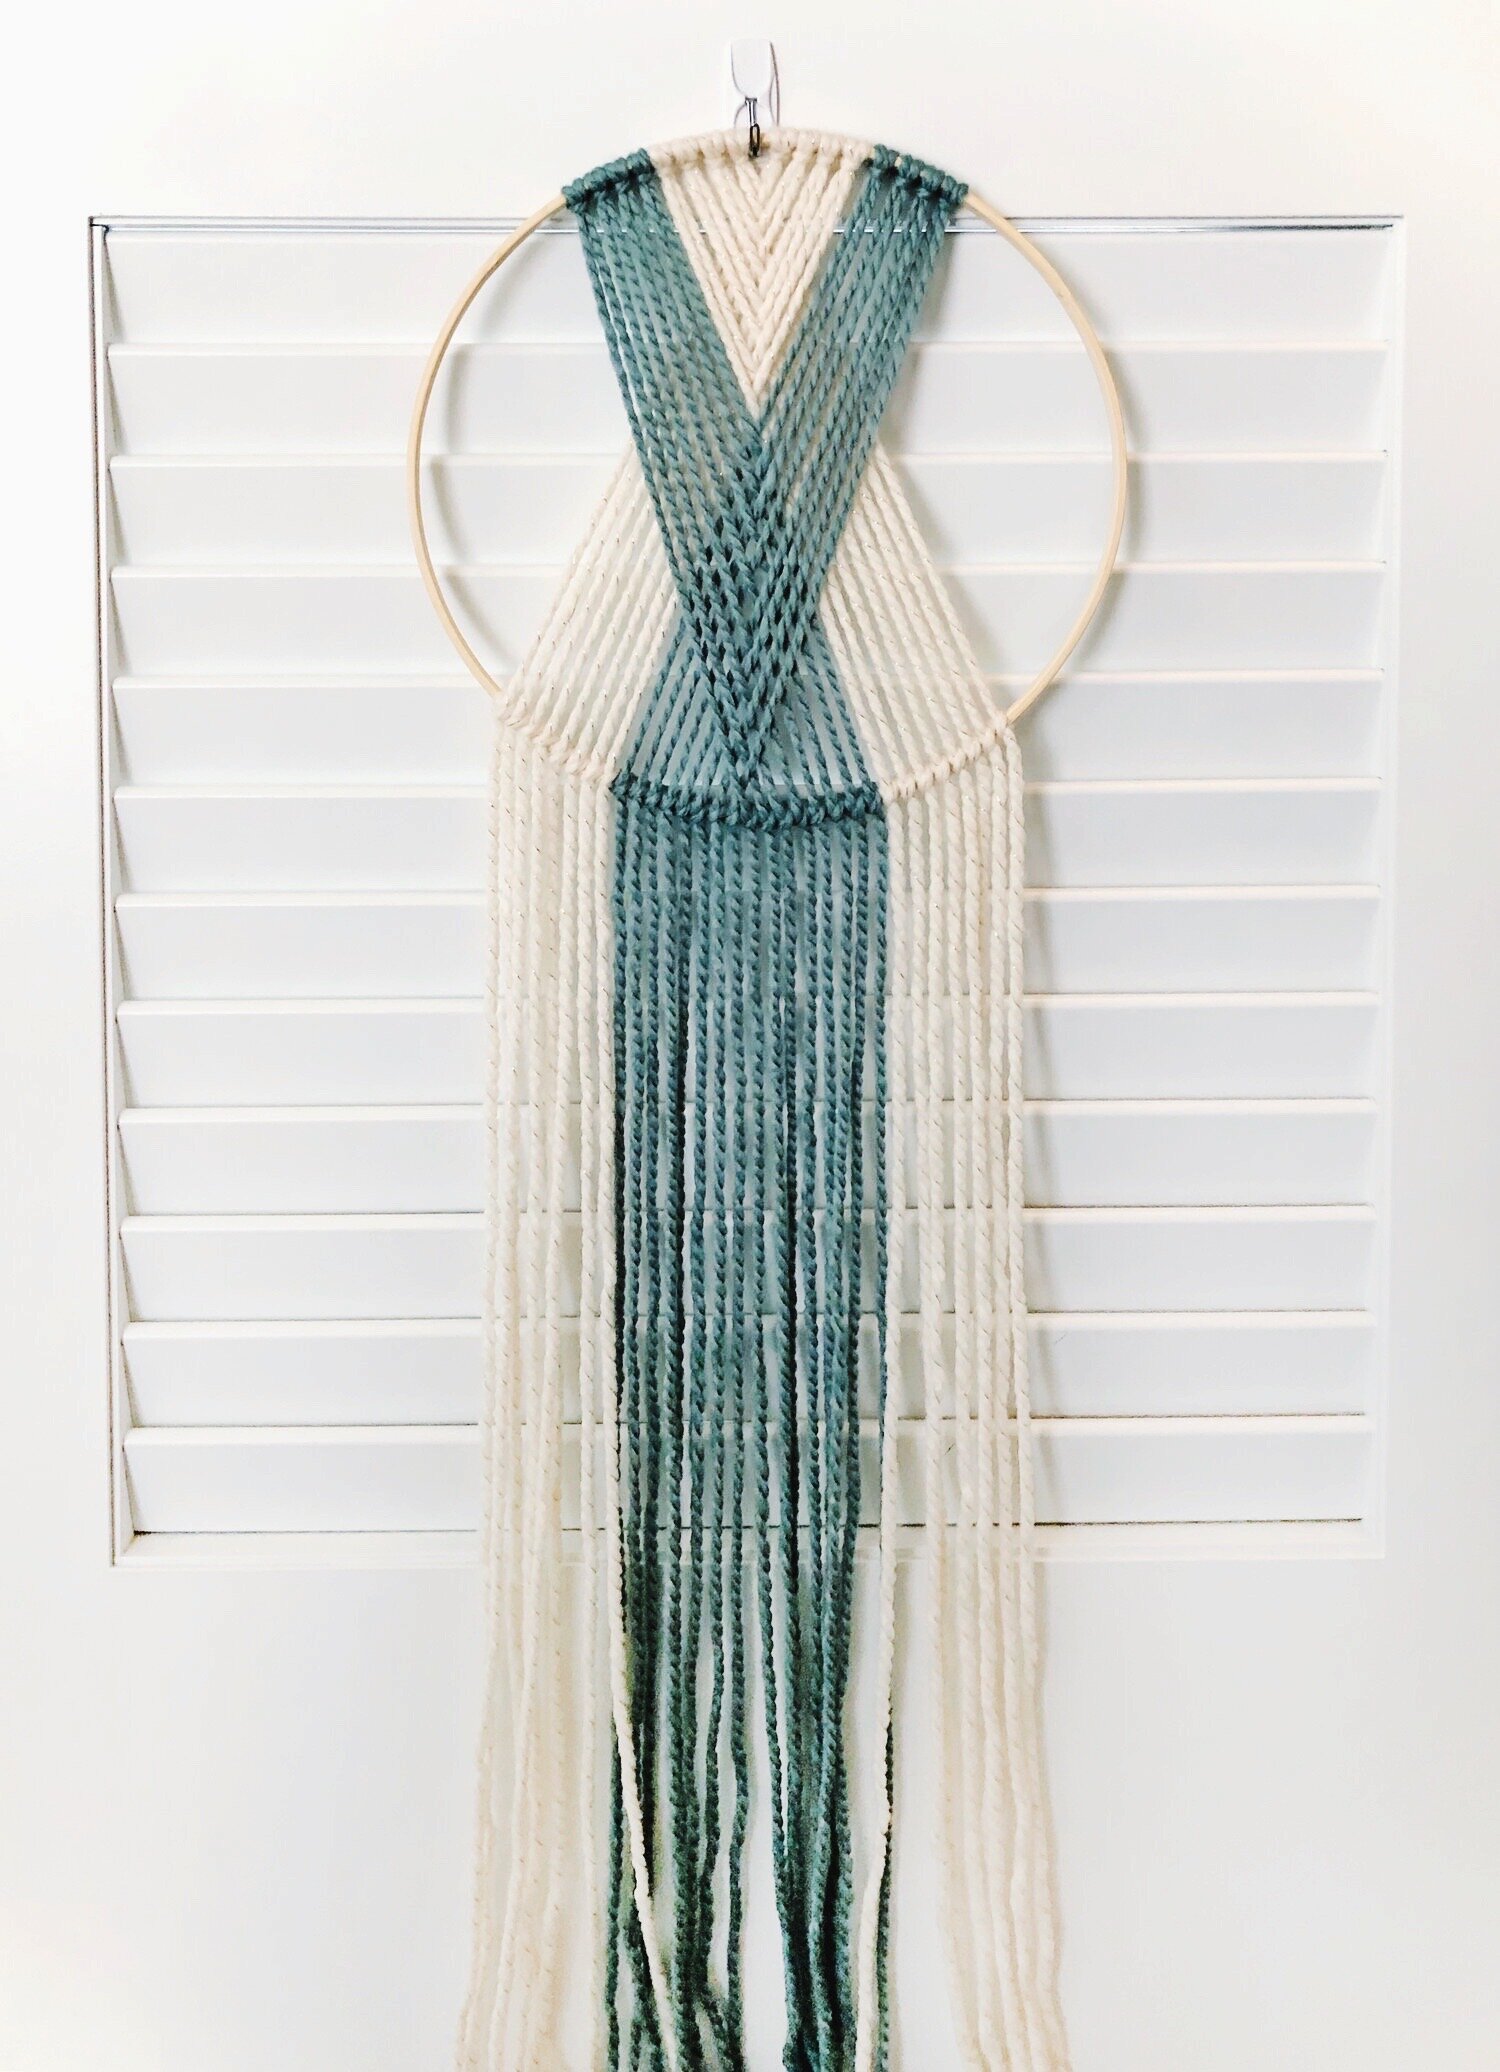
DIY: A Reversible Modern Wall Hanging With a Twist

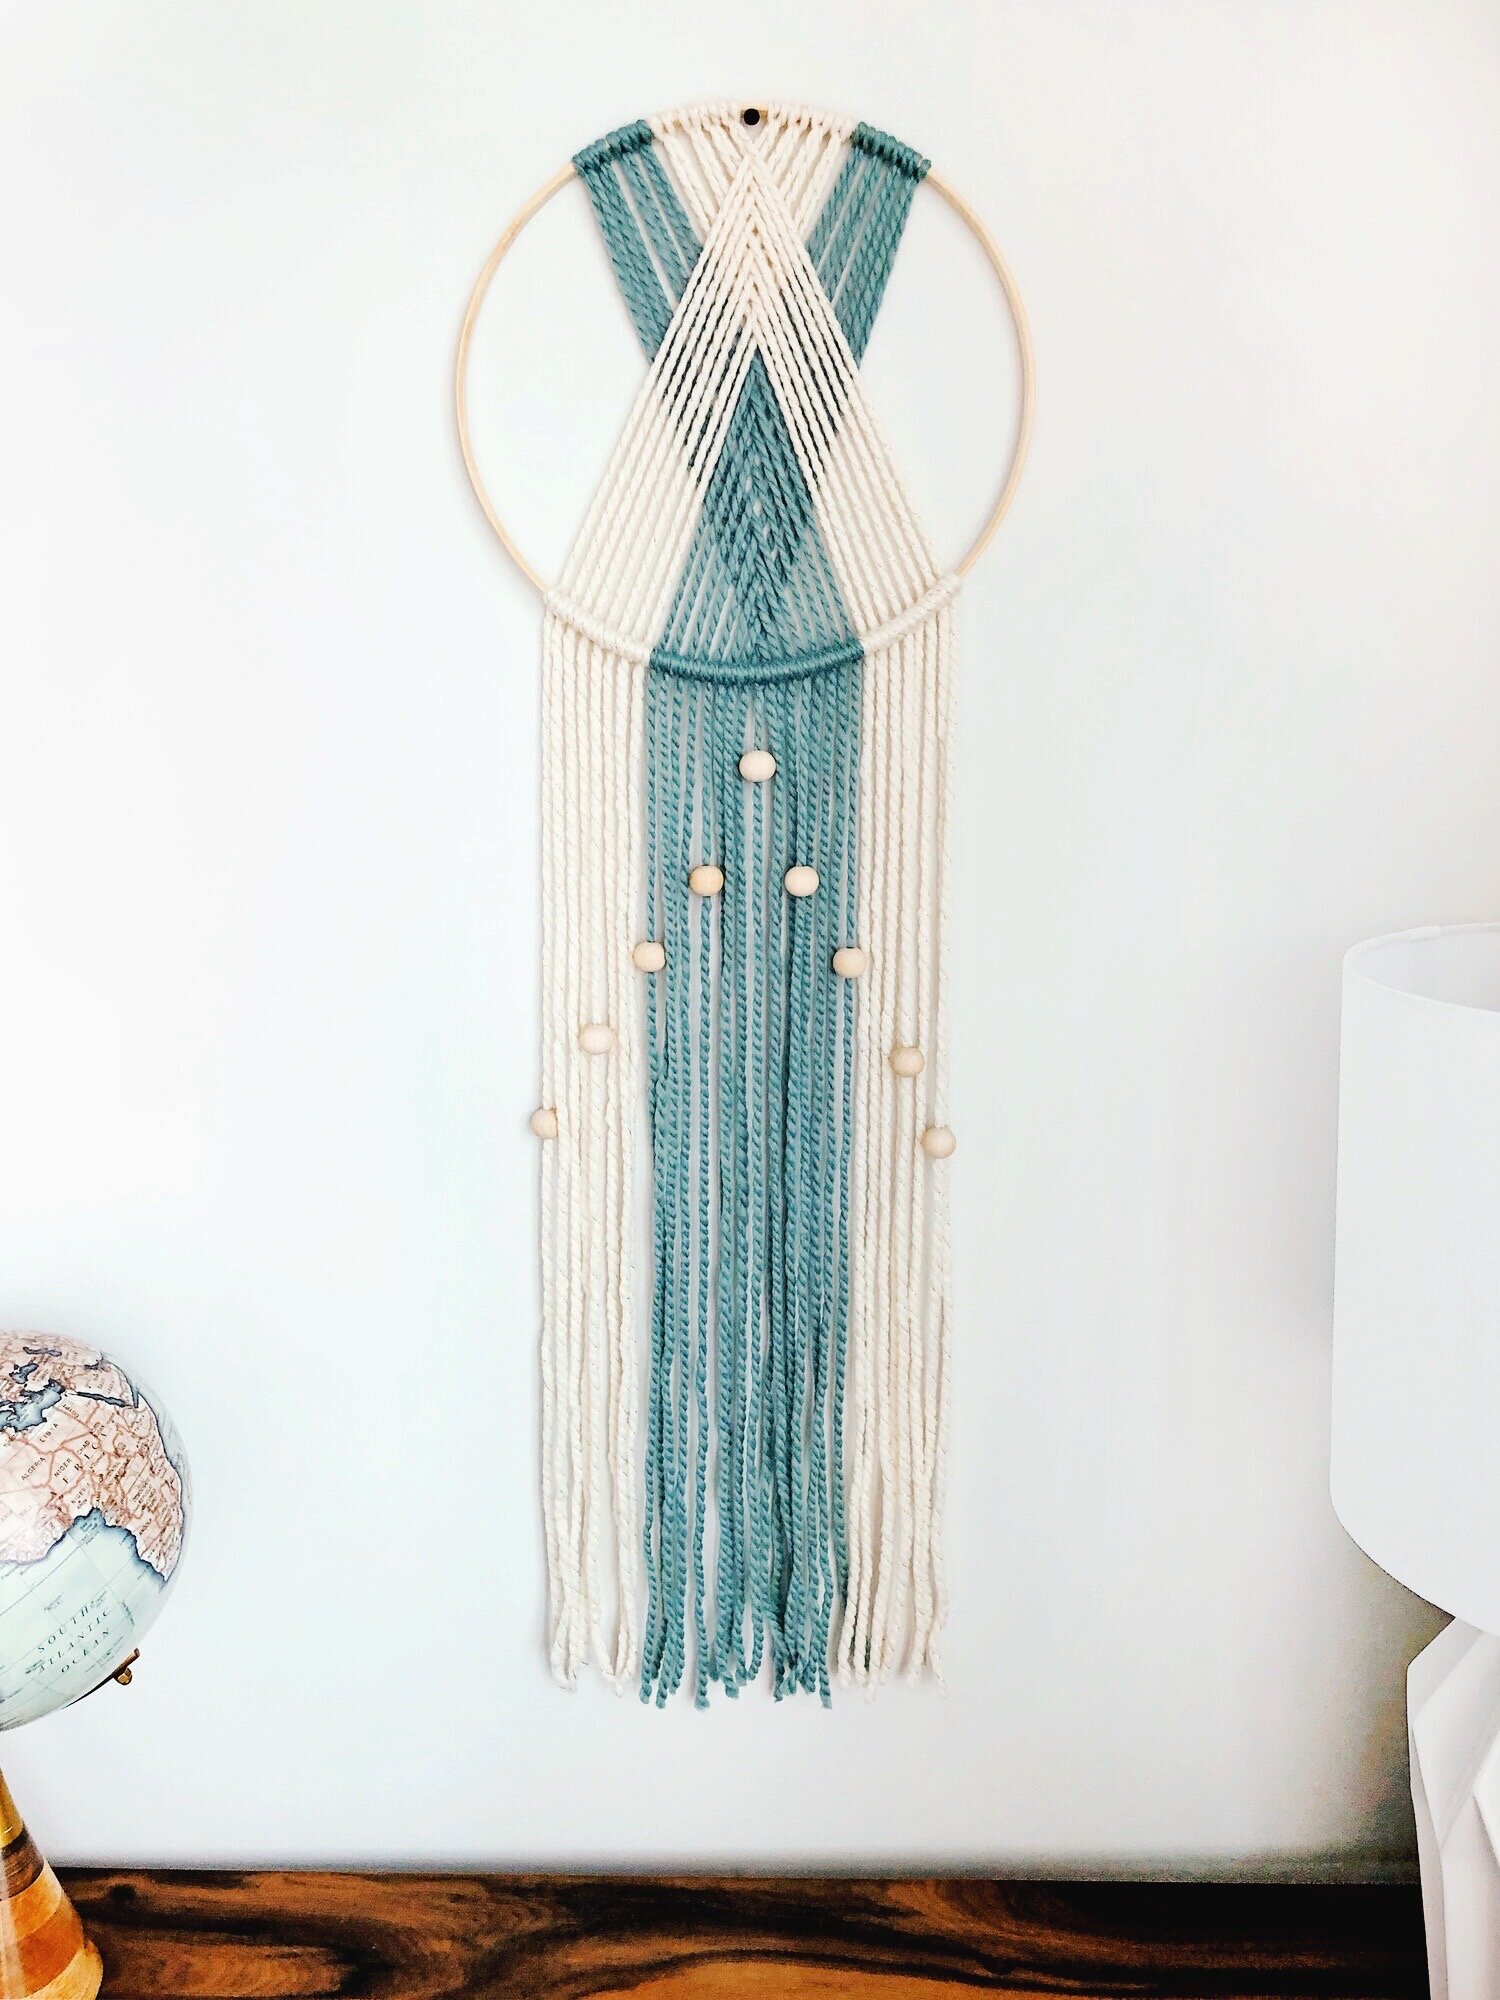
When my friend Sara Lee shared a picture of the project above, I jumped at the chance to feature this modern wool wall hanging here. It has all of the elements we love on Design Confetti, namely that it’s easy to execute with seriously impressive results and won’t break the bank. The project only takes about an hour, so it’s great if you’re looking for immediate gratification.
Sarah tells us, “I came across this after searching for fiber art and for those floral hoop wreaths that are very popular. That somehow lead me to macrame, which is also having a moment, except I’m using yarn. The way you tie the strand is the same. You can customize the colors, and one roll goes a long way, you really don’t need much, especially with the thicker yarns. I see a lot of cool things being done with yarn, like Inspire By Kelsey, her dyed wall hangings are beautiful!”
*This post contains affiliate links and I will be compensated if you make a purchase after clicking on my links, click here for our full policy and disclosures.
Supplies:
Yarn or macrame rope: Sarah used Big Twist in Sage and Wool-Ease in Starlight
Needlepoint hoop (with outer ring removed) or metal craft ring (she used a 12” one for this project)
Scissors
Optional: wooden beads


DIY:
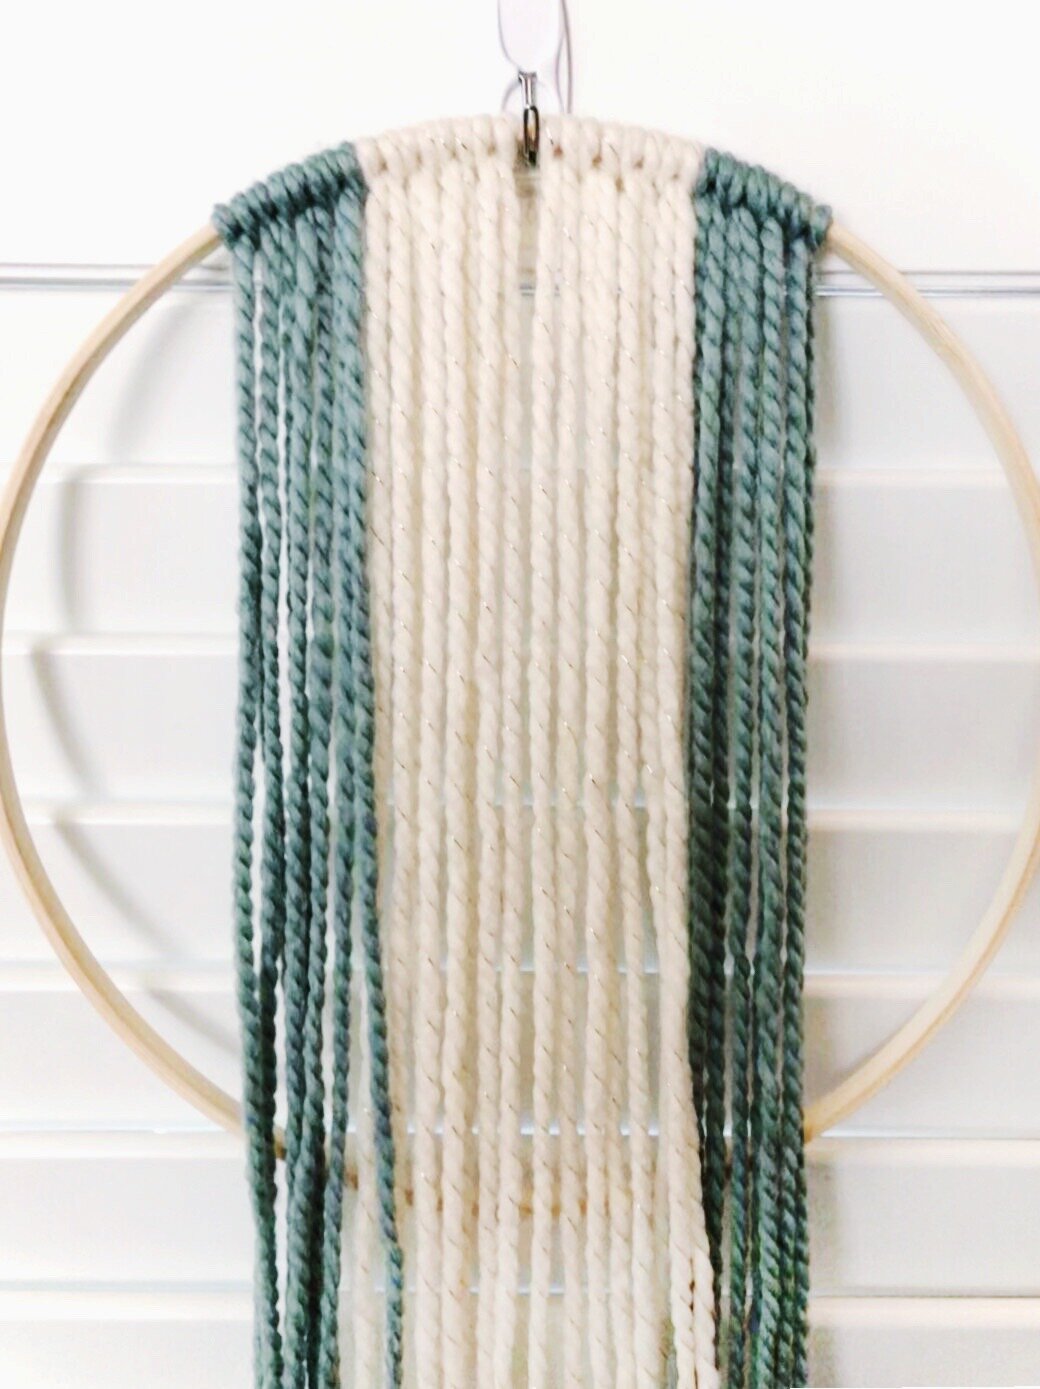
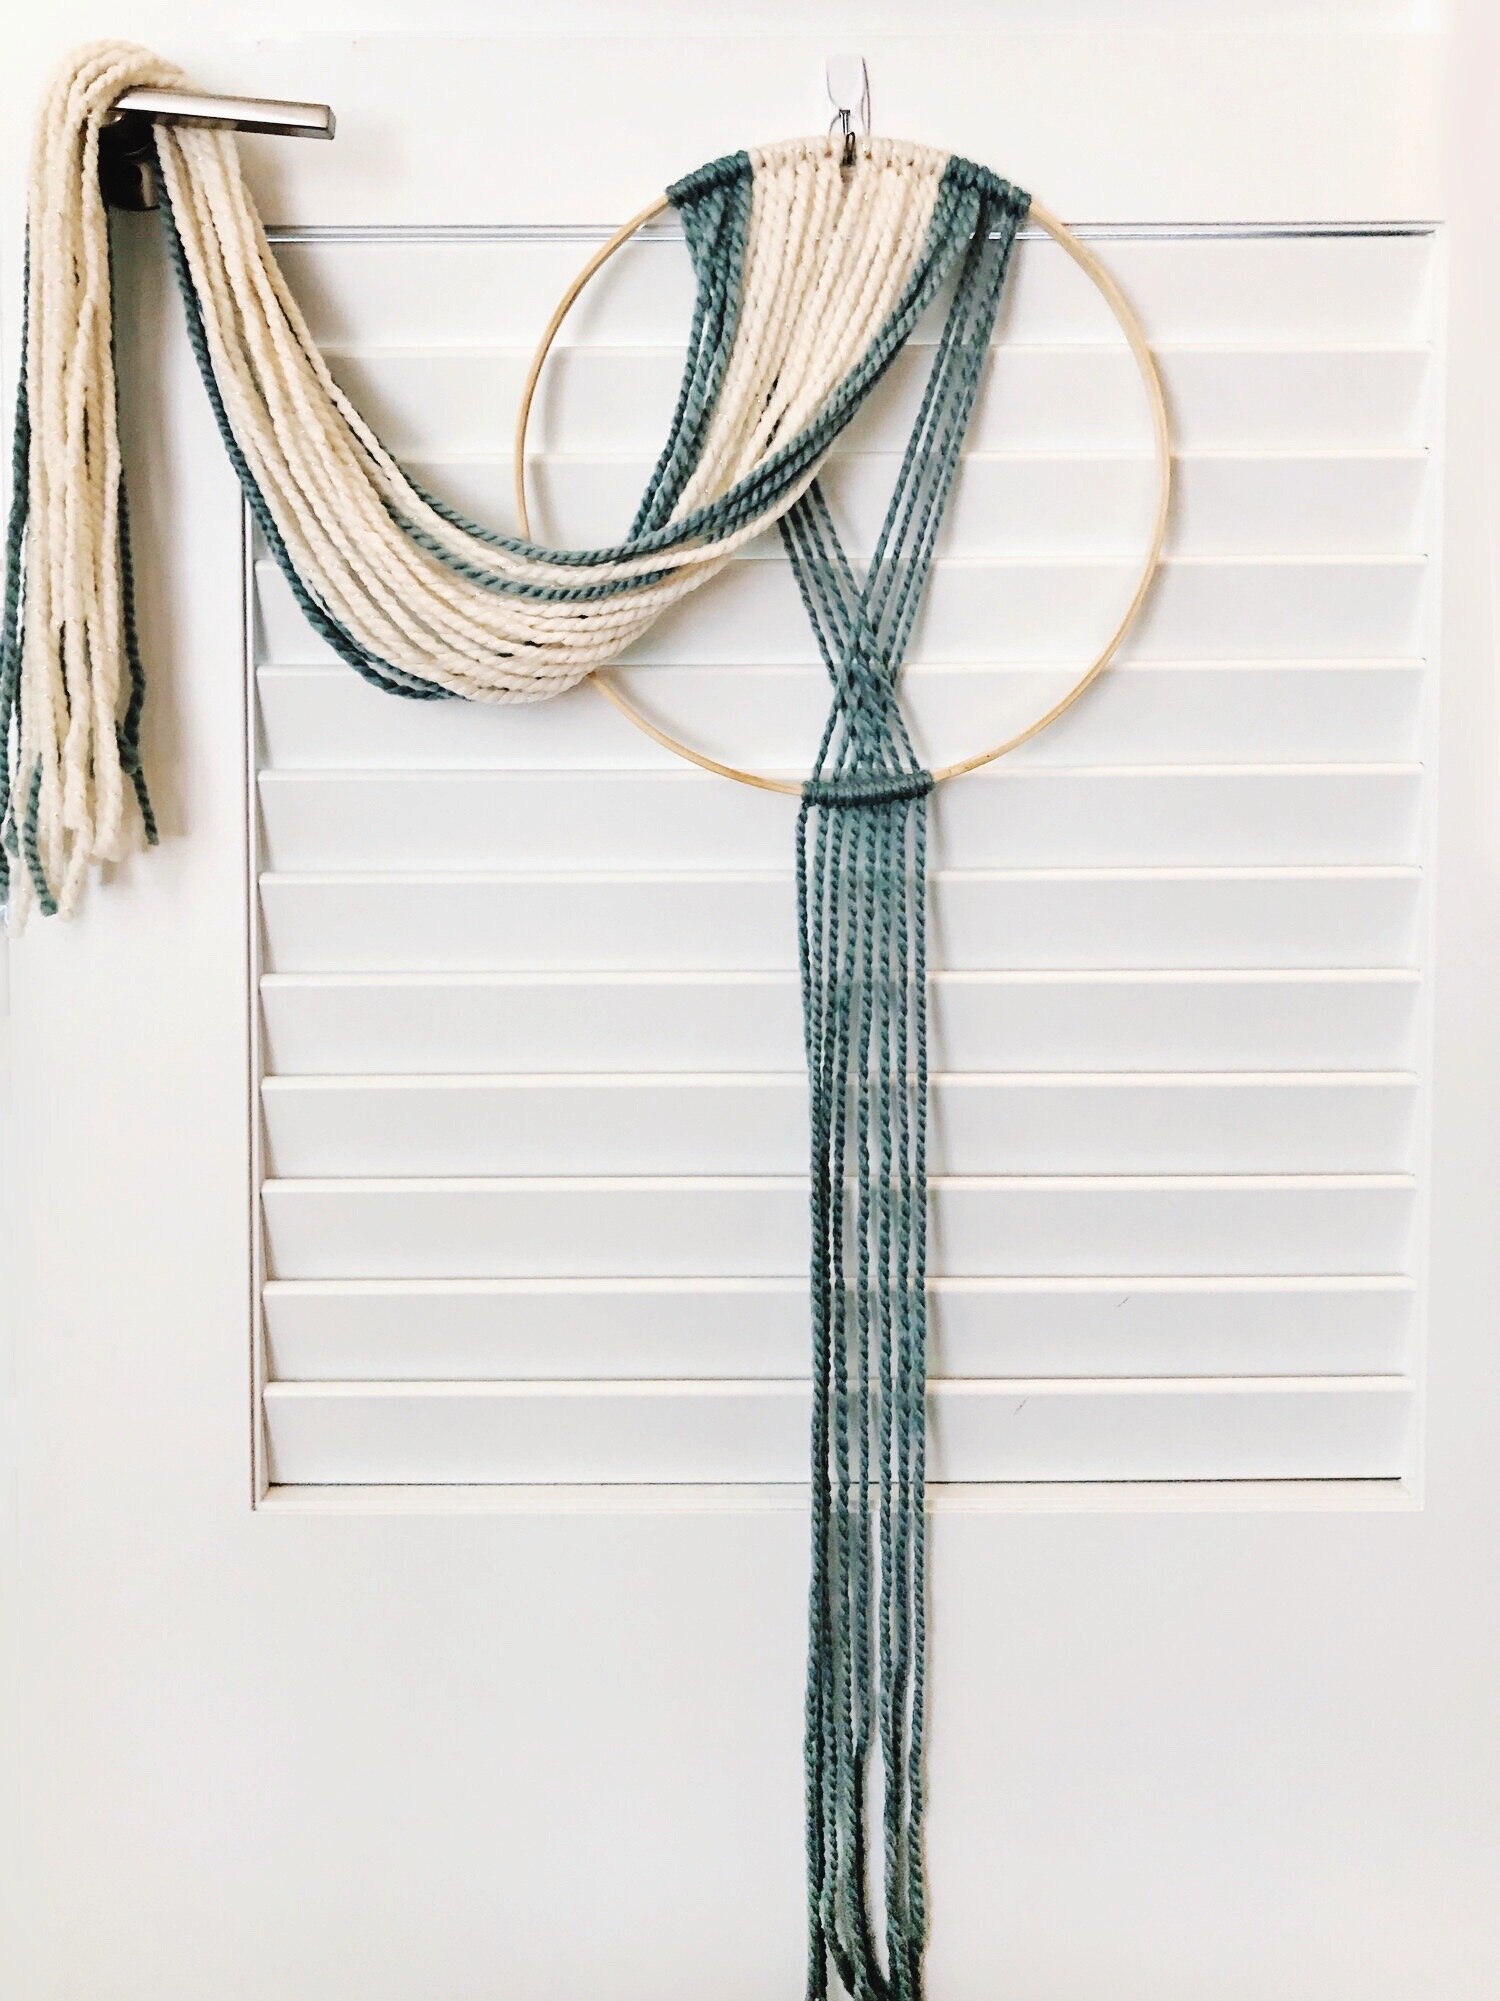
1. Determine the length you would like your fringe to be. Hold a folded piece of yarn at the top of the hoop and let it hang down to your desired length. Mine is 84” long strands. So when it’s folded in half, it’s 42”. It’ll shorten as you tie and trim it.
2. Using the first strand as a guide, cut 16 strands total. I did 8 blue and 8 cream.
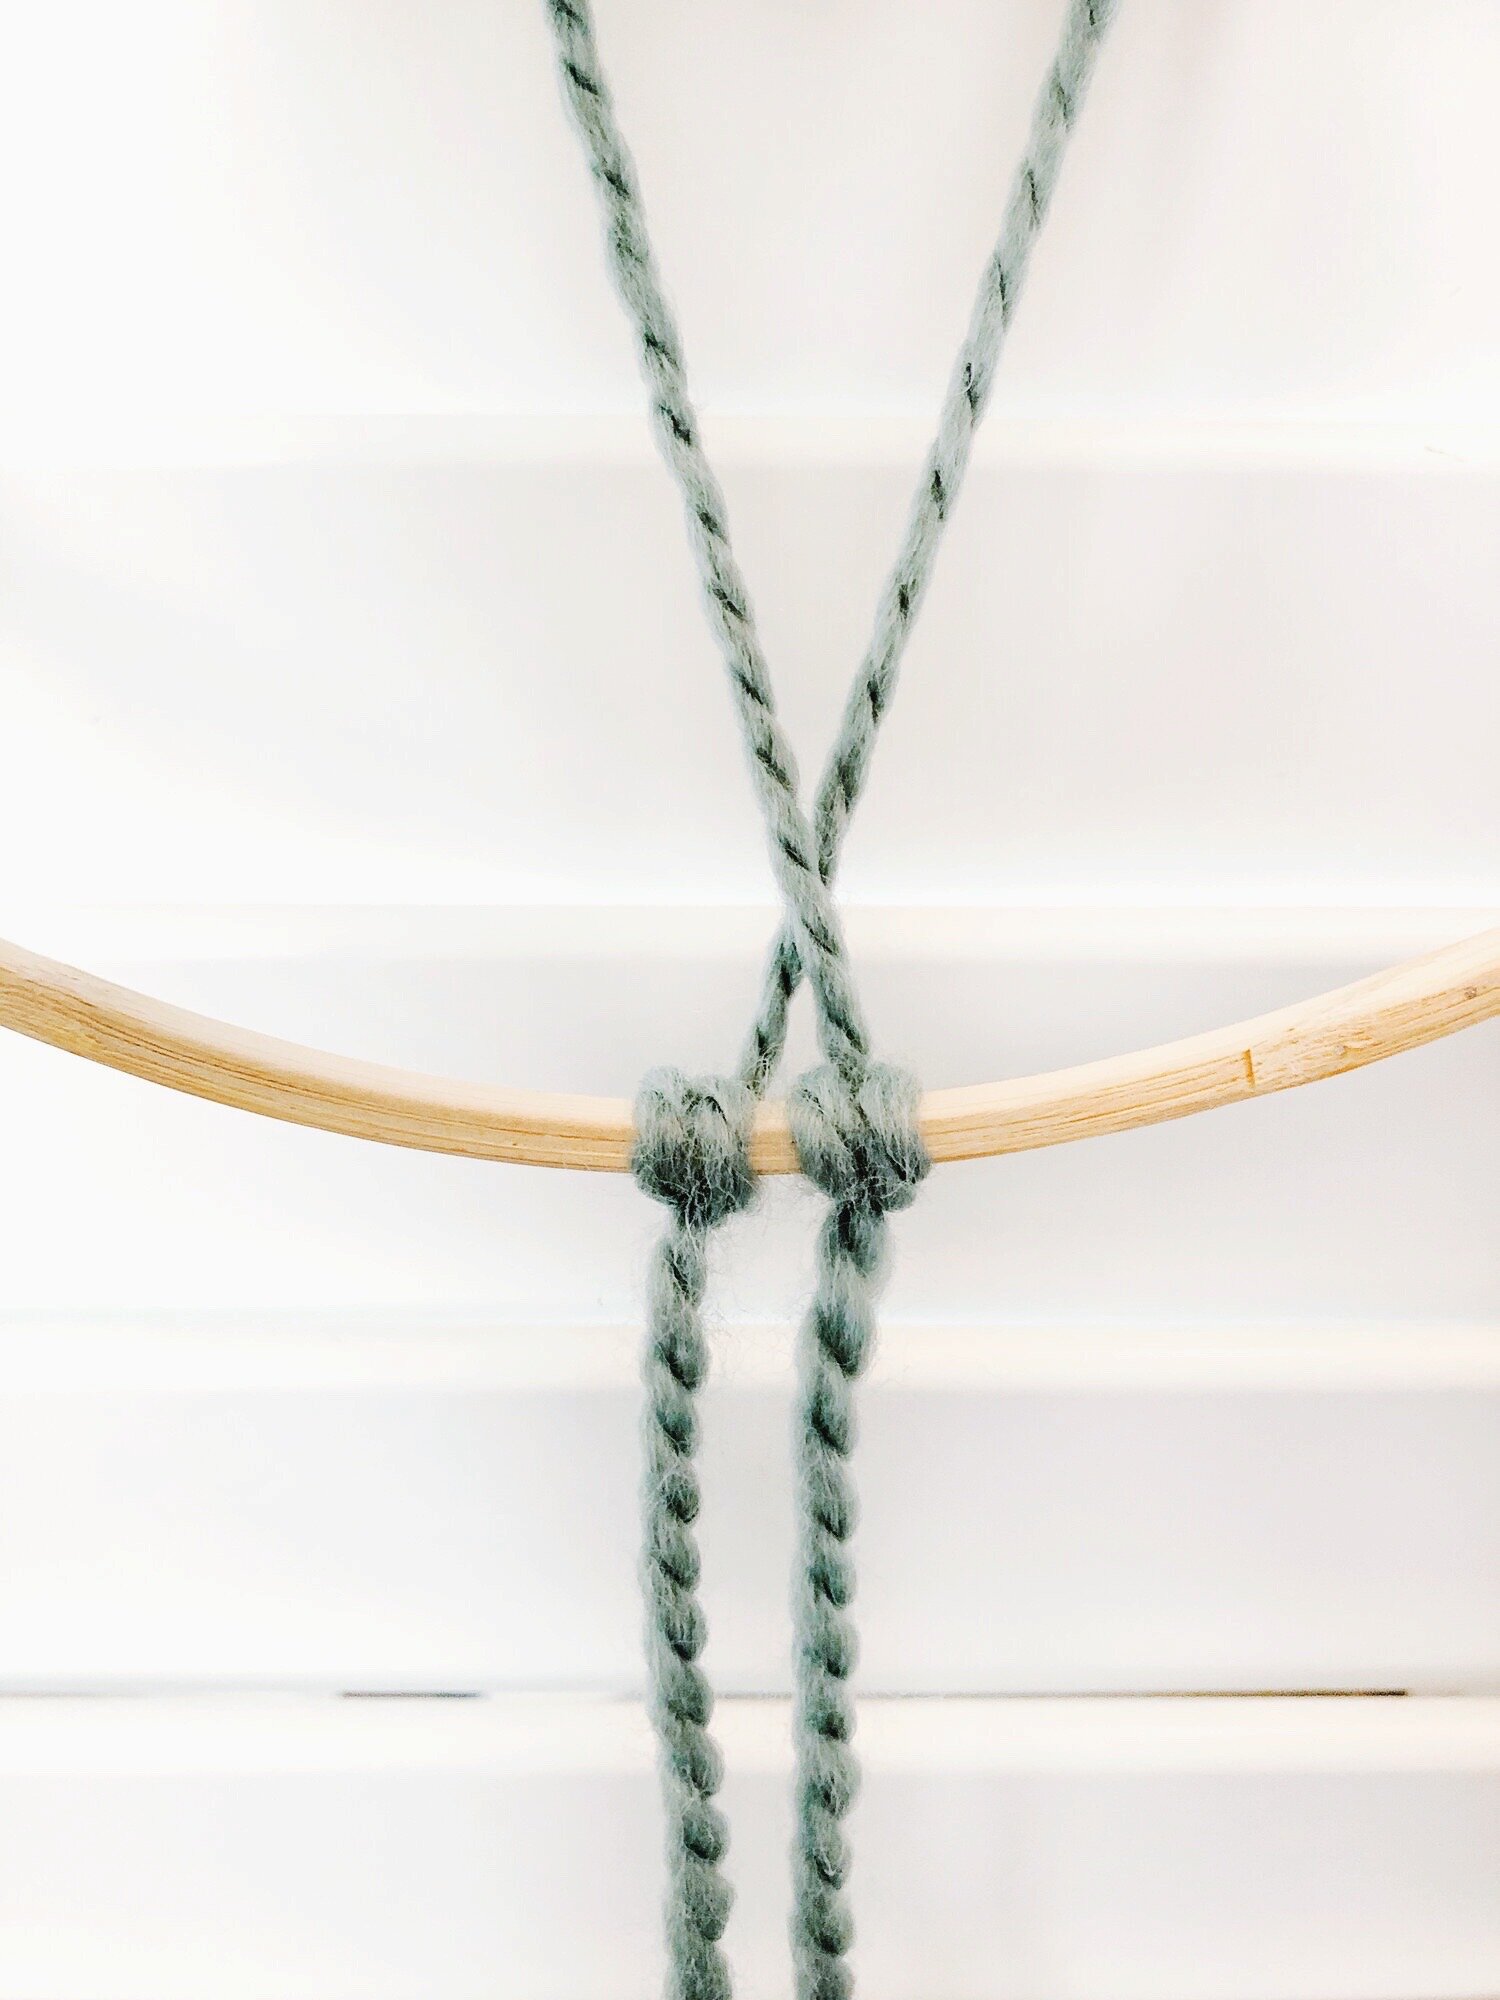
3. Attach all strands with a Lark’s Head knot
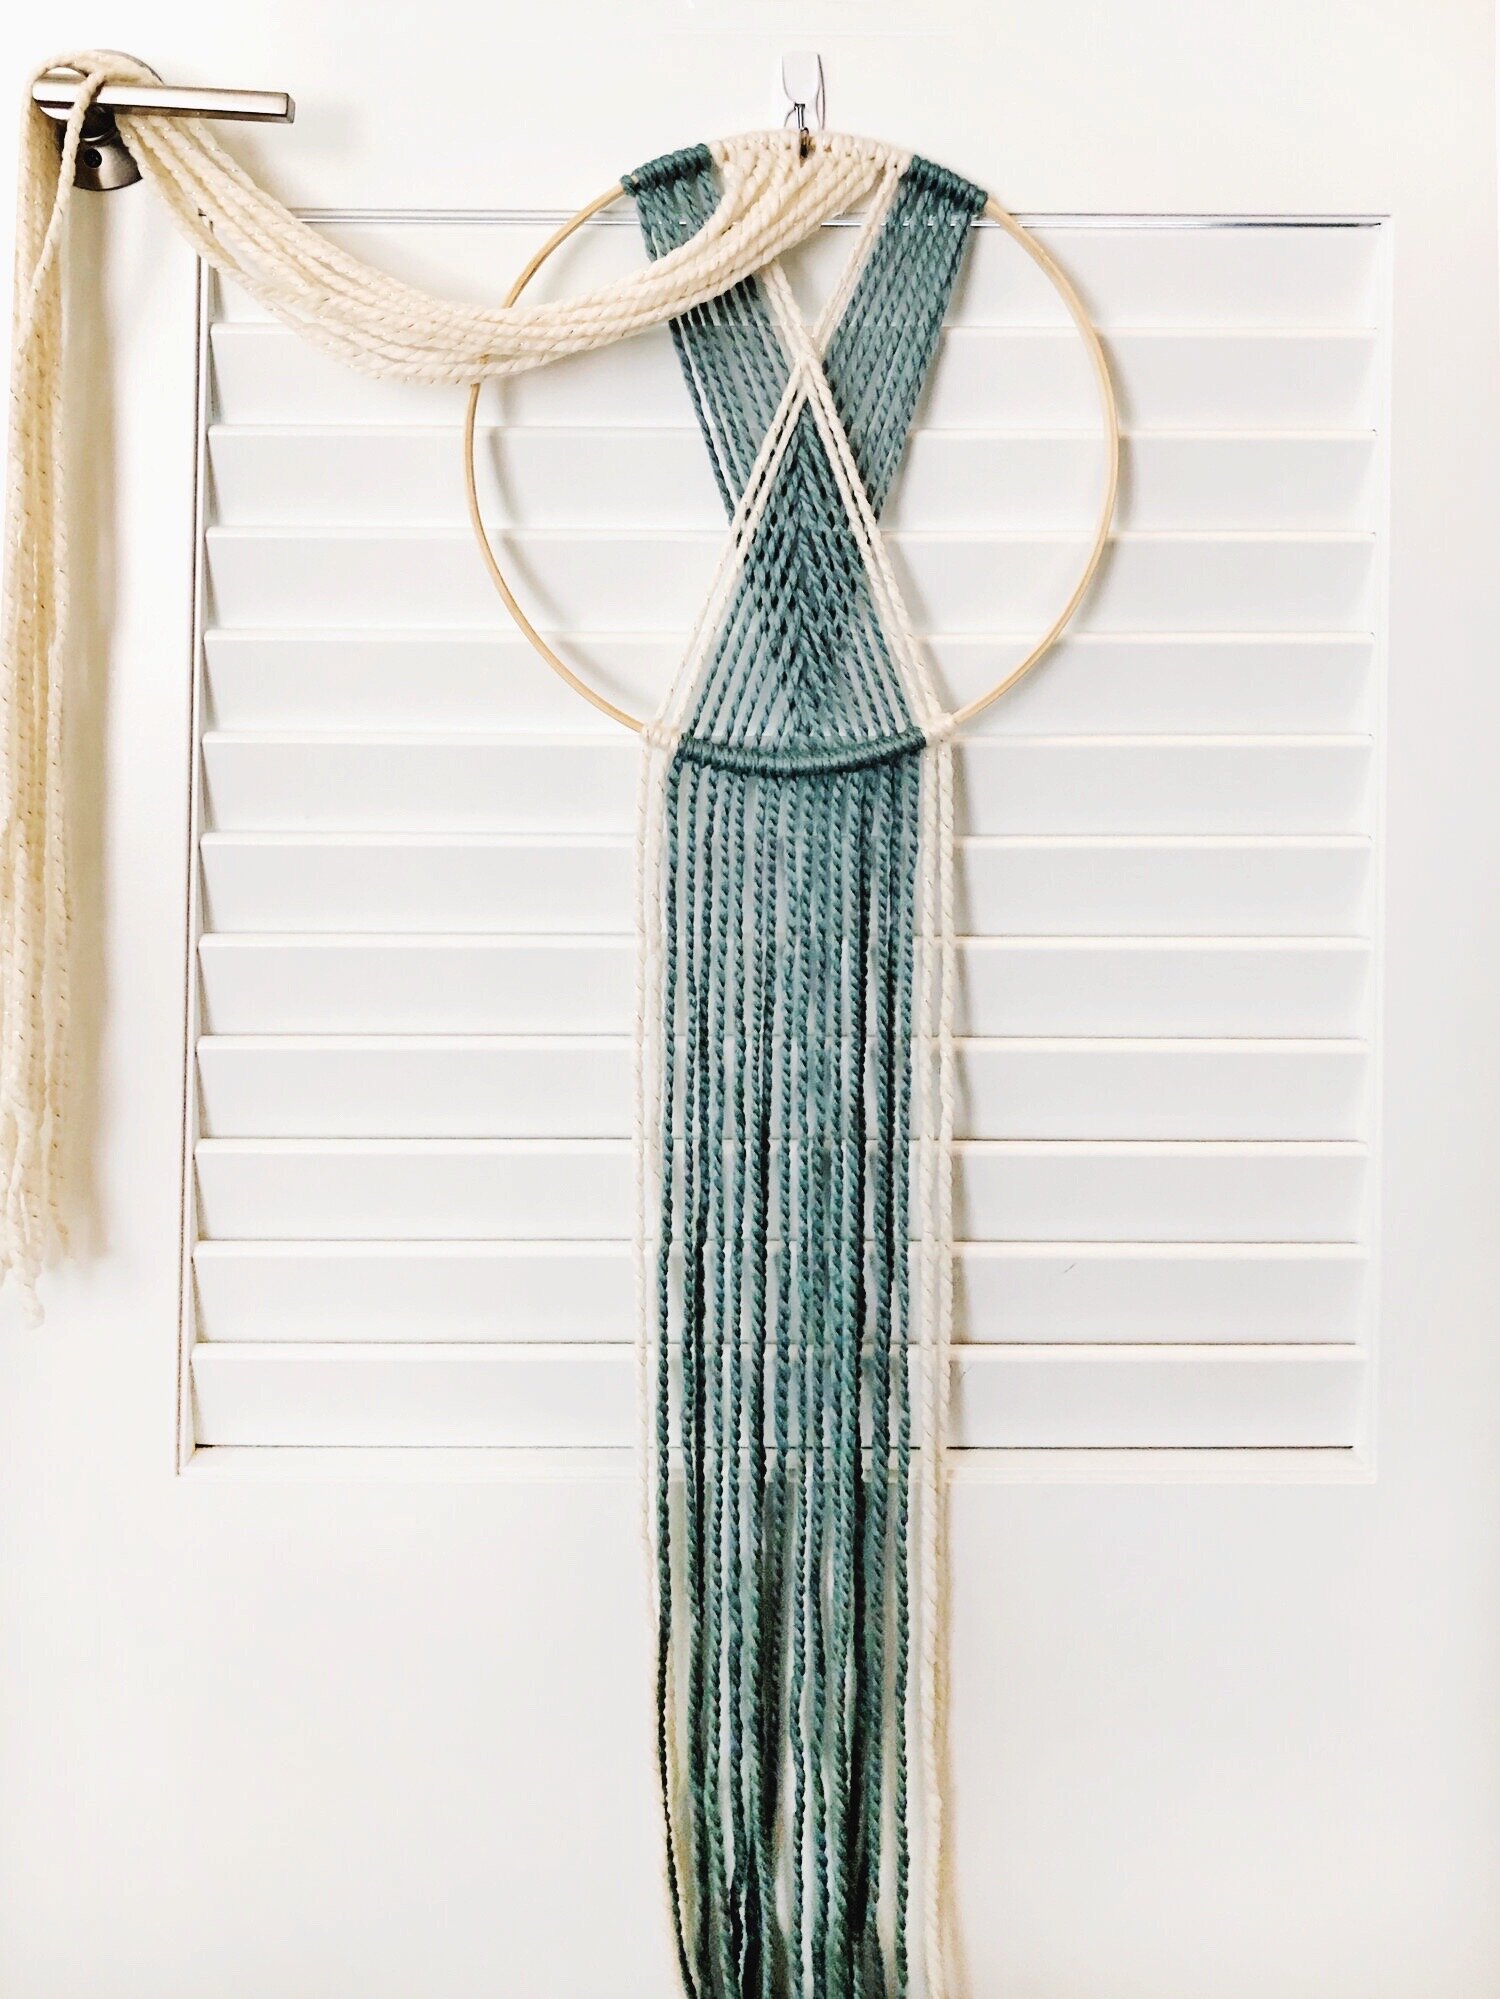
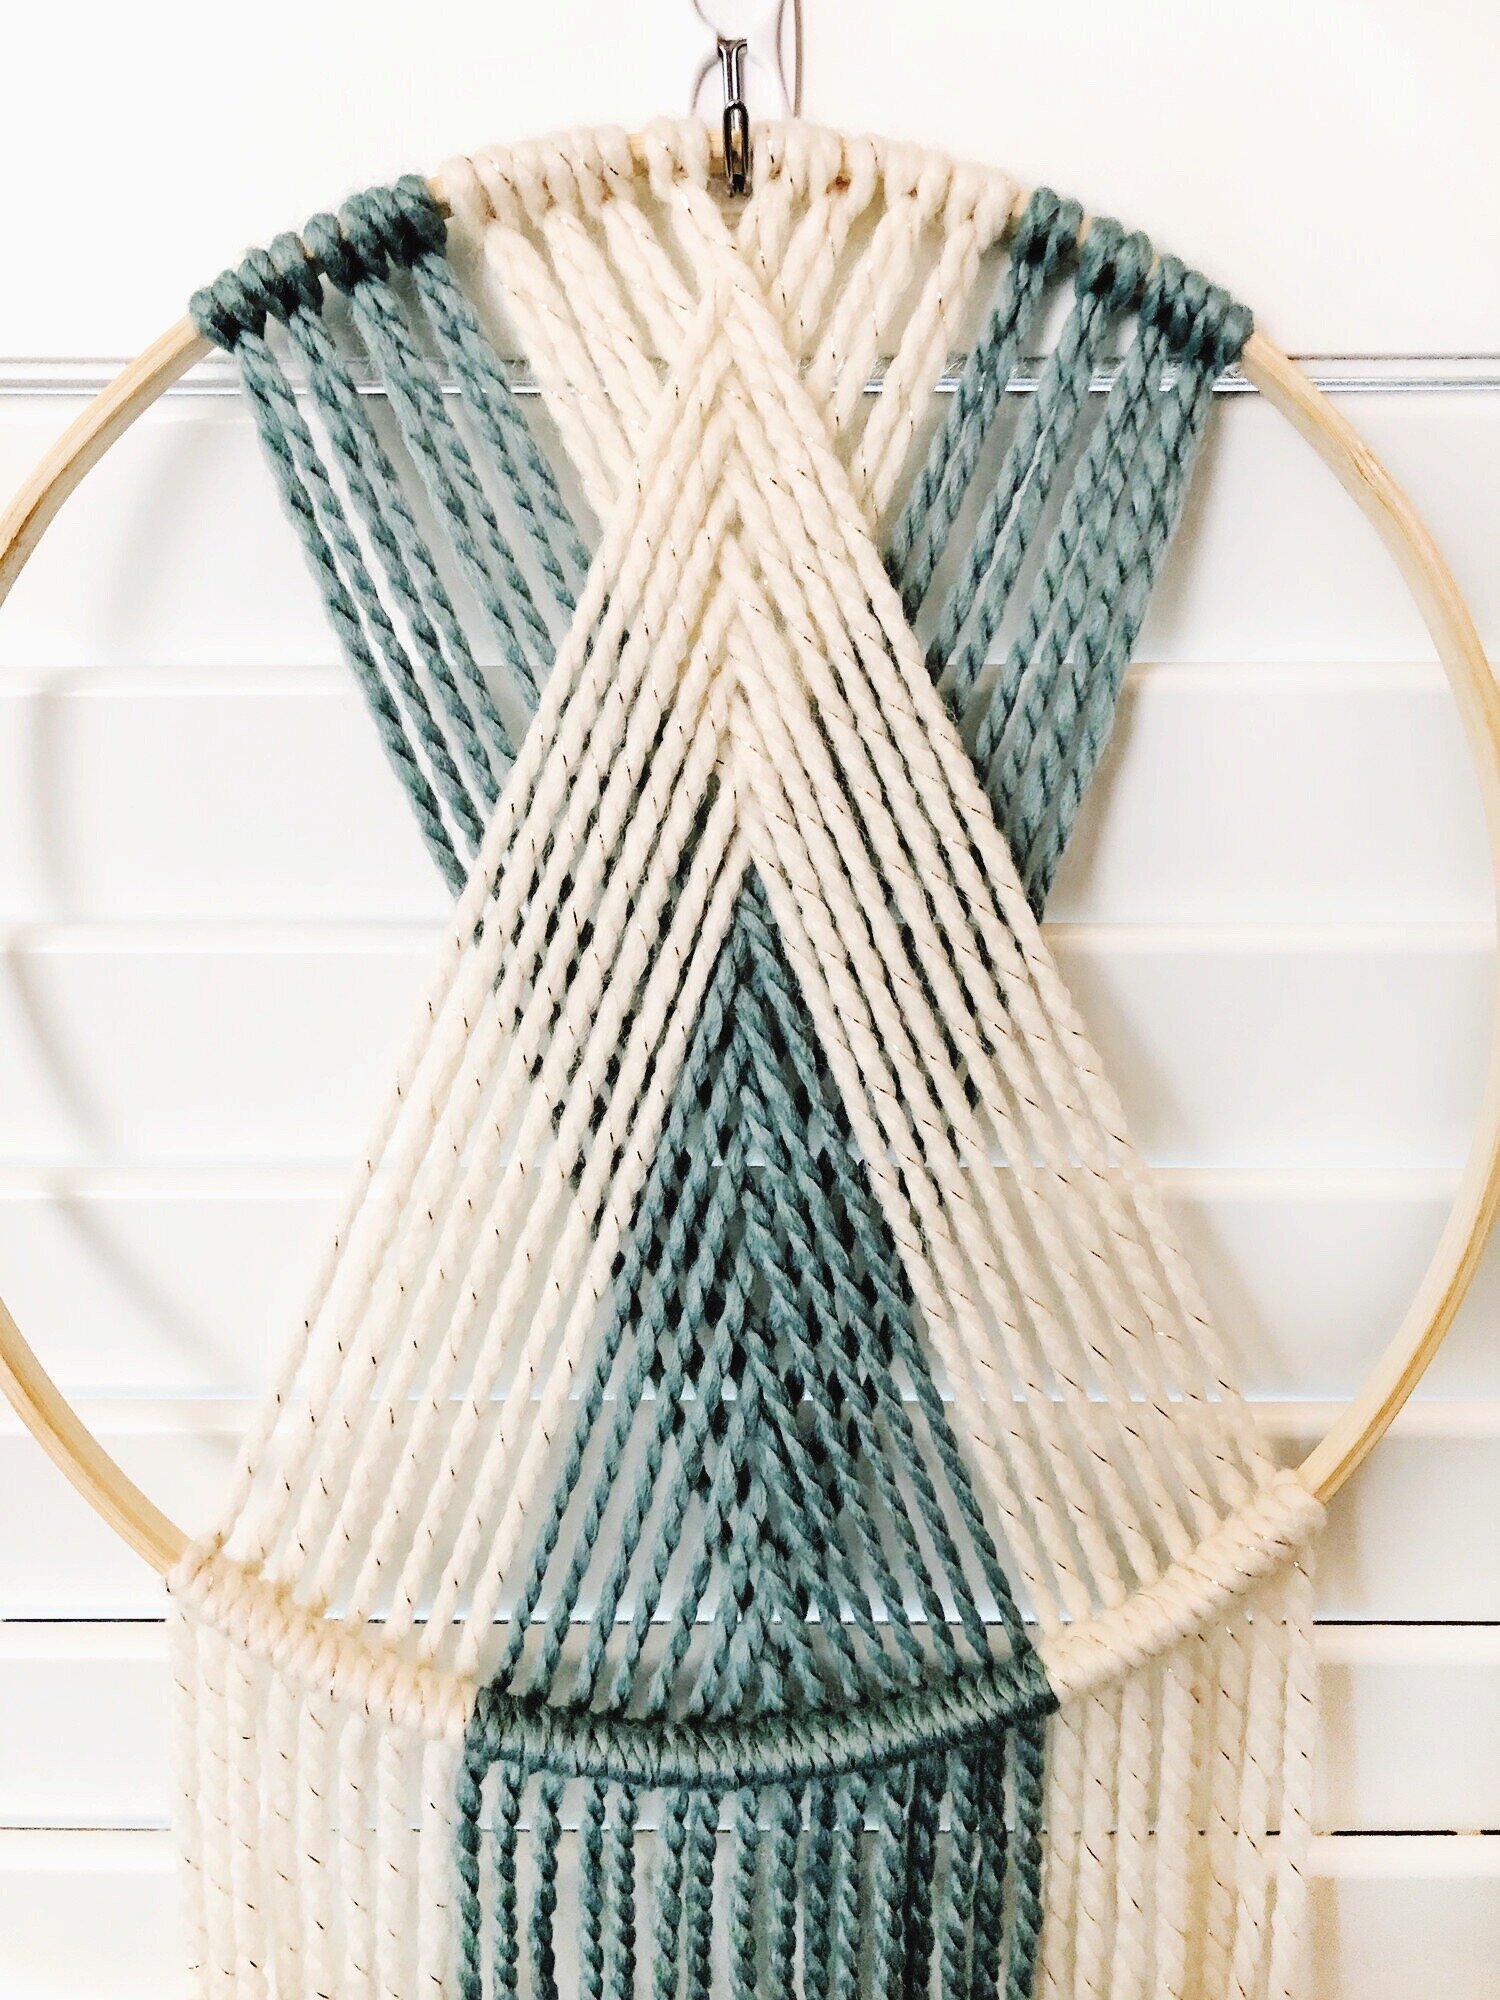
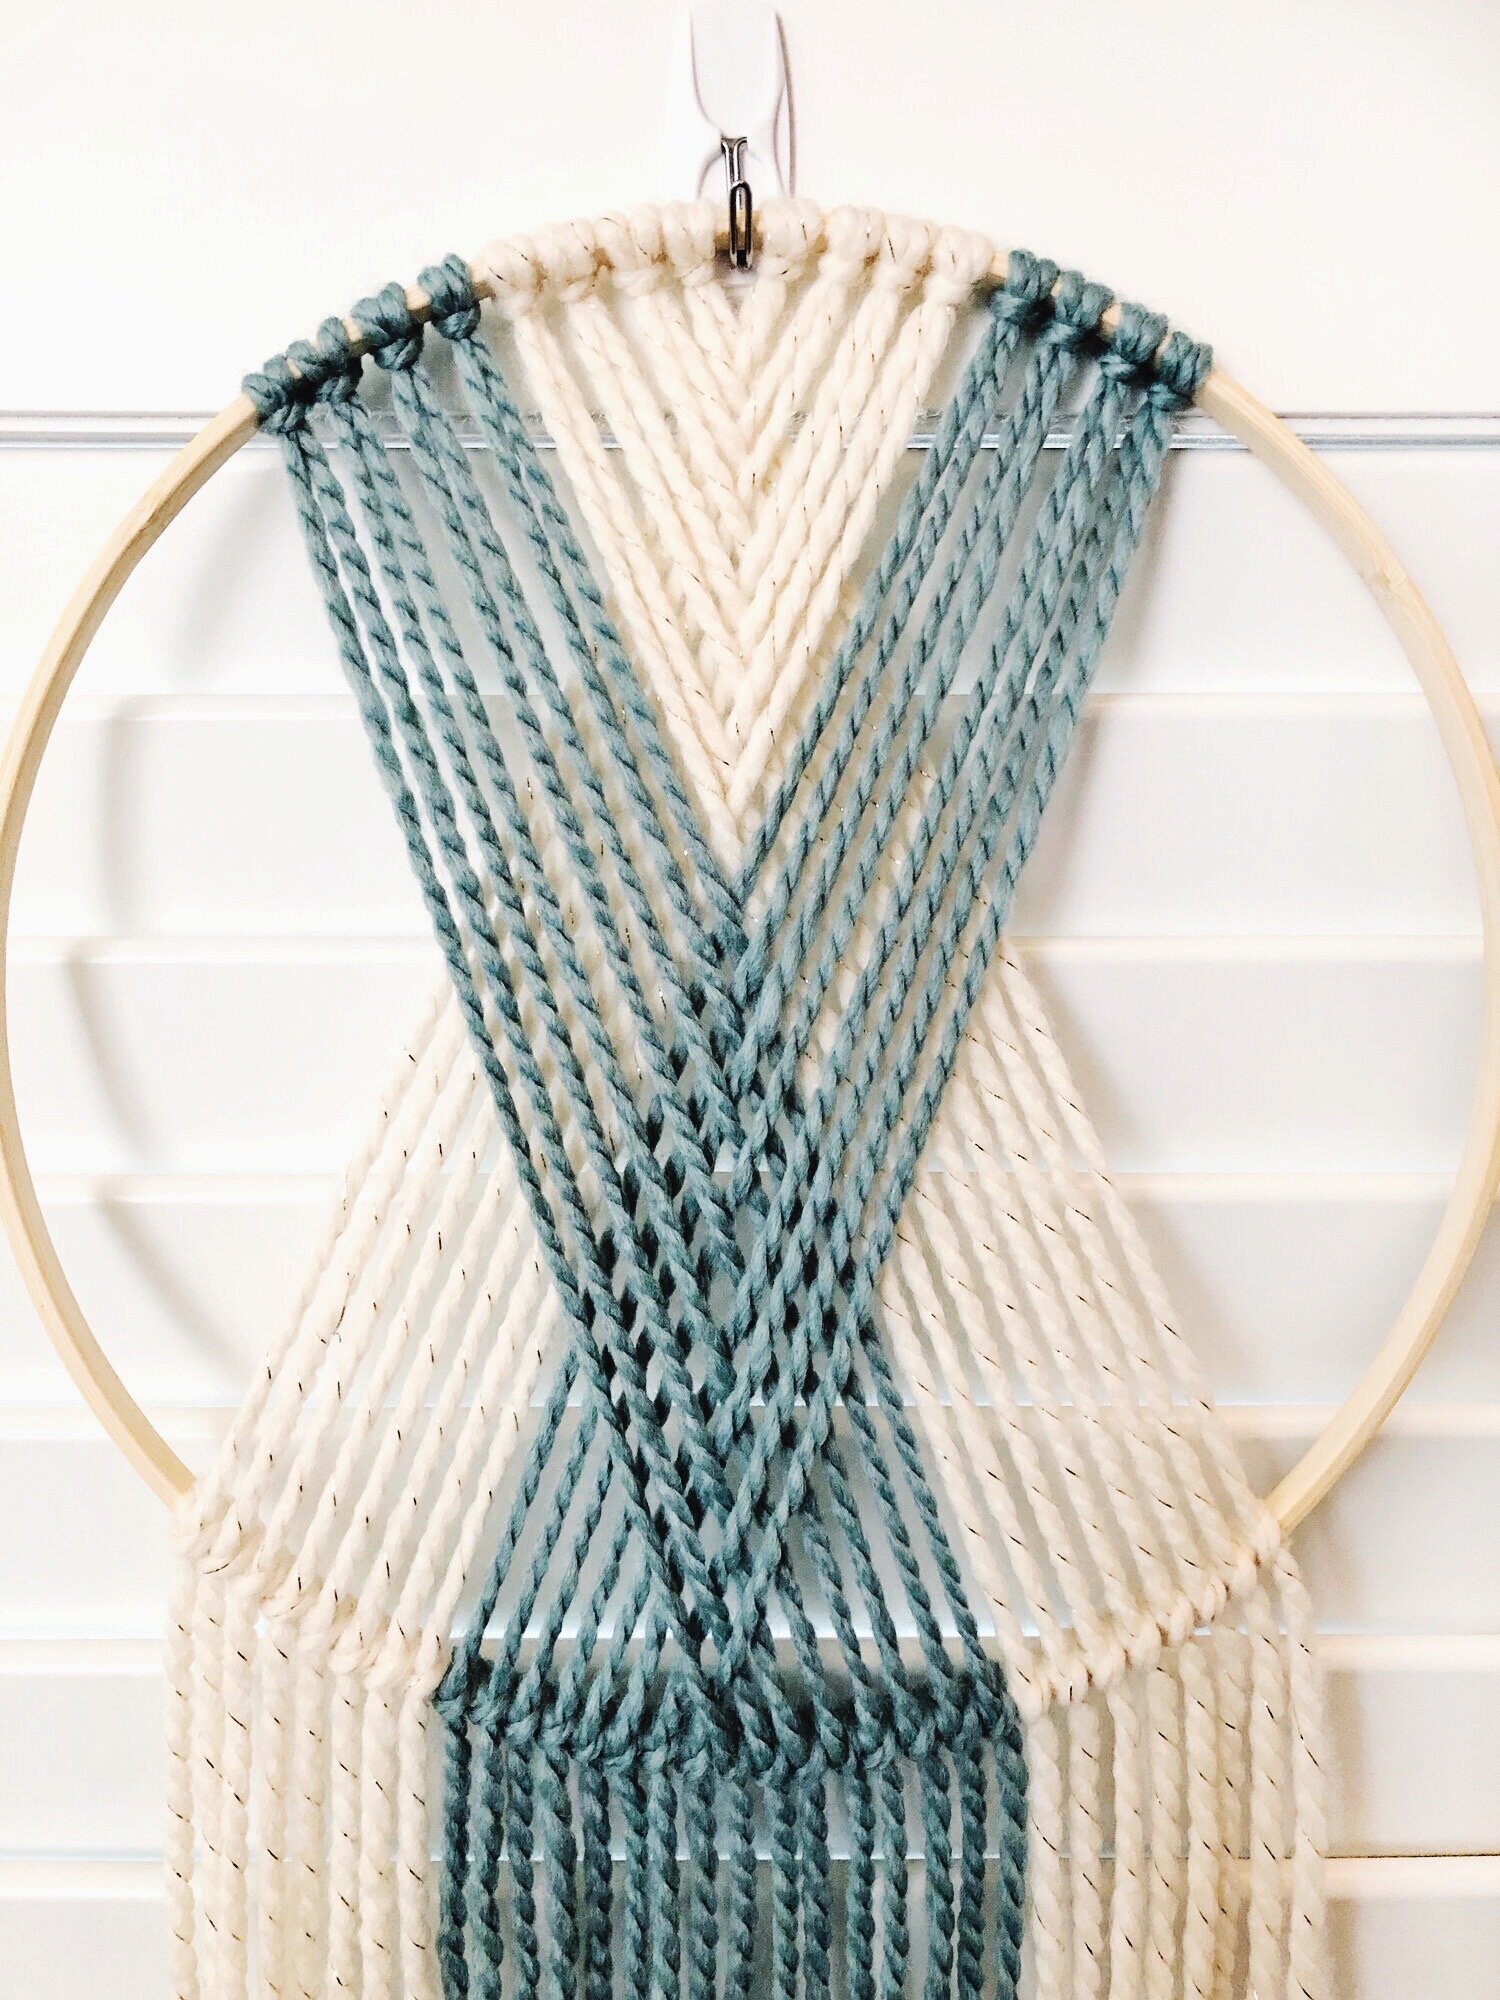
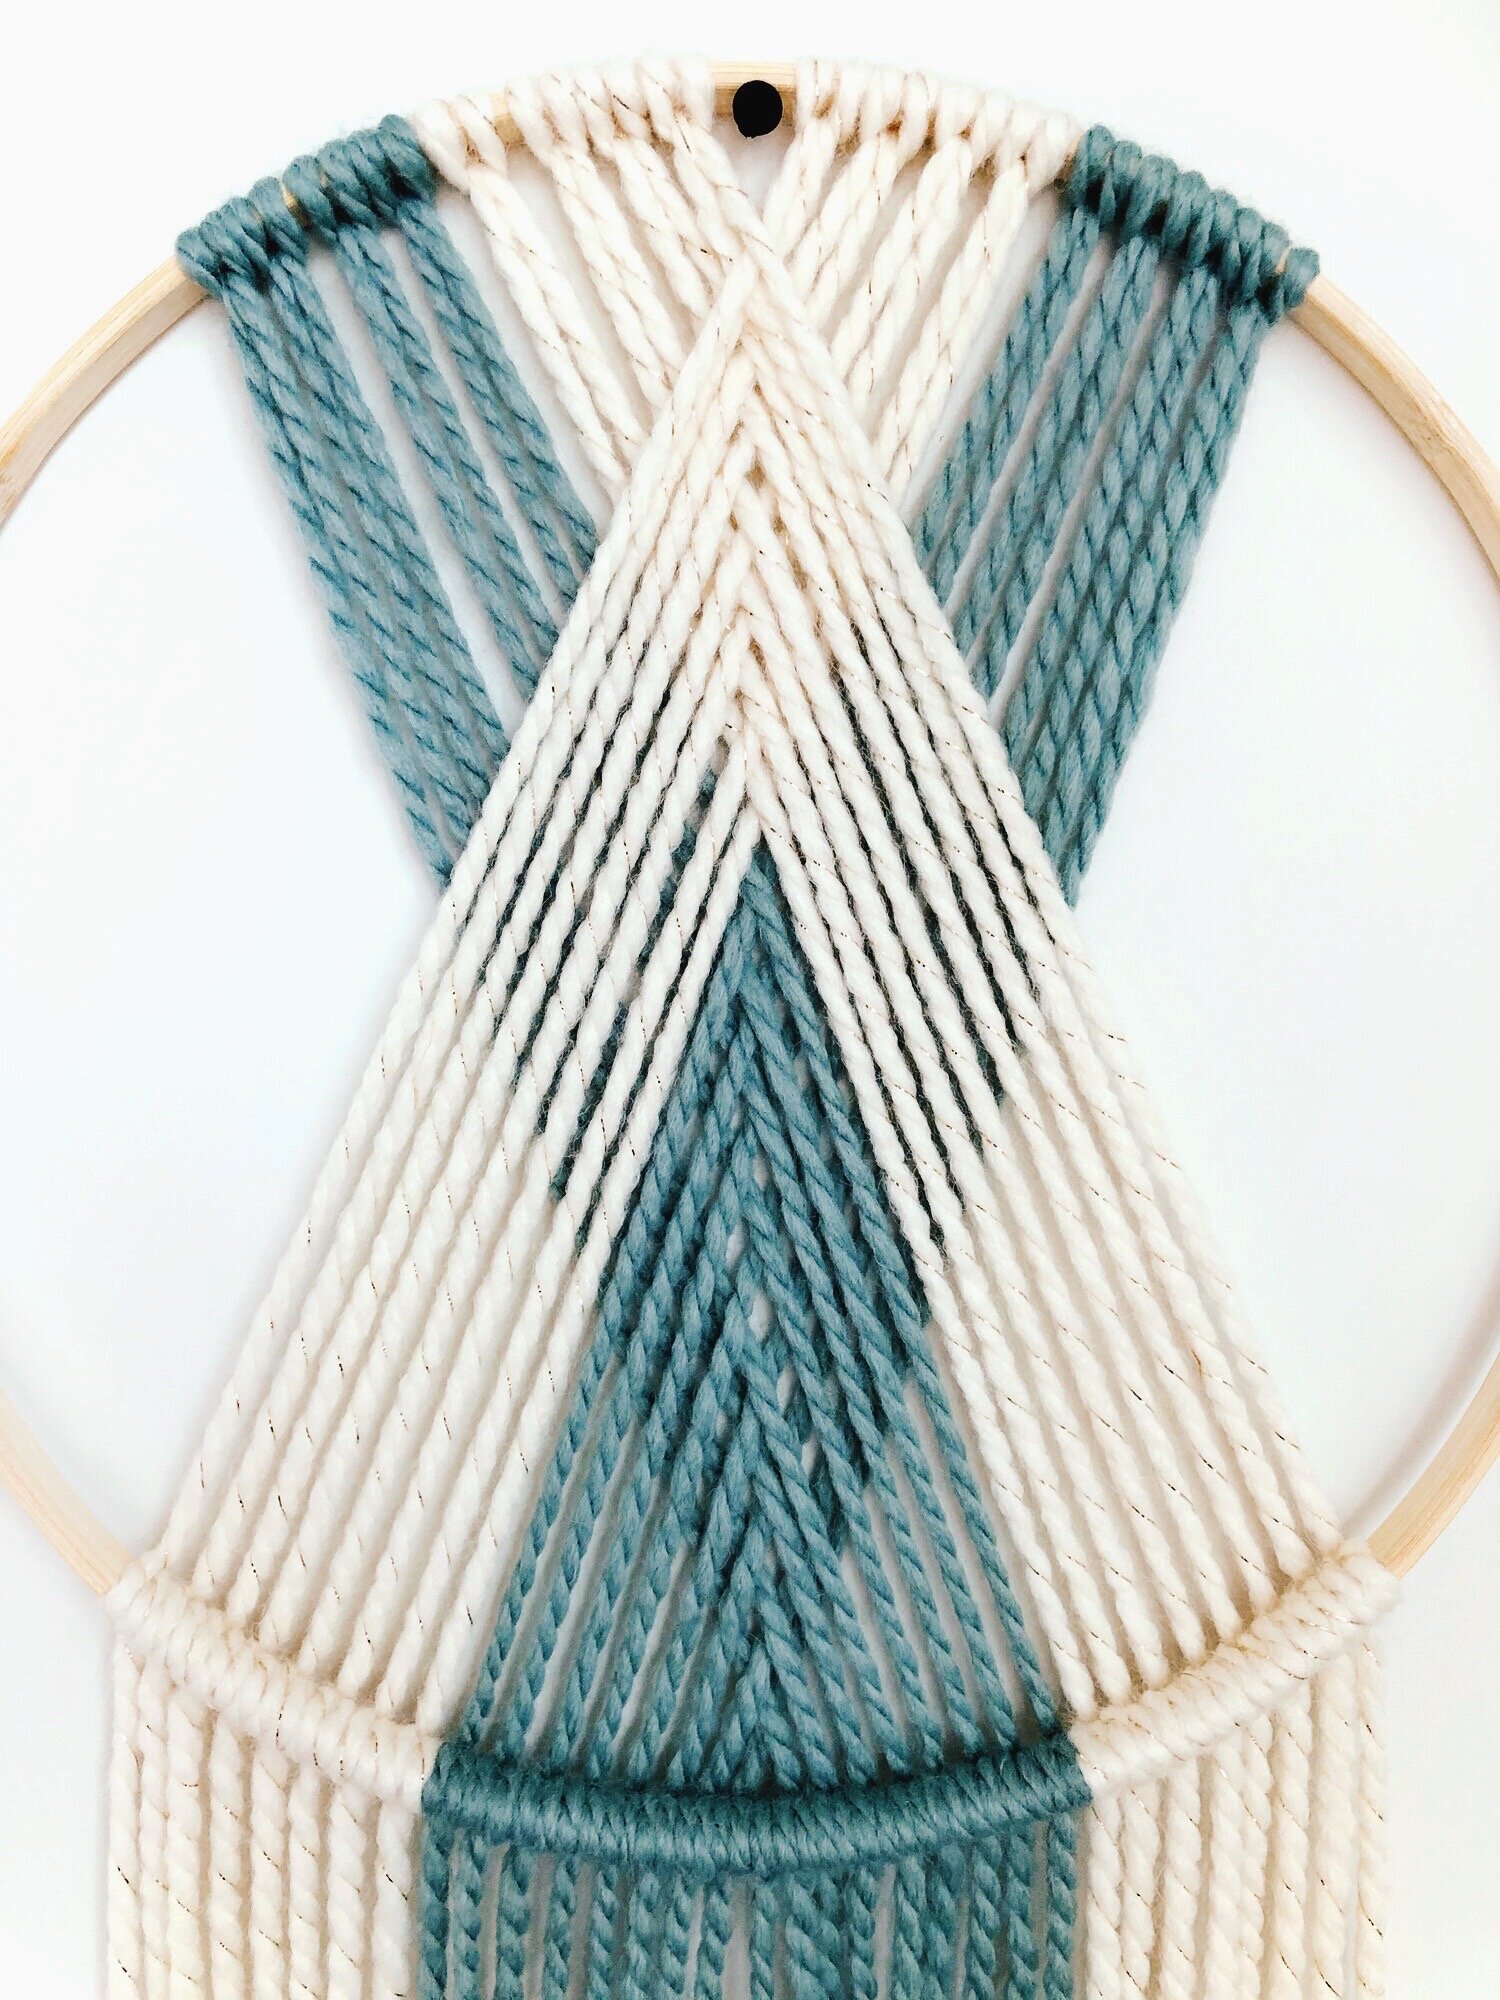
4. Starting with the outermost strand, bring it behind the other strands and behind the ring. Attach it with a double half hitch knot. Keep it centered as much as possible.
5. Take the outermost strand from the other side IN FRONT of your previous strand and BEHIND the gold ring. Attach with a double hitch knot, also towards the center.
6. Repeat step five, alternating from outermost side to outermost side until you get through all the strands.
7. You can now add beads if you like. I wrapped tape on the ends of the yarn to help get the bead on.
8. Trim ends to desired length.
Thanks again to Sara for being so generous with her time! If you have a DIY project you would like to share with us, drop us a line.


